Oki Data CONFIDENTIAL
42930511TH Rev. 2 111 /
4 × 7
6 × 4
8 × 9
2
1
3
9
7
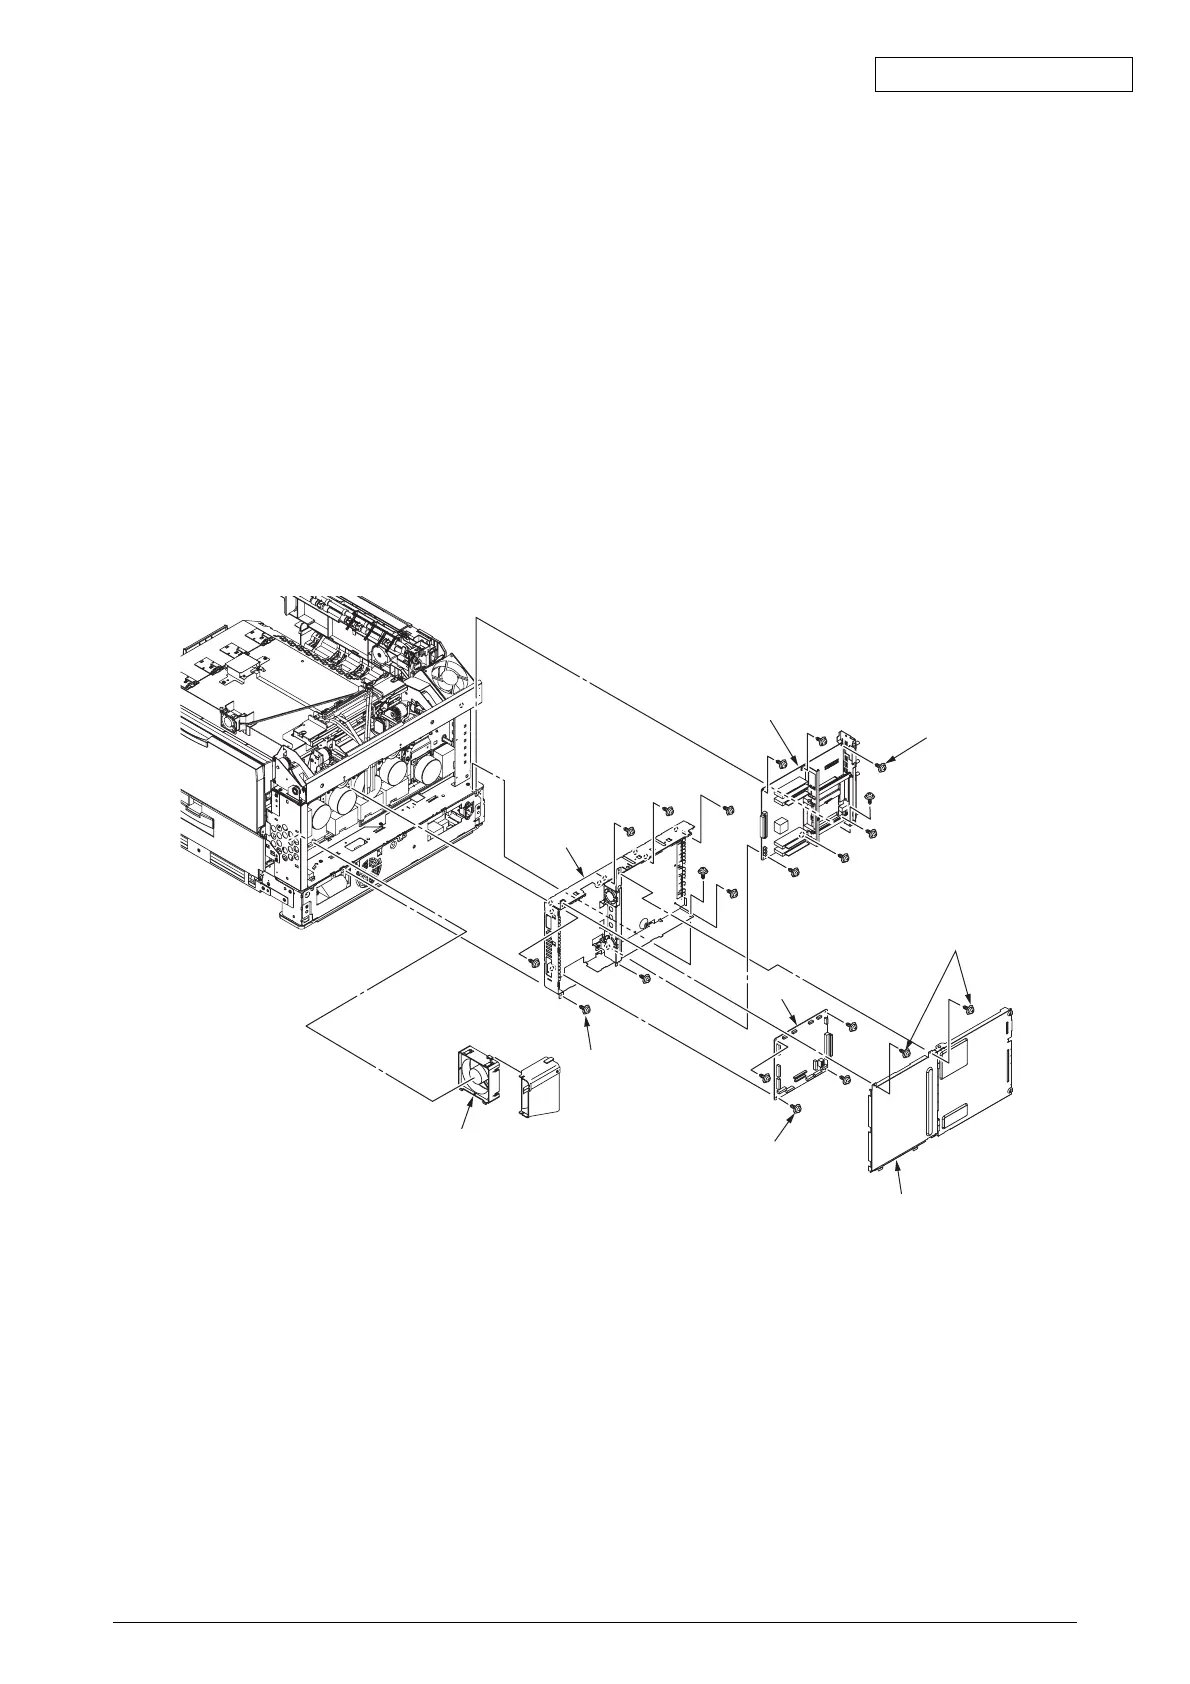
4.3.7 FAN-PCB-Assy, CU-Board-Assy and S2V-PU-Board
(1) Open the Cover Assy-Top.
(2) Remove the covers concerned. (Refer to Section 4.3.2)
(3) Remove the connector, then Remove FAN-PCB-Assy 1.
(4) Unscrew the 2 screws, remove the Plate-Shield-Assy 3, then remove the connector.
(5) Unscrew 7 screws 4, then remove CU-Board-Assy 5.
(6) Disconnect all 17 Connectors, then unscrew 4 screws 6, and remove S2V-PU-Board 7.
(7) Unscrew 9 screws 8, remove the Plate-Shield-Box-Assy 9, then remove all the connec-
tors.