265
EN
Connecting the Camera to External Devices
5
5
Highlight items using the FG buttons and press
the Q button.
• Options for the selected item will be displayed.
SSID SSID_001
100
%
ww
Authentication
IP Address Assign
Start Connection
None
Auto(DHCP)
Connect manually
Cancel Set
SSID Enter the network SSID.
Authentication
Select the type of security used on the network. Choose from
[None] and [WPA2].
Password
If you selected [WPA2] for [Authentication], enter the network
password.
IP Address Assign
Choose from [Auto(DHCP)] and [Manual]. Automatic IP address
assignment requires a network with a DHCP server confi gured to
supply IP addresses automatically.
IP Address
These fi elds are required when [Manual] is selected for [IP
Address Assign].
Subnet Mask
Default Gateway
DNS
6
Highlight [Start Connection] using the FG buttons
and press the Q button.
100
%
SSID SSID_001
ww
Connect manually
Cancel Set
Authentication
IP Address Assign
Start Connection
None
Auto(DHCP)
7
If the camera is able to connect, the network will
be displayed with a check (v) next to the network
name.
• If the camera has been paired with more than one computer,
you will be prompted to choose a computer before the
network is displayed. Highlight the desired computer using
the FG buttons and press the Q button.
• The camera can be used only with the selected
computer. To select a different computer, you must fi rst
terminate the current connection.
100
%
ww
SSID_001 w
Access Point Connection
R/Close
Connect by WPS
Connect manually
Set
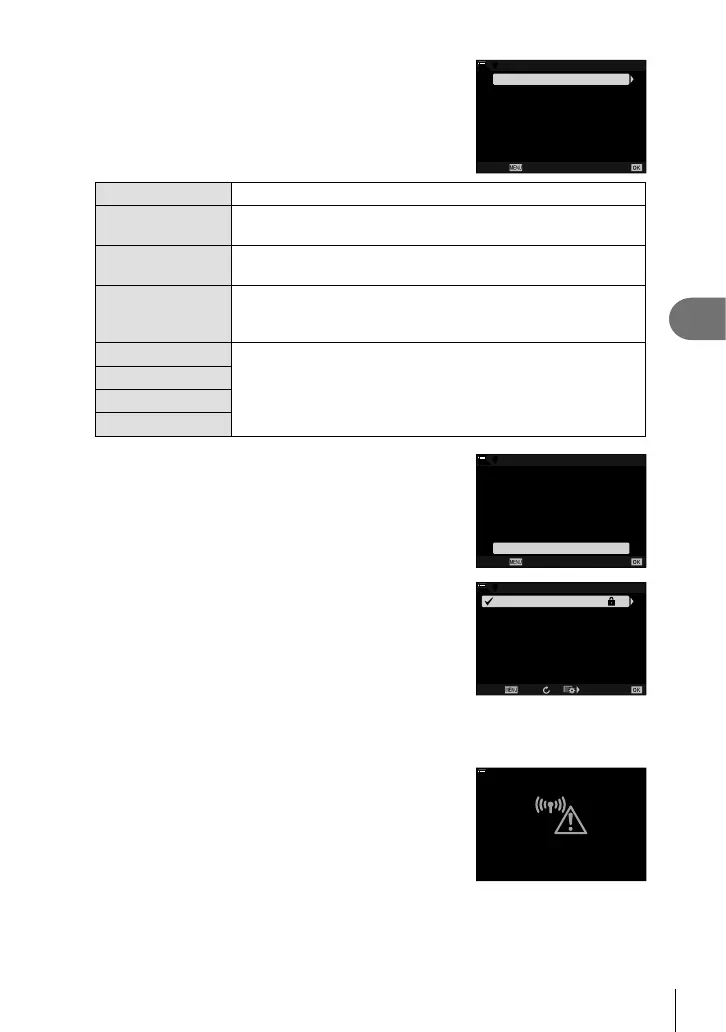
• If the connection fails, the camera will display a
message to that effect, followed by the options shown in
Step 6. Repeat Steps 5–6.
100
%
ww
Connection failed

 Loading...