Chapter 9 Reprocessing the Endoscope (and related reprocessing accessories)
137
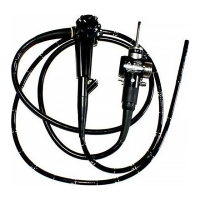
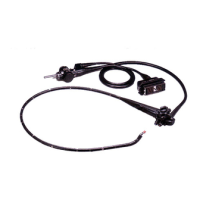
ULTRASOUND GASTROVIDEOSCOPE GF-UCT180
Figure 9.7
3. Confirm that the leakage tester is emitting air by gently depressing the pin
located inside the leakage tester’s connector cap.
4. Attach the leakage tester’s connector cap to either one of the two venting
connectors that are in the water-resistant caps of the video cable connector
and the ultrasonic cable connector (see Figure 9.7).
5. With the leakage tester connected, immerse the entire endoscope in water
and observe for approximately 30 seconds while angulating the bending
section. Confirm that there is no location on the endoscope from that a
continuous series of bubbles emerges.
6. Remove the endoscope from the basin with the leakage tester attached.
7. Turn the maintenance unit or the light source OFF.
8. Detach the leakage tester from the maintenance unit or the light source.
Always detach the leakage tester connector from the light
source or maintenance unit before detaching the leakage
tester’s connector cap from the venting connector. Failure to
do this will not allow the endoscope to depressurize properly.
This may damage the endoscope.
9. Wait 30 seconds, or until the covering of the bending section contracts to its
pre-expansion size. Detach the leakage tester’s connector cap from the
venting connector.
10. Thoroughly dry the leakage tester.
Leakage tester connector
Leakage tester
connector cap
Venting connector
2.
4.
Maintenance unit
or light source
Water-resistant
cap (MH-553)

 Loading...