30
Chapter 3 Preparation and Inspection
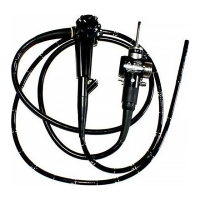
ULTRASOUND GASTROVIDEOSCOPE GF-UCT180
3.2 Inspection of the endoscope
Clean and disinfect or sterilize the endoscope as described in Chapter 7,
“Cleaning, Disinfection, and Sterilization Procedures” and Chapter 11,
“Reprocessing Endoscopes and Accessories Using an AER/WD” of this manual.
Then remove the water-resistant cap from the endoscope connector.
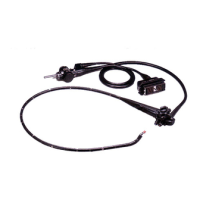
Inspection of the endoscope
1.
Inspect the control section and the endoscope connector for excessive
scratching, deformation, loose parts, or other irregularities.
2. Inspect the boot and the insertion section near the boot for bends, twists, or
other irregularities.
3. Inspect the external surface of the entire insertion section including the
bending section and the distal end for dents, bulges, swelling, scratches,
holes, sagging, transformation, bends, adhesion of foreign bodies, missing
parts, protruding objects, or other irregularities.
4. Gently holding the insertion section with one hand, carefully run your other
hand back and forth over the entire length of the insertion section (see
Figure 3.2). Confirm that no objects or metallic wire protrude from the
insertion section. Also, confirm that the insertion tube is not abnormally rigid.
Figure 3.2

 Loading...