For how to install or upgrade the CX-Drive, refer to the CX-Drive Operation Manual (W453).
The CX-Drive can be connected to the inverter via communication through the Position Control Unit
(Model: CJ1W-NC82) of EtherCAT master, CompoNet Master Unit (Model:
CJ1W-CRM21/CS1W-CRM21), or DeviceNet Unit (Model: CJ1W-DRM21/CS1W-DRM21-V1) mounted
to the programmable controller.
To establish communication connection between the inverter and the CX-Drive through the program-
mable controller, you must configure the following settings in the CX-Drive in advance.
• Select properties of the drive project, and click [Settings] under [Drive Type] to set the option board
type to the inverter communication unit.
• Select properties of the drive project, and select the connection network under [Connection type].
Then, click [Settings] to set the network configuration under the [Network] and the connection method
to connect CX-Drive and PLC under [Gateway PLC].
Configuration
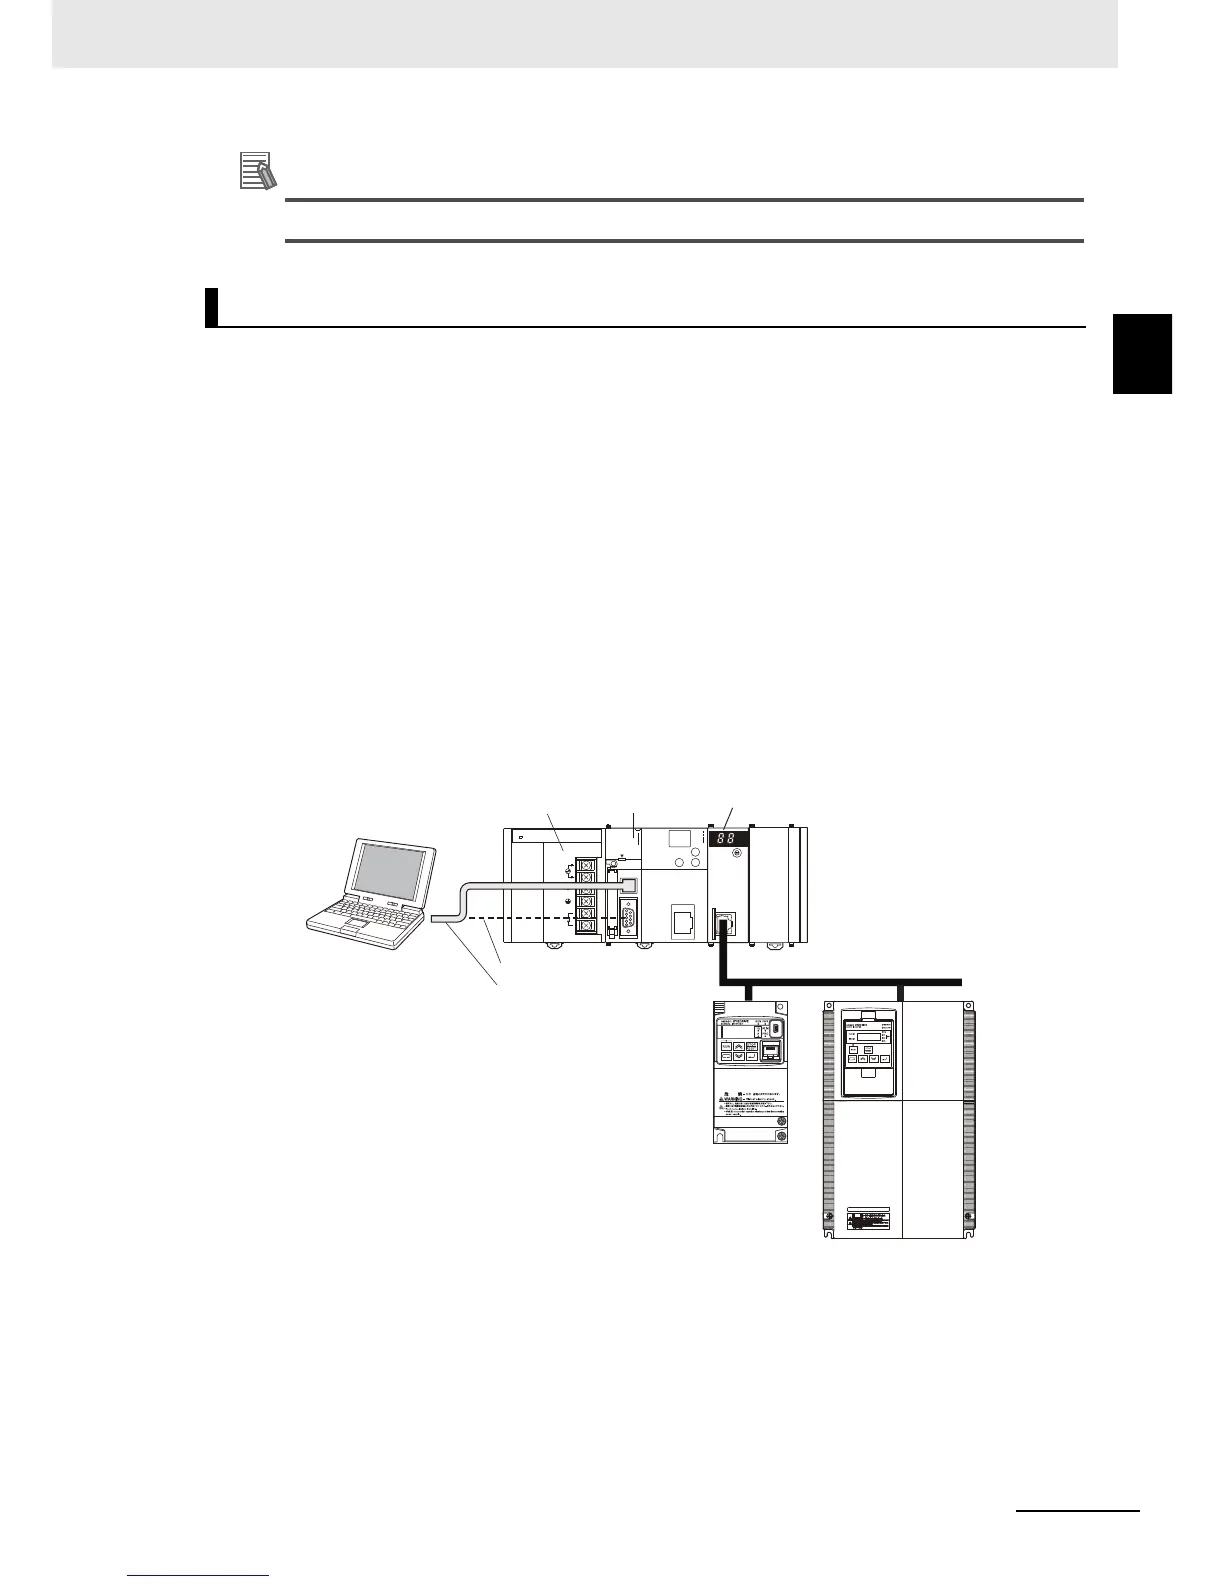
Install the CX-Drive in your Windows personal computer. Connect the computer with the programmable
controller, and go online with the inverter via EtherCAT, CompoNet or DeviceNet communications.
When the online connection is established, you can use the Drive Programming Editor to create user
programs and transfer (download) them to the inverter.
EtherCAT/CompoNet/DeviceNet Communications
CX-Drive
• For peripheral (USB) port connec-
tion, use commercially-available
USB cable.
• For peripheral port connection
Model: CS1W-CN226/-CN626
• For RS-232C port connection
Model: XW2Z-200S-CV/-500S-CV
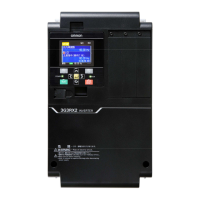
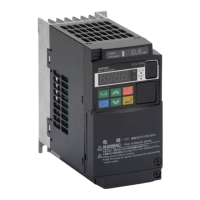
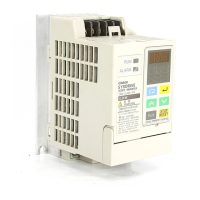
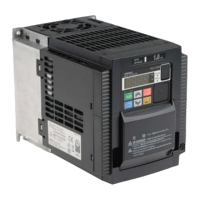
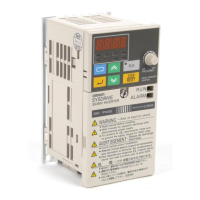
Inverter
and EtherCAT Communication
Unit, CompoNet Communica-
tion Unit, or DeviceNet Commu-
nication Unit
Communication Unit
EtherCAT Unit (Model: CJ1W-NC82)
CompoNet Master Unit (Model: CJ1W-CRM21)
DeviceNet Unit (Model: CJ1W-DRM21)
CJ2 Series
CPU Unit
Power supply unit
EtherCAT/CompoNet/DeviceNet
RS-232C port connection
Peripheral (USB) port
connection
 Loading...