173
Temperature Input Units Section 6-4
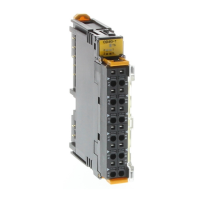
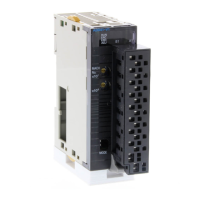
■ GRT1-TS2P
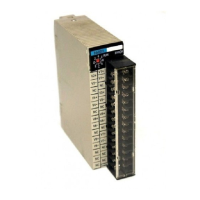
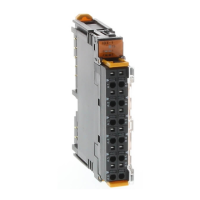
■ GRT1-TS2PK
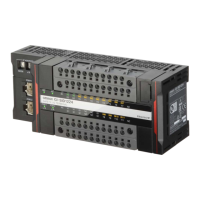
■ GRT1-TS2T
Note 1. Use the Setting Tool to make the setting if an input type other than those
listed above will be used (GRT-TS2T only).
2. Always set Pin 4 to ON if the DIP switch is to be used to set the input type.
If this pin is OFF, the DIP switch settings will not be enabled.
3. The DIP switch settings are read when the power is turned ON.
4. If pin 4 is set to ON, you will not be able to set any functions, including the
input type, from the Setting Tool. Always set pin 4 to OFF when using the
Setting Tool.
Setting Procedure (Example: DeviceNet Configurator)
1,2,3... 1. In the Network Configuration Window for the Slice I/O Terminal, dou-
ble-click the icon of the Slice I/O Terminal that is to be set. Alternatively,
right-click the icon and select Parameters - Edit. The Edit Device Param-
eters Window will be displayed.
2. Select the Temperature Input Unit to be edited from the I/O Module Tab
Page.
3. Click the Edit Button on the I/O Module Tab Page. The Edit Unit Parame-
ters Window will be displayed.
4. Select the tab page for the input where the input type is to be changed.
SW1 SW2 Input type
OFF OFF PT100 (−200 to 850°C)
OFF ON PT100 (−200 to 200°C)
SW1 SW2 Input type
OFF OFF PT1000 (−200 to 850°C)
OFF ON PT1000 (−200 to 200°C)
SW1 SW2 Input type
OFF OFF R
ON OFF S
OFF ON K (−200 to 1,300°C)
ON ON J (−100 to 850°C)
 Loading...