221
Temperature Input Units Section 6-4
Adjustment Device Connection Diagram
Connect the six-dial resistance box to the input terminals. In the following
example, the device is connected to input 0, but connect to the input 1 termi-
nals when adjusting input 1.
Note (1) When connecting the six-dial resistance box, use a cable with the same
gauge as the one that will be used for operation.
(2) The personal computer running the Configurator is connected through
DeviceNet in the above diagram. If a CS1W-DRM21 or CJ1W-DRM21 is
being used, the Configurator can also be connected through the Master
Unit using a peripheral bus connection. Refer to 5-1 Switching between
Online and Offline in the DeviceNet Configurator Operation Manual (Cat.
No. W382) for details.
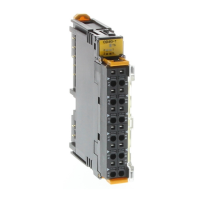
DeviceNet
GRT1-TS2P or
GRT1-TS2PK
Setting Tool
Six-dial resistance box:
Connect to the input terminals of the
input being adjusted.
Precision digital multimeter (DMM):
Use to confirm that the six-dial resistance
box is providing an accurate resistance.
SHT
0A
SHT
0B
NC
0A
0B
0B
NC
SHT
1A
SHT
1B
1A
1B
1B
Six-dial resistance box
 Loading...