222
Temperature Input Units Section 6-4
Checking the Wiring and
Making Adjustments
■ Adjusting the Upper and Lower Limit Values
1,2,3... 1. Set the resistance value on the six-dial resistance box equivalent to the
test value and properly wire the box to the input of the Temperature Input
Unit that is being adjusted.
2. If the correct resistance cannot be obtained, properly wire the digital mul-
timeter to the six-dial resistance box and measure the resistance.
3. Connect the Configurator to the DeviceNet network and go online.
4. Upload settings to the Configurator.
5. Turn ON the power supplies of all Units, including the Temperature Input
Unit to be adjusted. Wait approximately 30 minutes for the Temperature In-
put Unit’s internal temperature to stabilize.
6. Double-click the icon of the Temperature Input Unit to be set in the window
to open the Edit Unit Parameters Window. (From the Maintenance Mode
Window, click the right mouse button over the icon and select Parameters
- Edit.)
7. Select the tab page for the input that will be adjusted and click the Adjust-
ment Button to open the Adjustment Window.
8. Adjust the lower limit value (lower adjusting value). Refer to the following
table for the appropriate resistance to input from the six-dial resistance box
to the Temperature Input Unit’s input terminals. Wait at least 1 minute for
the input to stabilize.
Model Input type Lower limit
adjustment input
resistance
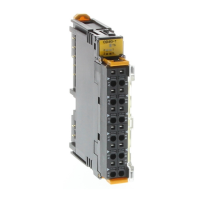
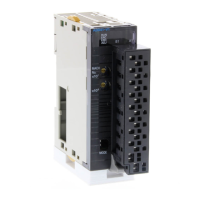
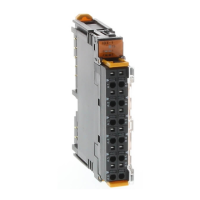
GRT1-TS2P
PT100 (
−200 to 850°C)
18 Ω
PT100 (
−200 to 200°C)
18 Ω
GRT1-TS2PK
PT1000 (
−200 to 850°C)
180 Ω
PT1000 (
−200 to 200°C)
180 Ω
 Loading...