4. HW Installation
4.1. Overview
For a successful installation the following steps will be required:
•
Mount the components
•
Setup the software
In the following sections, these installation steps will be described.
4.2. Robot Mount
1. Mount the robot-specific adapter (if applicable)
2. Mount any optional accessories
3. Mount the Quick Changer option
4. Mount the tool(s) (if applicable)
4.2.1. Quick Changer Mounting
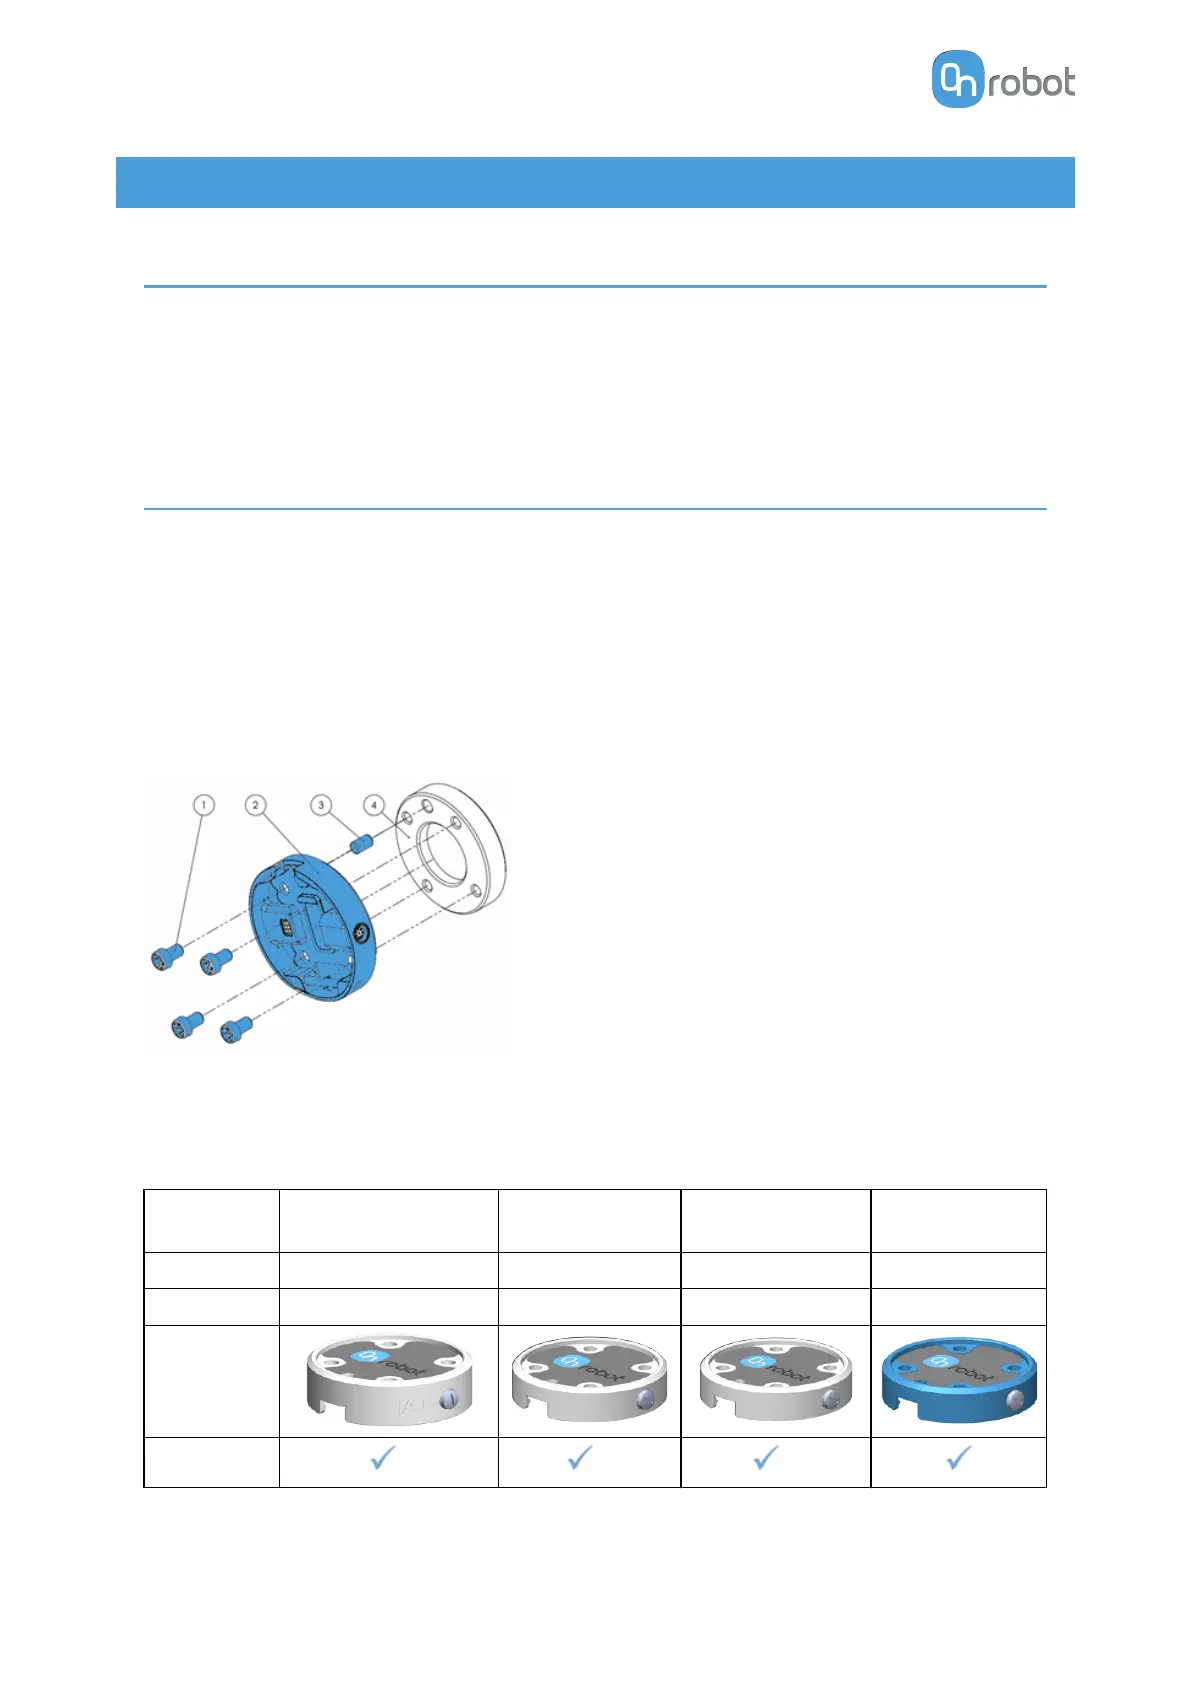
4.2.1.1. Quick Changer - Robot Side
Quick Changer - Robot Side
1. M6x8mm (ISO14580 8.8)
2. Quick Changer (ISO 9409-1-50-4-
M6)
3. Dowel pin Ø6x10 (ISO2338 h8)
4. Adapter/ Robot tool flange (ISO
9409-1-50-4-M6)
Use 10 Nm tightening torque.
4.2.1.2. 2FGP20
When using the tool connector:
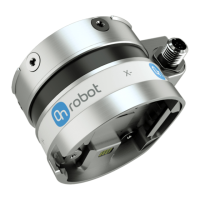
Name
Quick Changer I/O
support – Robot Side
Quick Changer -
Robot Side
Quick Changer -
Robot Side 4.5A
Quick Changer -
Robot Side
Item # 102326 102037 104277 109498
Version QC-R – I/O QC-R v2 QC-R v2-4.5 QC-R v3
Illustration
Compatibility
* ** **
HW INSTALLATION
12