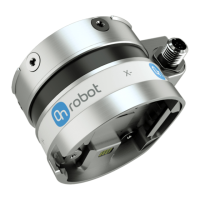
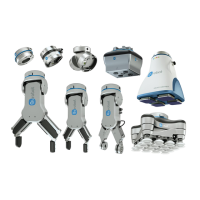
Here the actual mounting can be selected to set up the TCP correctly. The dierent options
are:
•
Standard: Device with only four cups attached to it. This selection will set the TCP at the
center of the end side of the cups (see table below).
•
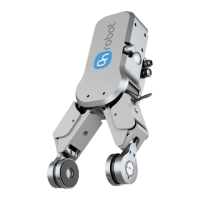
Pipe + Cup: Device with the extension pipe with a cup placed in the right side using the
letter A as reference. This selection will set the TCP at the end of the cup placed on the
extension pipe (see table below).
•
Adaptor + Cups: Device with the adaptor with cups. This adaptor allows to create several
configurations. This selection will set the TCP at the center of the end side of the cups,
considering also the adaptor height (see table below).
•
Adaptor + Pipe + Cup: Device with the adaptor with the extension pipe in the middle with
a cup. This selection will set the TCP at the end of the cup placed on the extension pipe
(see table below).
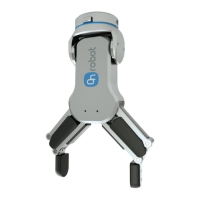
•
For customization: Device with no attachments on. This selection will set the TCP at the
center of the bottom side of the device (see table below). This option is useful when the
user utilizes a customized
configuration and, to edit the oset of the TCP, wants to start by
having a reference at the end of the device with no attachments on.
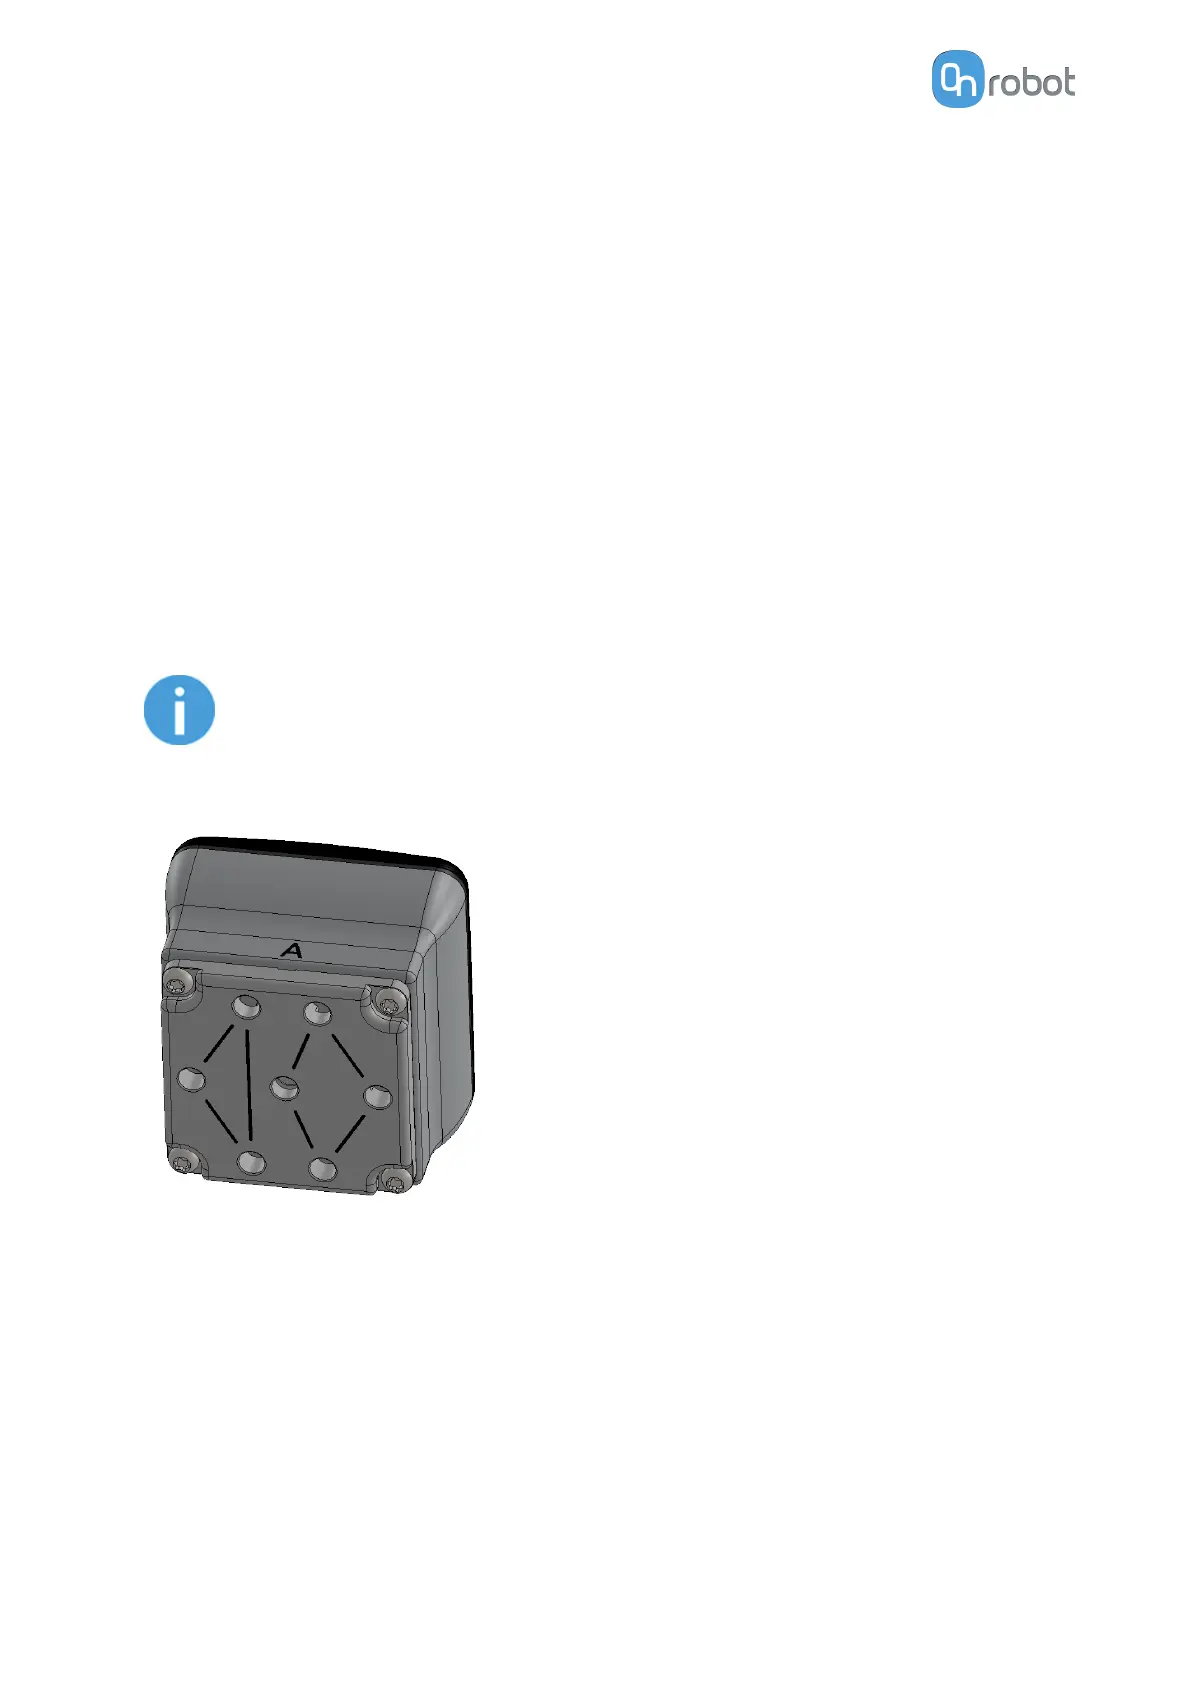
NOTE:
A higher flow can be achieved, by combining both channels, if the adaptor
place is mounted 90º rotated as shown in the picture below. See more info in
subsection Adaptor Plate.
The table below provides an overview of the dierent attachment combinations, the TCP
values that will be set in the robot and an image with a visual representation of the TCP
location.
SW INSTALLATION
58