Install DIMMs
68 Oracle Database Appliance Service Manual • February 2016
b.
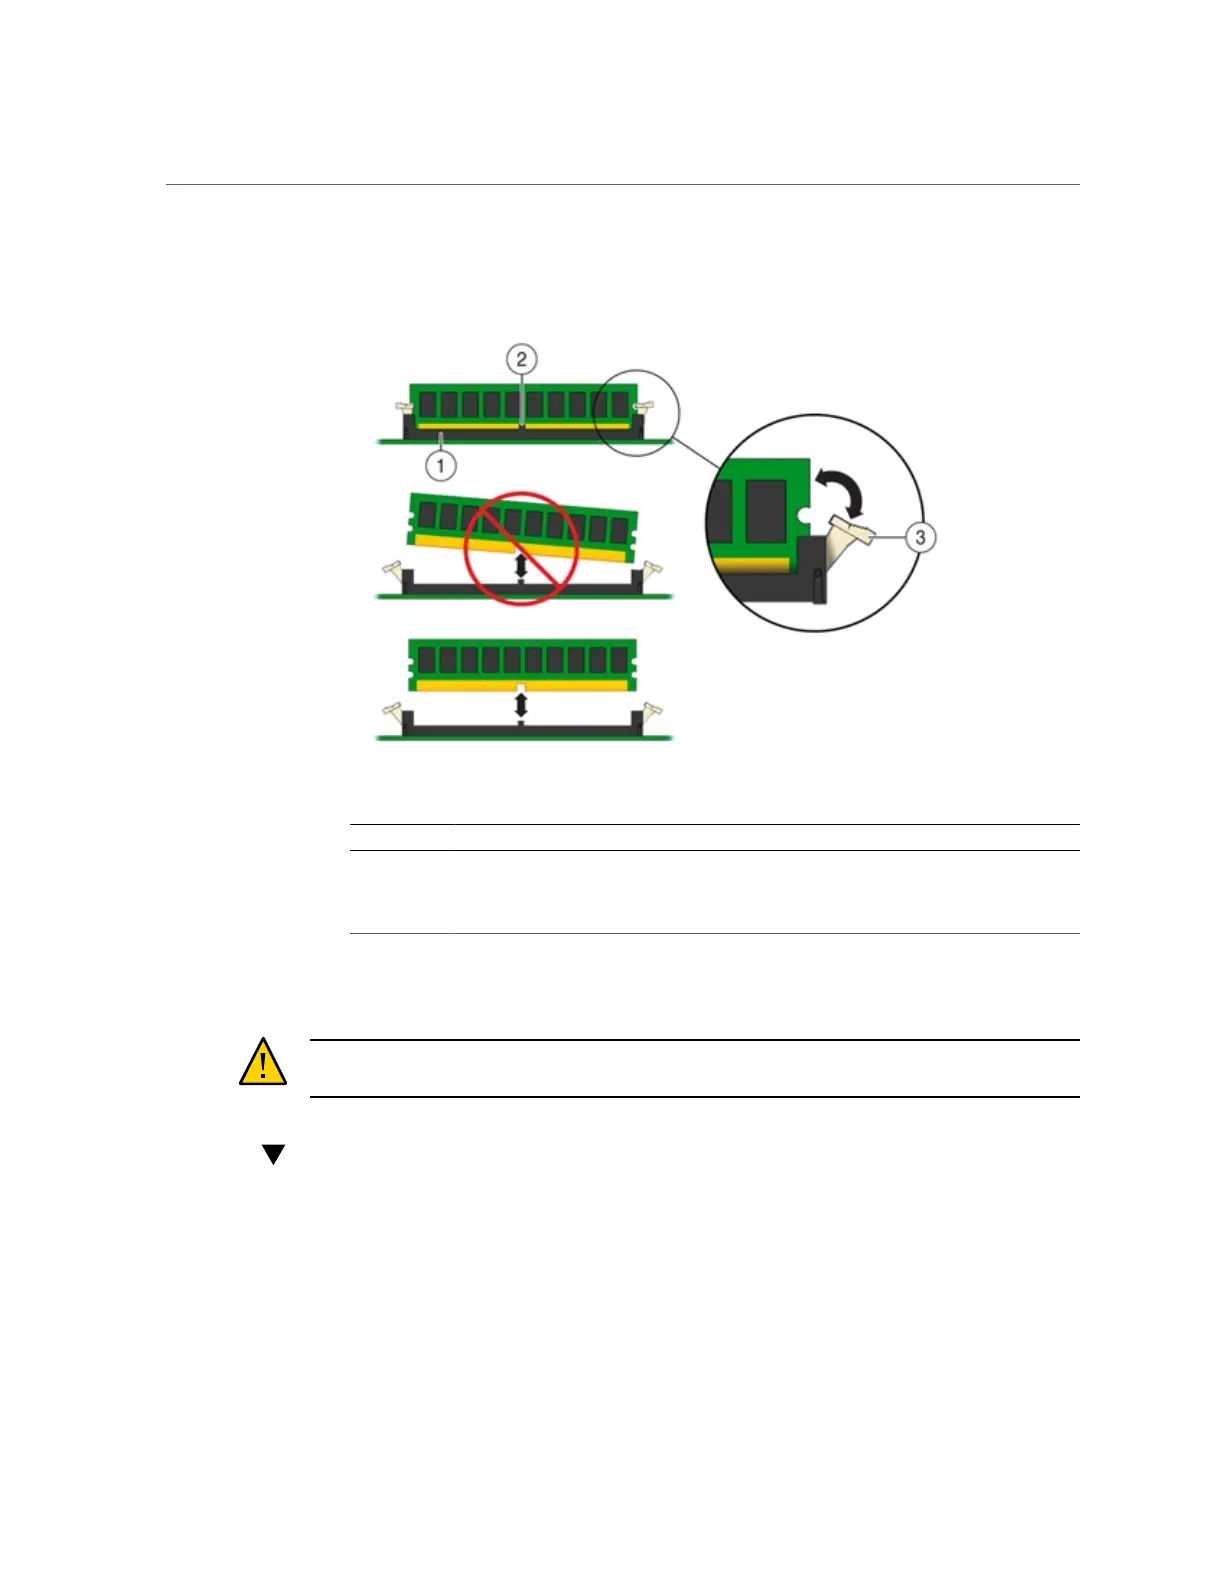
Carefully lift the DIMM straight up to remove it from the socket.
Callout Description
1 DIMM connector slot
2 DIMM connector key
3 DIMM ejector lever
4.
Replace each faulty DIMM with either another DIMM of the same rank size.
For DIMM replacement instructions, see “Install DIMMs” on page 68.
Caution - Do not operate the system with an empty DIMM slot. If you remove a DIMM, you
must replace it before starting the server.
Install DIMMs
1.
Unpack the replacement DIMMs and place them on an antistatic mat.
2.
Ensure that the replacement DIMMs match the system requirements.
The system supports only 1333 MHz or 1600 MHz DDR3, 8GB, dual rank DIMMs obtained
from Oracle.