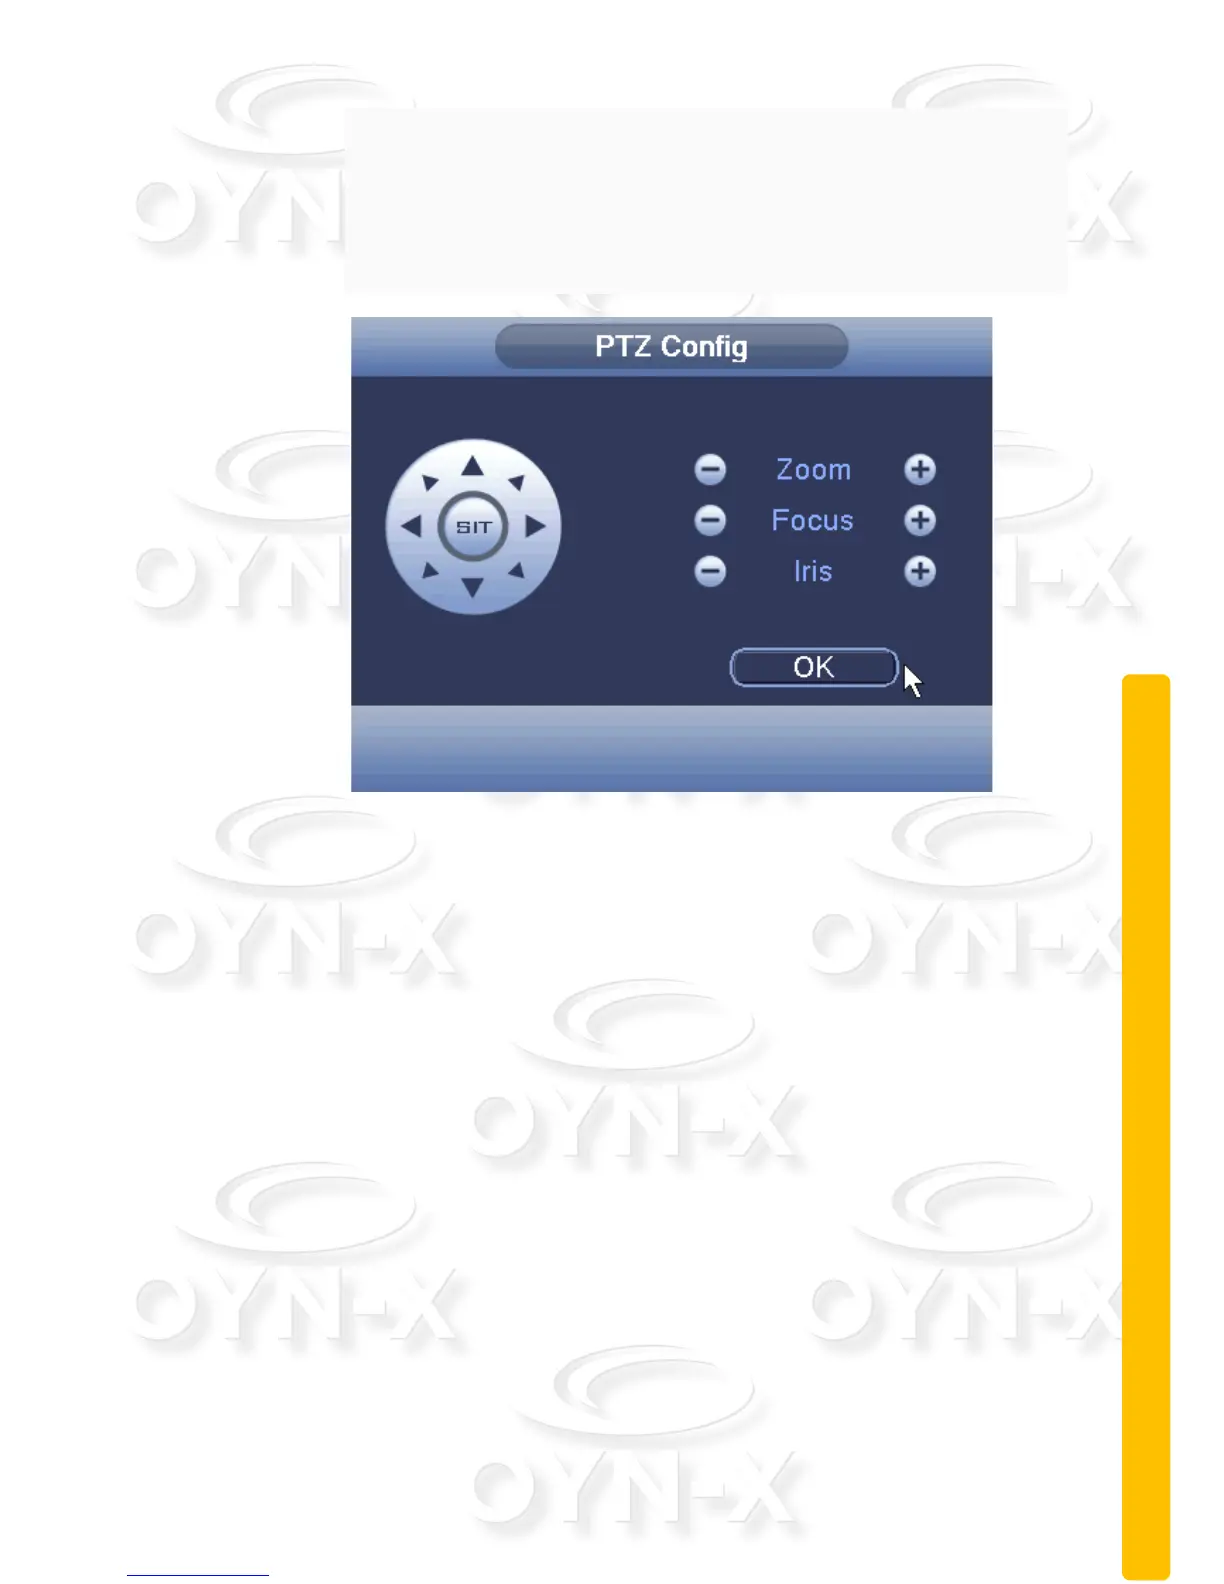
Step 3: In Figure 2.16, you can set the following items: Zoom, Focus
and Iris,
Step 4: Click the OK button to enter the menu shown in Figure 2.13.
Click the right mouse button again, enter Figure 2.12.
Figure 2.16 Scan Setup
Scan Calls: In figure 2.12, click Page Shift button, then enter PTZ
control menu as shown in Figure 2.13. Please input the number of the
scan in the input field, then click Scan button,PTZ begins to work on
the scan line. Click Stop button to stop.
3. Boundary Scan
You can set the PTZ to scan around a boundary line continuously.
Boundary Scan setup
To set the PTZ to perfom a repeated boundary curve tour see steps
below:
Step1:In figure 2.12, click the ‘Advanced’ button to turn the PTZ to a
preset direction;
Step2:In figure 2.17, use the directional controls to point the PTZ
camera to a desired secondary point.