6. Recording Images that Suit Your Subjects and Purposes
138
7
Touch [ ] to end the recording.
• It can also be ended by selecting [Stop Motion Animation]
from the [Rec] menu and then pressing [MENU/SET].
• When [Auto Shooting] is set to [ON], select [End] on the
confirmation screen.
(If [Pause] has been selected, press the shutter button fully
to resume the recording.)
• After the recording stops, a confirmation screen will be displayed, asking whether to
proceed to create a motion picture.
To create a motion picture, select [Yes].
8
Select the methods for creating a motion picture.
• The recording format is set to [MP4].
9
Press 3/4 to select [OK] and then press [MENU/SET].
• You can also create motion pictures using [Stop Motion Video] in the [Playback] menu.
(P225)
∫ Adding pictures to the Stop Motion Animation group
Selecting [Additional] in step
3 will display group pictures recorded with [Stop Motion
Animation].
Select a set of group pictures, and then press [MENU/SET].
Recording materials skilfully
• The recording screen displays up to two pictures taken previously. Use them as
reference for the amount of movement.
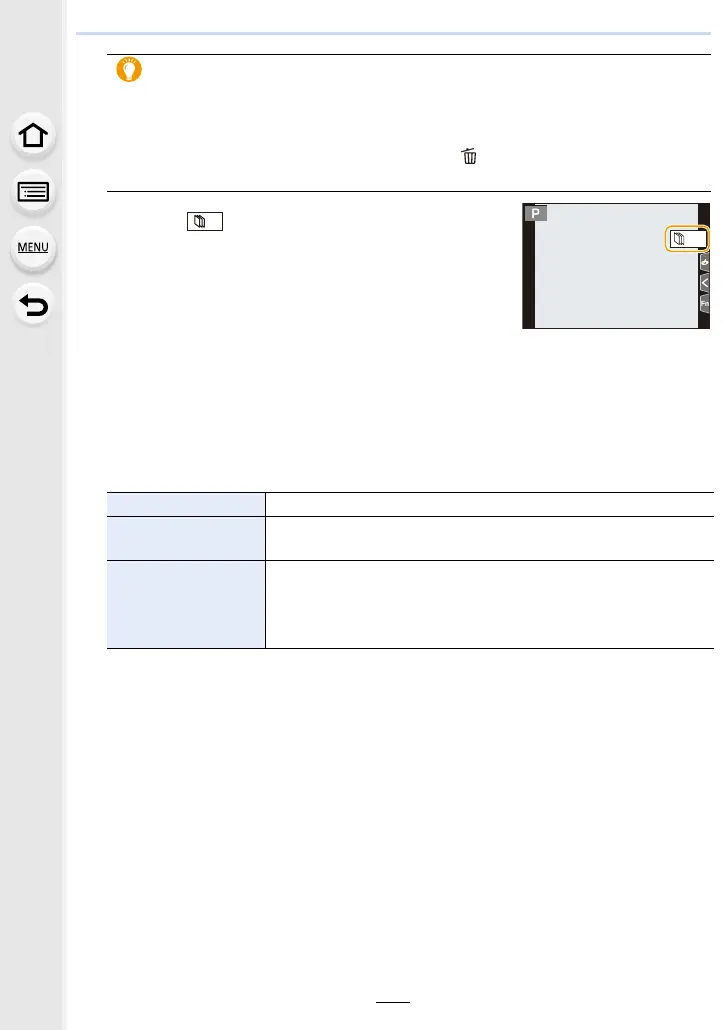
• To check the recorded pictures, press [(].
Unnecessary pictures can be deleted by pressing [ ].
To return to the recording screen, press [(] again.
[Rec Quality] Sets the quality of a motion picture.
[Frame Rate]
Sets the number of frames per second.
The larger the number is, the smoother the motion picture will be.
[Sequence]
[NORMAL]:
Splices pictures together in recording order.
[REVERSE]:
Splices pictures together in reverse recording order.
 Loading...