Chapter 3 Basic Operations — Operating with the remote control
62 - ENGLISH
Switching the input signal
The input for projection can be switched.
button
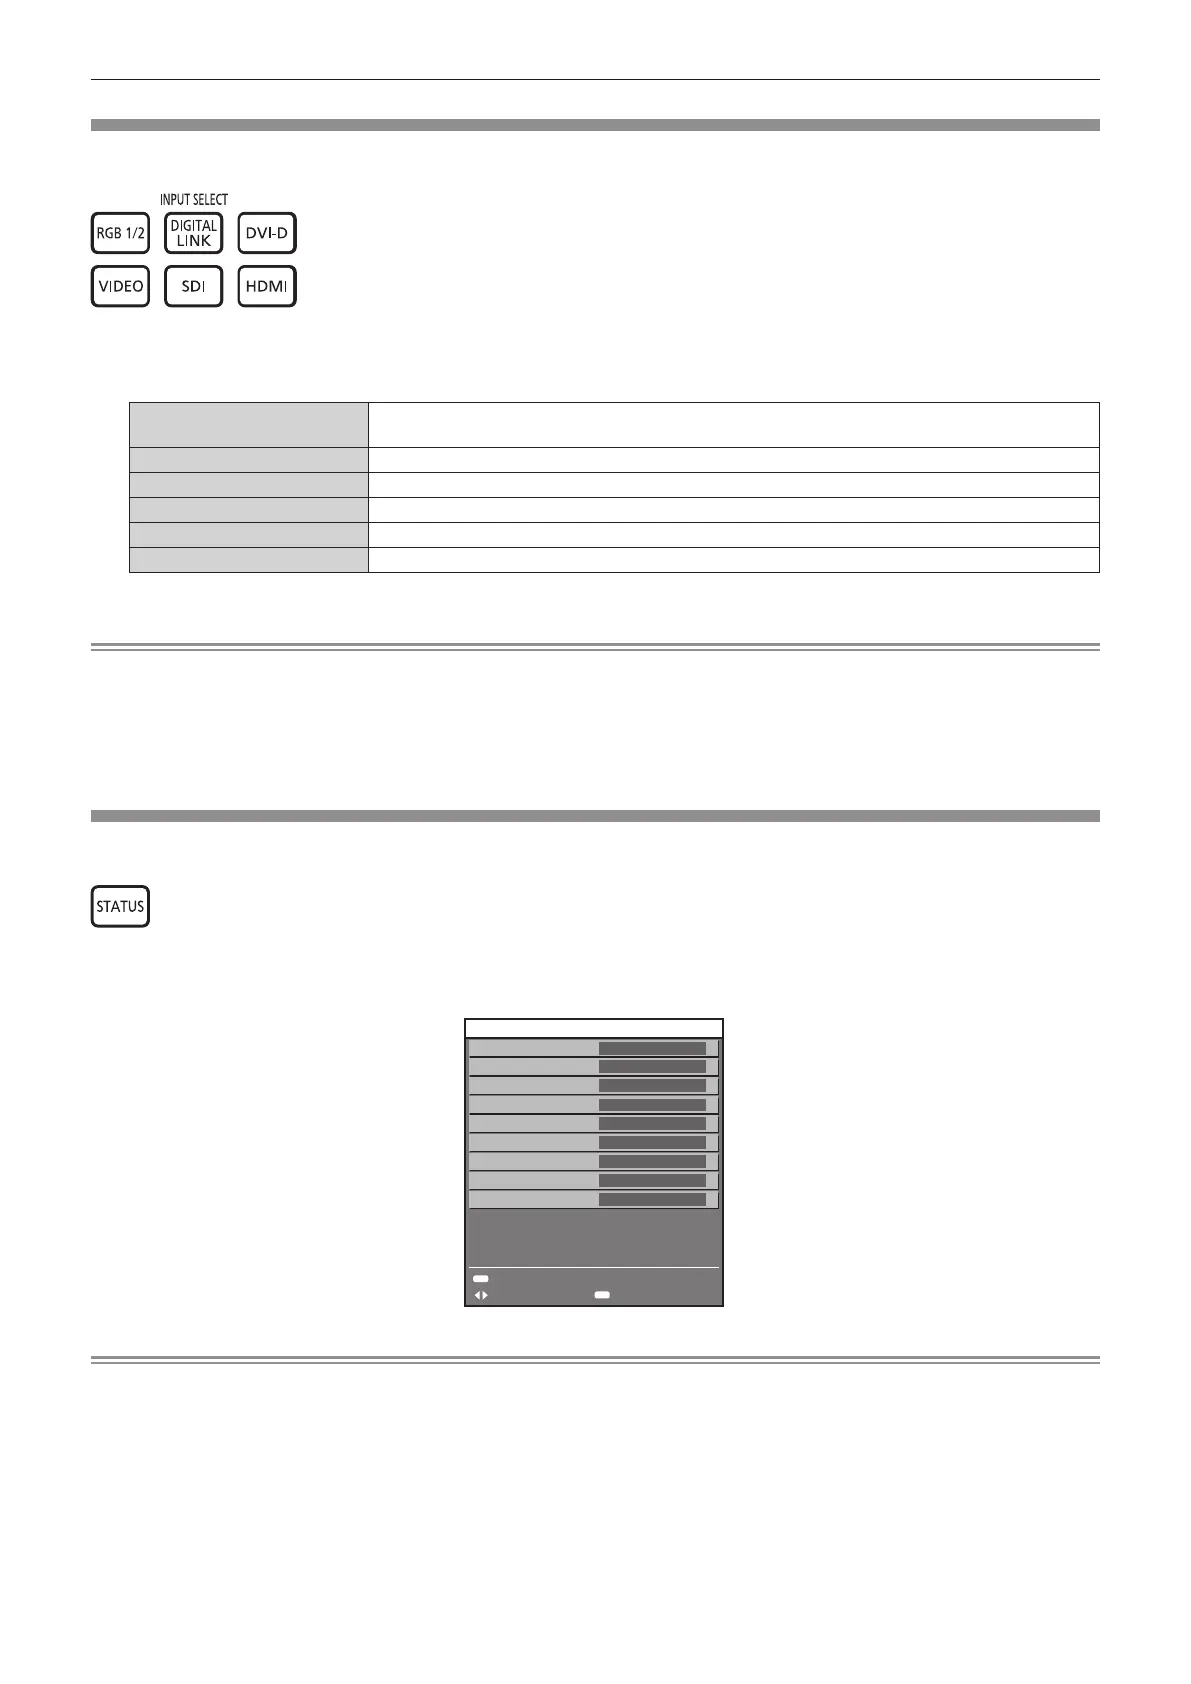
1) Press the input selection (<RGB1/2>, <DIGITAL LINK>, <DVI-D>, <VIDEO>, <SDI>, <HDMI>) buttons.
f This operation can be also performed using the buttons on the control panel.
<RGB1/2>
Switches the input to RGB1 or RGB2. Switches to another input when one input has already been
chosen.
<DIGITAL LINK> Switches the input to DIGITAL LINK.
<DVI-D> Switches the input to DVI-D.
<VIDEO> Switch the input to VIDEO.
<SDI>
*1
Switches the input to SDI.
<HDMI> Switch the input to HDMI.
*1 Only for PT-DZ870E
Note
f When the optional Digital Interface Box (Model No.: ET-YFB100G) is connected to the <DIGITAL LINK/LAN> terminal, the ET-YFB100G
input changes with each press of the <DIGITAL LINK> button. The ET-YFB100G input does not change when 3D signals are input from
ET-YFB100G. In such a case, either change the input signal from 3D to 2D or change the input using the button on ET-YFB100G. The input
can also be changed using the control command of RS-232C.
For twisted-pair-cable transmitters of other manufacturers, switch the input on the projector to DIGITAL LINK, and then switch the input on
the twisted-pair-cable transmitter.
Using the status function
You can display the status of the projector.
button
1) Press the <STATUS> button.
f The [STATUS] screen is displayed.
RGB2
SXGA60+-A1
65.22kHz/ 59.99Hz
1h
11h/ ON/
1h/ ON/
31°C/ 87°F
27°C/ 80°F
31°C/ 87°F
1/5
SEND STATUS VIA E-MAIL
CHANGE EXIT
STATUS
INPUT
SIGNAL NAME
SIGNAL FREQUENCY
PROJECTOR RUNTIME
LAMP1
LAMP2
INTAKE AIR TEMP.
OPTICS MODULE TEMP.
AROUND LAMP TEMP.
ENTER
MENU
Note
f This can be displayed from the [PROJECTOR SETUP] menu → [STATUS] (x page 119).

 Loading...