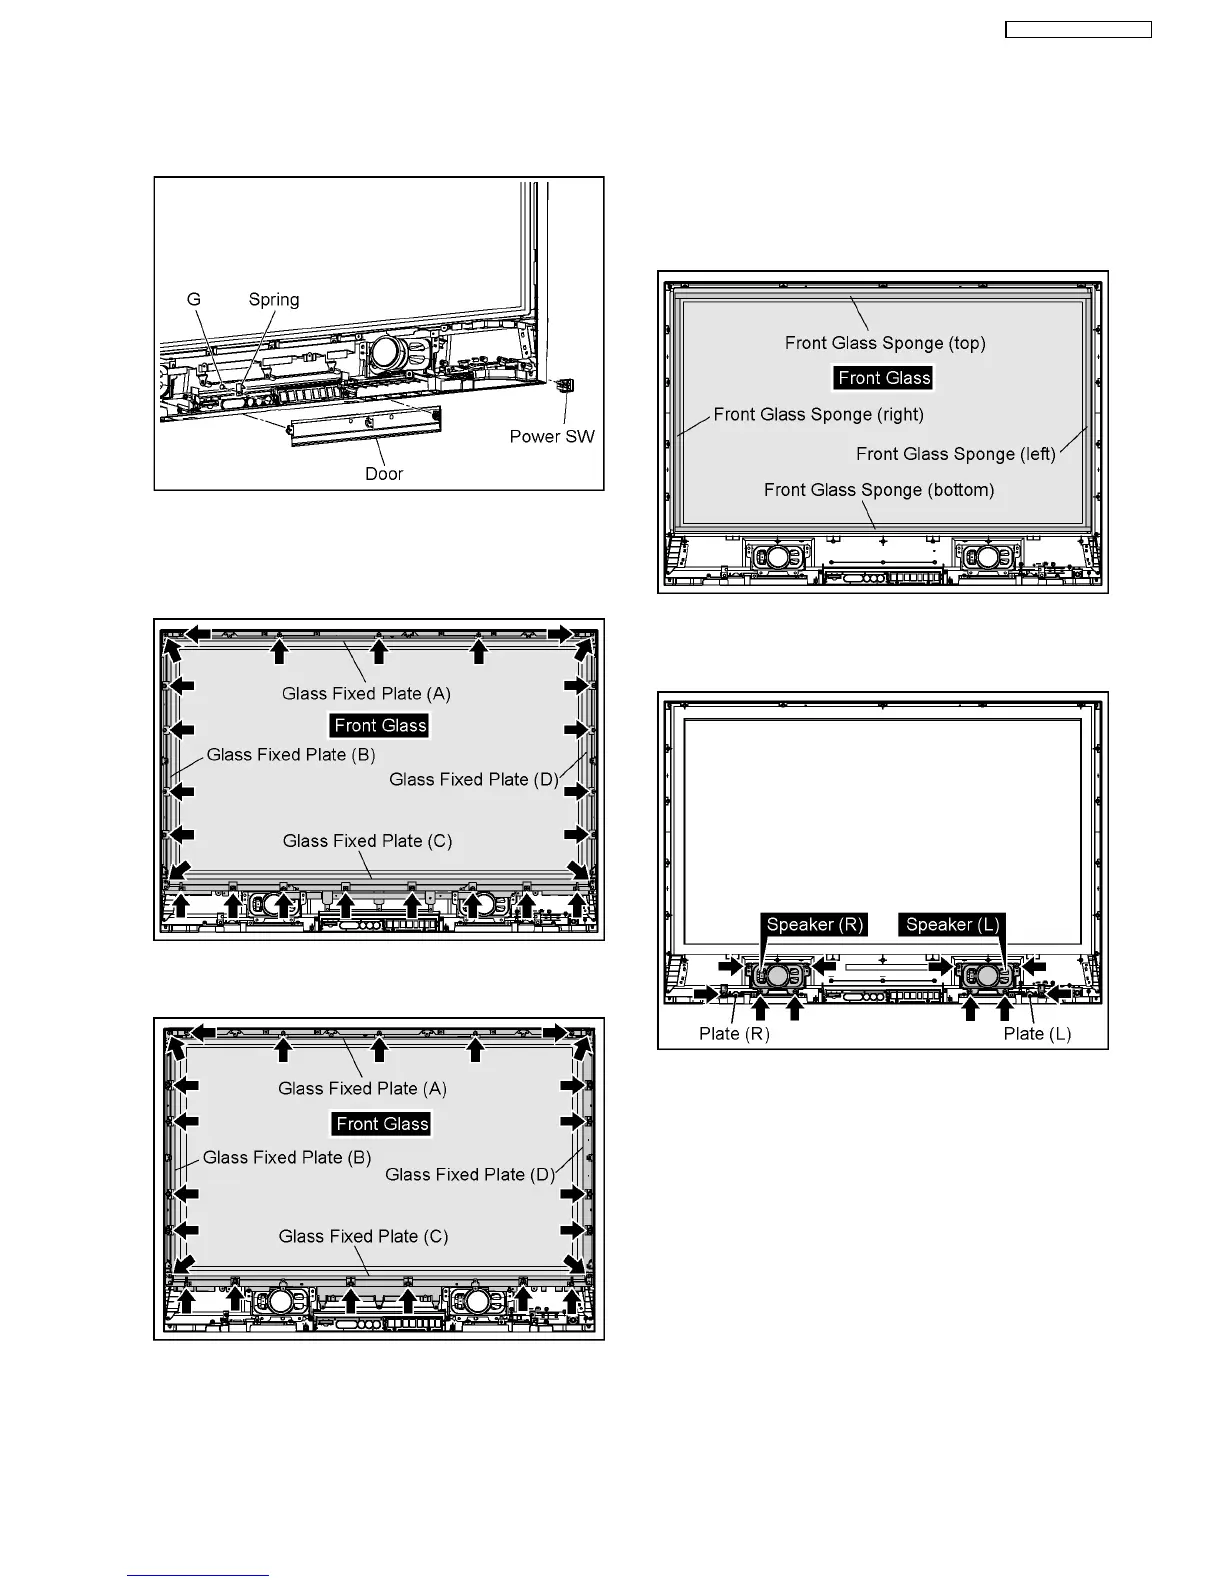
9. Remove the 1 screw(G) and then remove the Spring.
10. Remove the 3 hooks and then remove the Door.
11. Remove the 4 hooks and then remove the Power SW.
12. Remove the each screws and then remove the Glass Fixed
Plate (A, B, C, D).
·
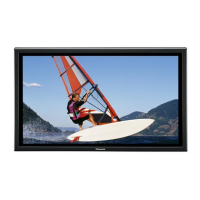
TH-42PG9W
Removed number of screws: 25
·
TH-37PG9W
Removed number of screws: 23
Note: when Front Glass is removed
·
Each Front Glass Sponge must be stuck along the
edge of Fixed Angle.
Note
·
The sponges are parts which cannot be recycled.
Please use the new article when you exchange the
Front Glass.
13. Remove the each 1 screw and then remove the Plate(L, R).
14. Remove the each 4 screws and then remove the Speaker
(L, R).
15. Remove the Escutcheon.
17
TH-37PG9W / TH-42PG9W