SEBU8603-01 83
Maintenance Section
Cooling System Coolant (ELC) - Change
Flush
1. Flush the cool
ing system with clean water in order
to remove any debris.
2. Close the drai
n cock or install the drain plug in the
engine. Close the drain cock or install the drain
plug on the radiator.
NOTICE
Do not fill the cooling system faster than 5 L
(1.3 US gal) per minute, in order to avoid air locks.
Cooling system air locks may result in engine damage.
3. Fill the co
oling system with clean water. Install the
cooling system filler cap.
4. Start and
run the engine at low idle until the
temperature reaches 49 to 66 °C (120 to 150 °F).
5. Stop the
engine and allow the engine to cool.
Loosen the cooling system filler cap slowly in
order to relieve any pressure. Remove the cooling
system fi
ller cap. Open the drain cock or remove
the drain plug on the engine. Open the drain cock
or remove the drain plug on the radiator. Allow
the wat
er to drain. Flush the cooling system with
clean water.
Fill
1. Close
thedraincockorinstallthedrainplugonthe
engine. Close the drain cock or install the drain
plug on the radiator.
NOTI
CE
Do not fill the cooling system faster than 5 L
(1.3 US gal) per minute, in order to avoid air locks.
Cooling system air locks may result in engine damage.
2. Fil
l the cooling system with Commercial
Heavy-Duty Coolant. Add Supplemental Coolant
Additive to the coolant. For the correct amount,
re
fer to the Operation and Maintenance Manual,
“Fluid Recommendations” topic (Maintenance
Section) for more information on cooling system
sp
ecifications. Do not install the cooling system
filler cap.
3
.
S
tart and run the engine at low idle. Increase
the engine rpm to high idle. Operate the engine
in order to open the engine thermostat. This
p
rocedure will allow any air in the system to be
purged. Decrease the engine speed to low idle.
Stop the engine.
4. Maintain the co
olant level at the maximum mark
that is correct for your application.
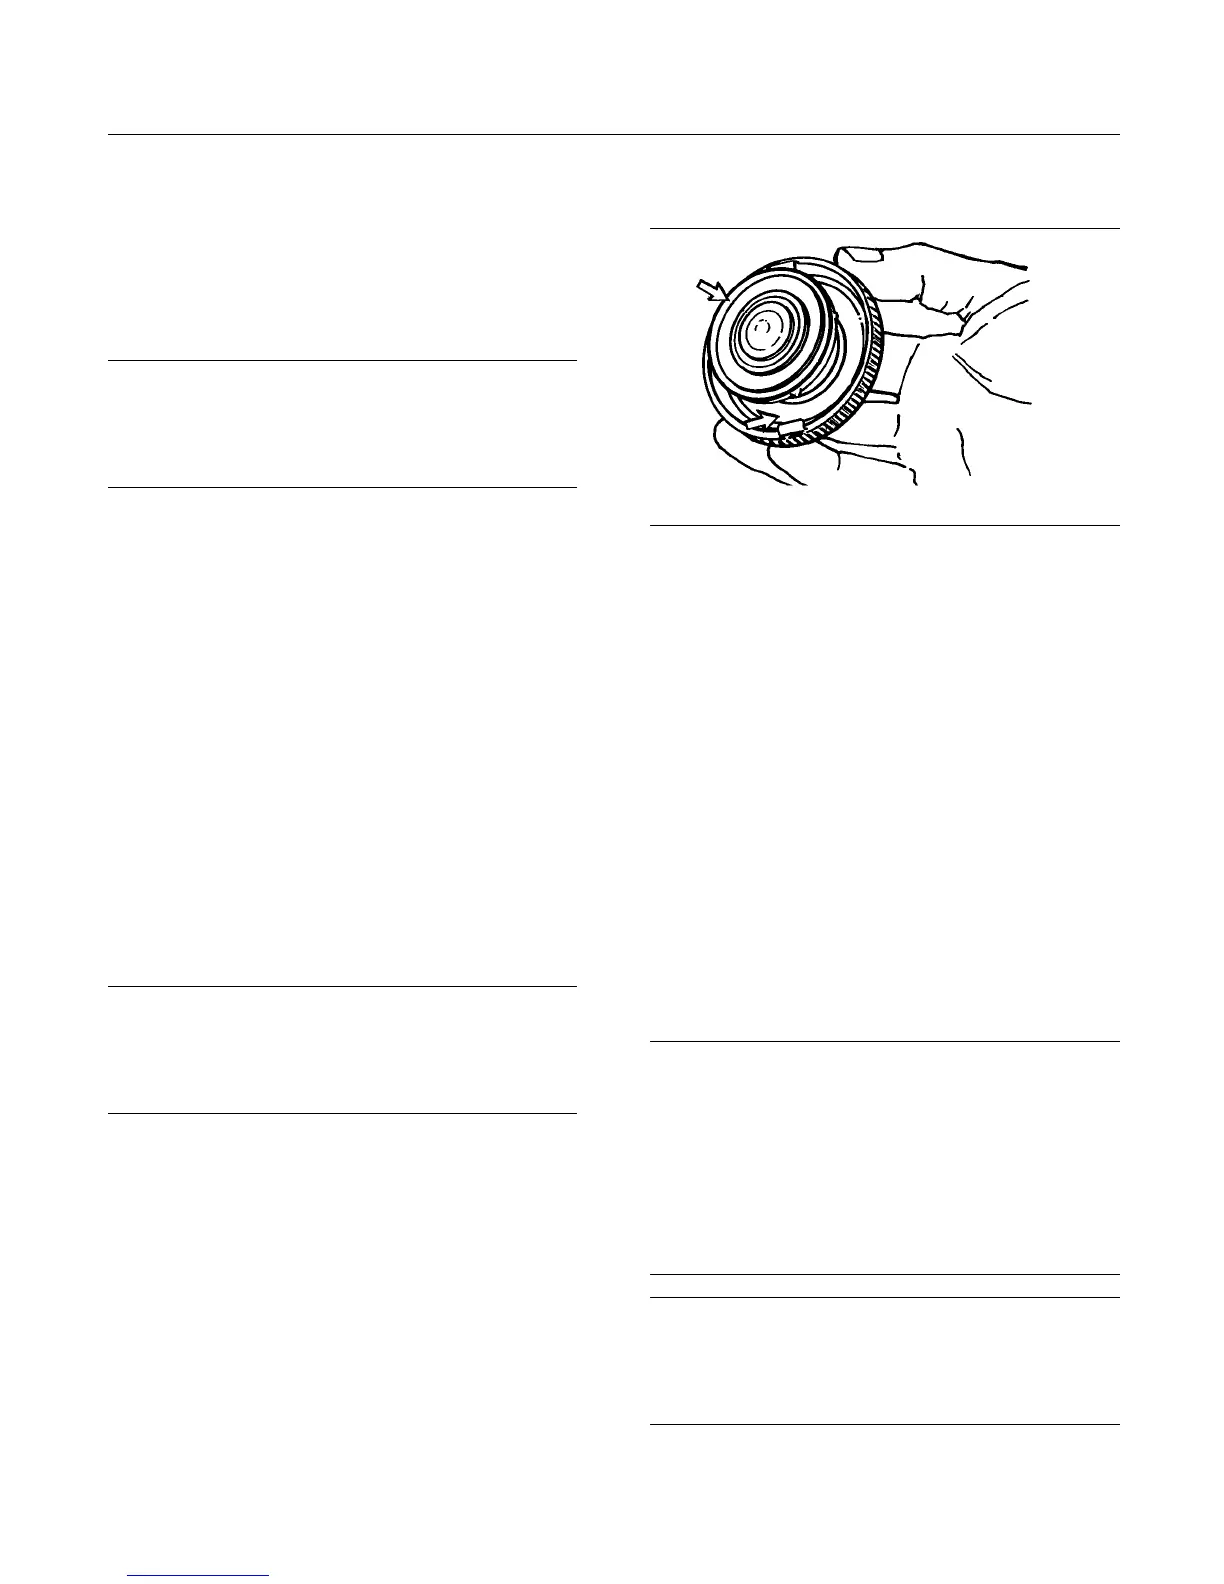
g00103639
Illustration 43
Filler cap
5. Clean the cooling system filler cap and inspect the
gasket. If the gasket is damaged, discard the old
filler cap and install a new filler cap. If the gasket
is not damaged, use a suitable pressurizing pump
in order to pressure test the filler cap. The correct
pressure is stamped on the face of the filler cap. If
the filler cap does not retain the correct pressure,
install a new filler cap.
6. Start the engine. Inspect the cooling system for
leaks and for correct operating temperature .
i04007109
Cooling System Coola nt (ELC)
-Change
NOTICE
Care must be taken to ensure that fluids are contained
during performance of inspection, maintenance, test-
ing, adjusting and repair of the product. Be prepared to
collect the fluid with suitable containers before open-
ing any compartment or disassembling any compo-
nent containing fluids.
Dispose of all fluids according to Local regulations and
mandates.
N
OTICE
Keep all parts clean from contaminants.
C
ontaminants may cause rapid wear and shortened
component life.
Clean the cooling system and flush the cooling
system before the recommended maintenance
interval if the following conditions exist: