4-24
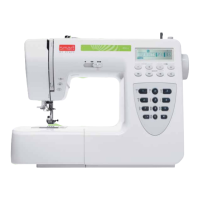
4. Operate the multi-color touch screen
Touch to confirm your selection, it appears in the
sewing sequence sceen.
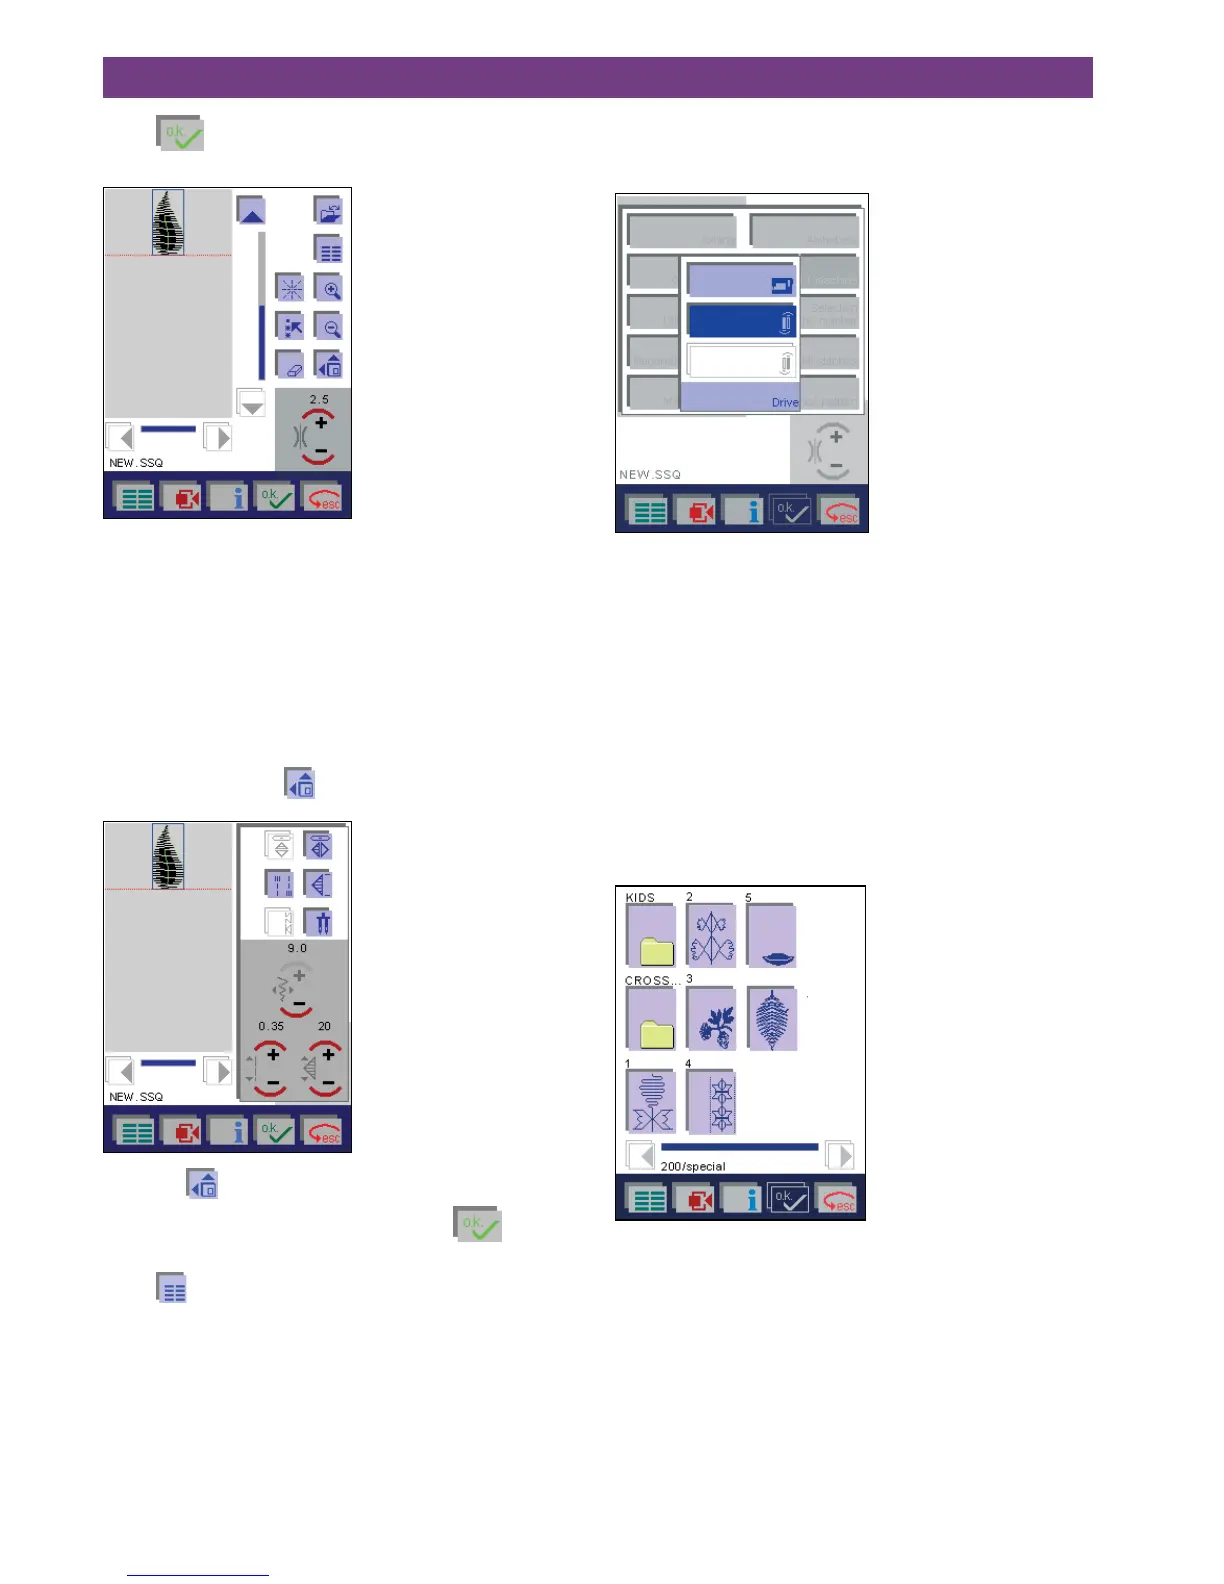
When you open the sewing sequence screen, the most
important settings are visible and selectable.
A cursor line shows the end of the sewing sequence where
all further stitches are added.
If you wish to continue working with a stitch, move the cur-
sor line over the stitch to select it.
A selected stitch is shown surrounded by a frame in the
sewing sequence.
More options for adjusting a sewing sequence are
accessed by touching
.
Touch the
icon again to close the selection.
If you wish to repeat the same stitch, touch
. It
appears directly on the screen.
Touch
on the sequence screen to call up each additio-
nal stitch that you wish to include in the sewing sequence.
The variant of the main menu appears again to enable you
to select each additional stitch.
• If you wish to include other stitches from the machine’s
memory, proceed as described above.
• If you wish to combine stitches from the machine’s me-
mory, a creative card or a creative memory card, touch
”Card / machine”.
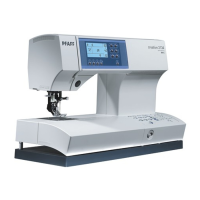
Select a stitch from a card
The following window appears when you touch
”Card / machine”
Touch the proper card drive.
The procedure for selecting a stitch/pattern from the
machine’s memory or from a creative card is the same.
Selecting a stitch/design that is stored on a card:
You can only select stitches that can be included in a sew-
ing sequence. Embroidery designs, embroidery alphabets
or embroidery monograms cannot be used.
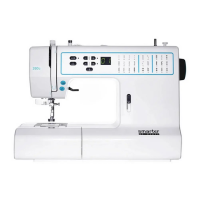
The content of the entire creative card is opened.
• Stitches appear directly on the screen.
• If the content on the card is arranged in different direc-
tories, these are shown as folders.
You can browse one column at a time with the cursor
arrows. Touch a folder to see its content.
When you open the directory where the stitches are stored,
or touches a stitch to include it in your sewing sequence, a
menu to adjust single stitches is opened.