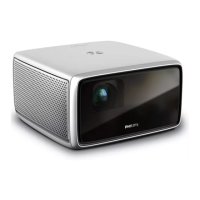
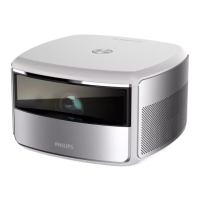
14 Philips · HDP2510
Initial installation
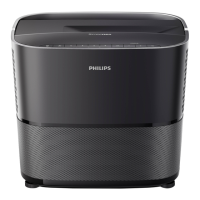
1 Turn the device with the rear side towards a
suitable projection surface or wall. Note that
the distance to the projection surface must
be a minimum of 0.1 meter and a maximum of
0.42 meter (see Setting up the device,
page 4). Make sure the projector is in a secure
position.
Das Ein- und Ausschalten des Gerätes
nimmt einige Zeit in Anspruch, da die
UHP Lampe Betriebstemperatur erre
-
ichen muss. Die volle Helligkeit ist nach
e
inigen Minuten erreicht.
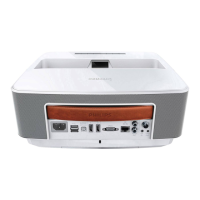
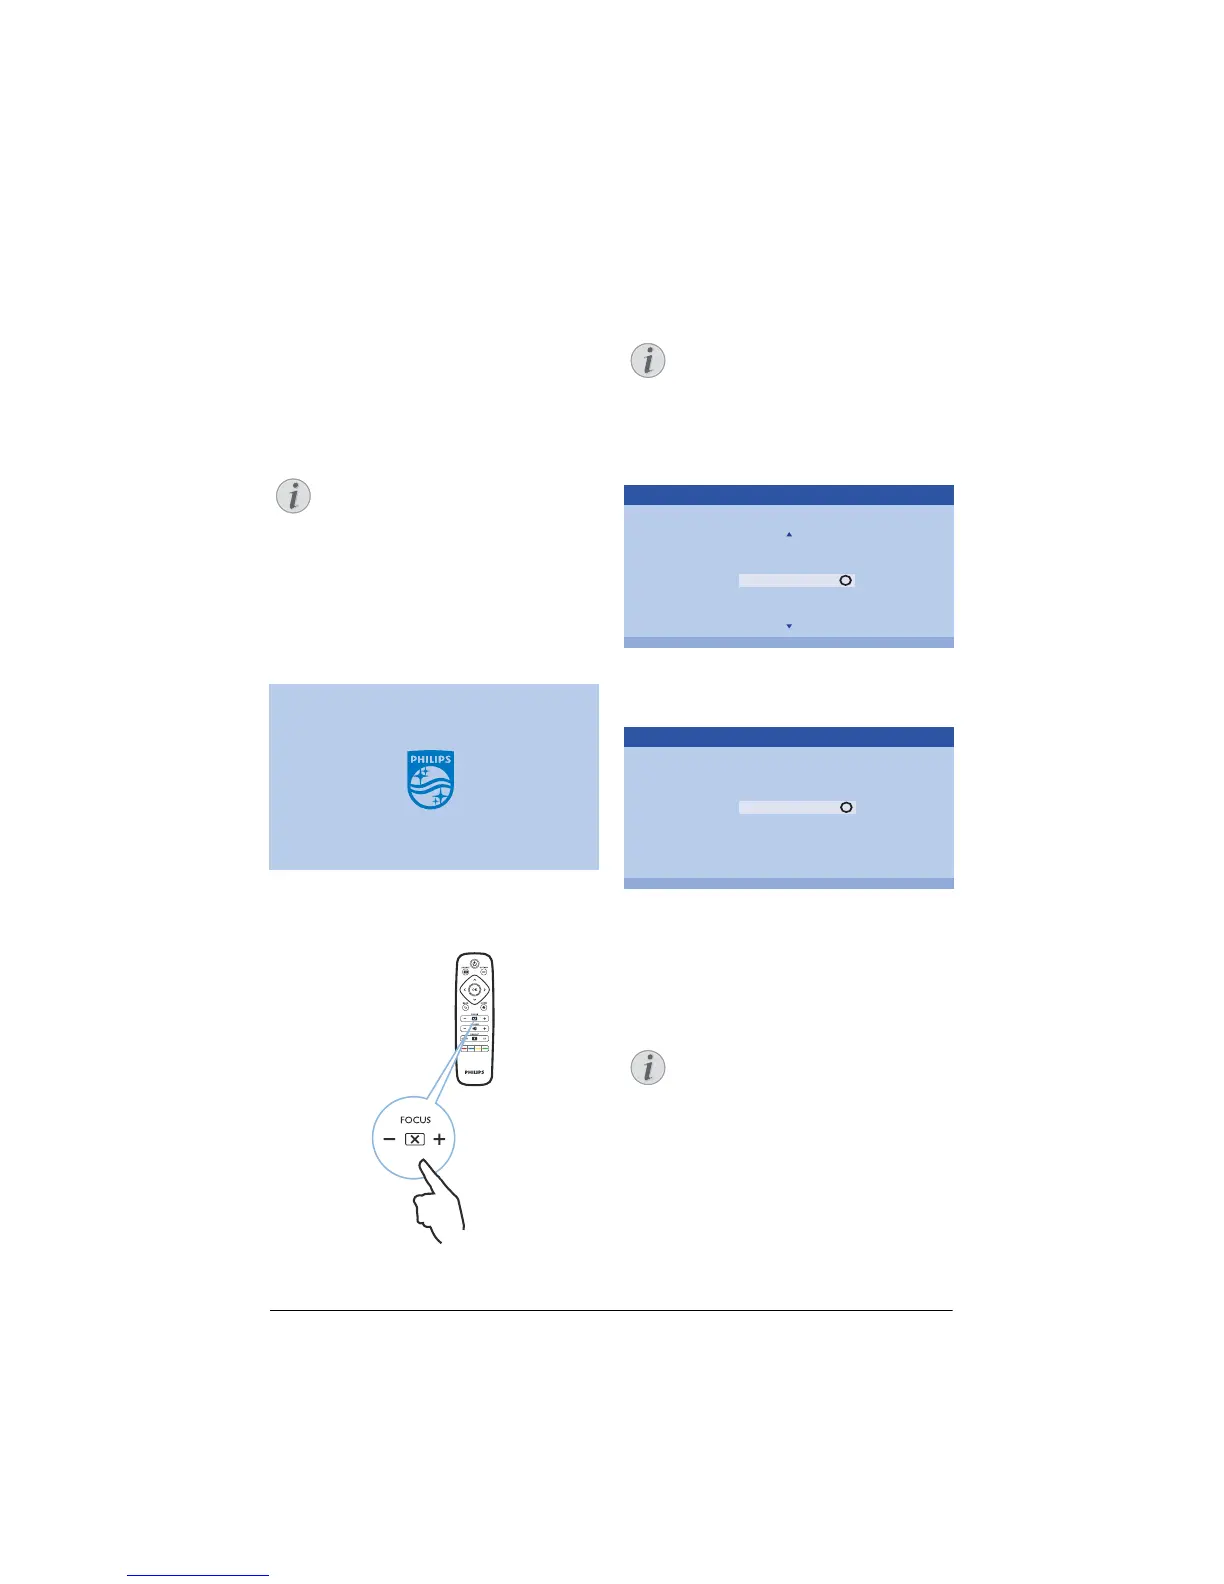
Turning on the projector
1 To turn on the projector, press once the
B button on the panel control of the device
or
on the remote control.
2 Use the FOCUS buttons (+/-) to adjust the
image sharpness.
3 The first time you turn on the device, you
need to set the following settings.
During the first installation, use OK key
to validate your choice and continue to
the next step, and the ¿ key to return
on the previous step.
4 Us
e the keys / to select the language
and confirm with OK.
Please choose your Language
Český
Dansk
Deutsch
English
Español
Francais
Italiano
OK
Language
5 Use the keys / to select the location and
confirm with OK.
Please choose the location where your Screeneo
should be placed
Shop
Home
OK
Location
Home: For normal use.
Shop: W
hen you choose this option, the pro-
jector starts in shop mo
de. In this mode
default setting are made and can’t be
changed.
The shop mode can be activated or
deactivated on the Option menu
(see
Shop Mode Switches the shop mode
On and Off., page 27).
Notice
Notice
Notice