4. If your system has full color capability there will be 3 colour filter buttons located directly under the
image list.
By selecting one of the filter buttons you can choose to display only those messages that are in
colour, mono (black), or postal ink. If your system has a mono and postal ink printer, there will only
be 2 filter option buttons. Systems having only the postal ink printer do not have any filter option
buttons since all the messages/addresses are in approved postal ink.
5. A message/address which has a tick in front of it has been selected for placement in the
promotional zone of the mail piece.
Adding a message or return address
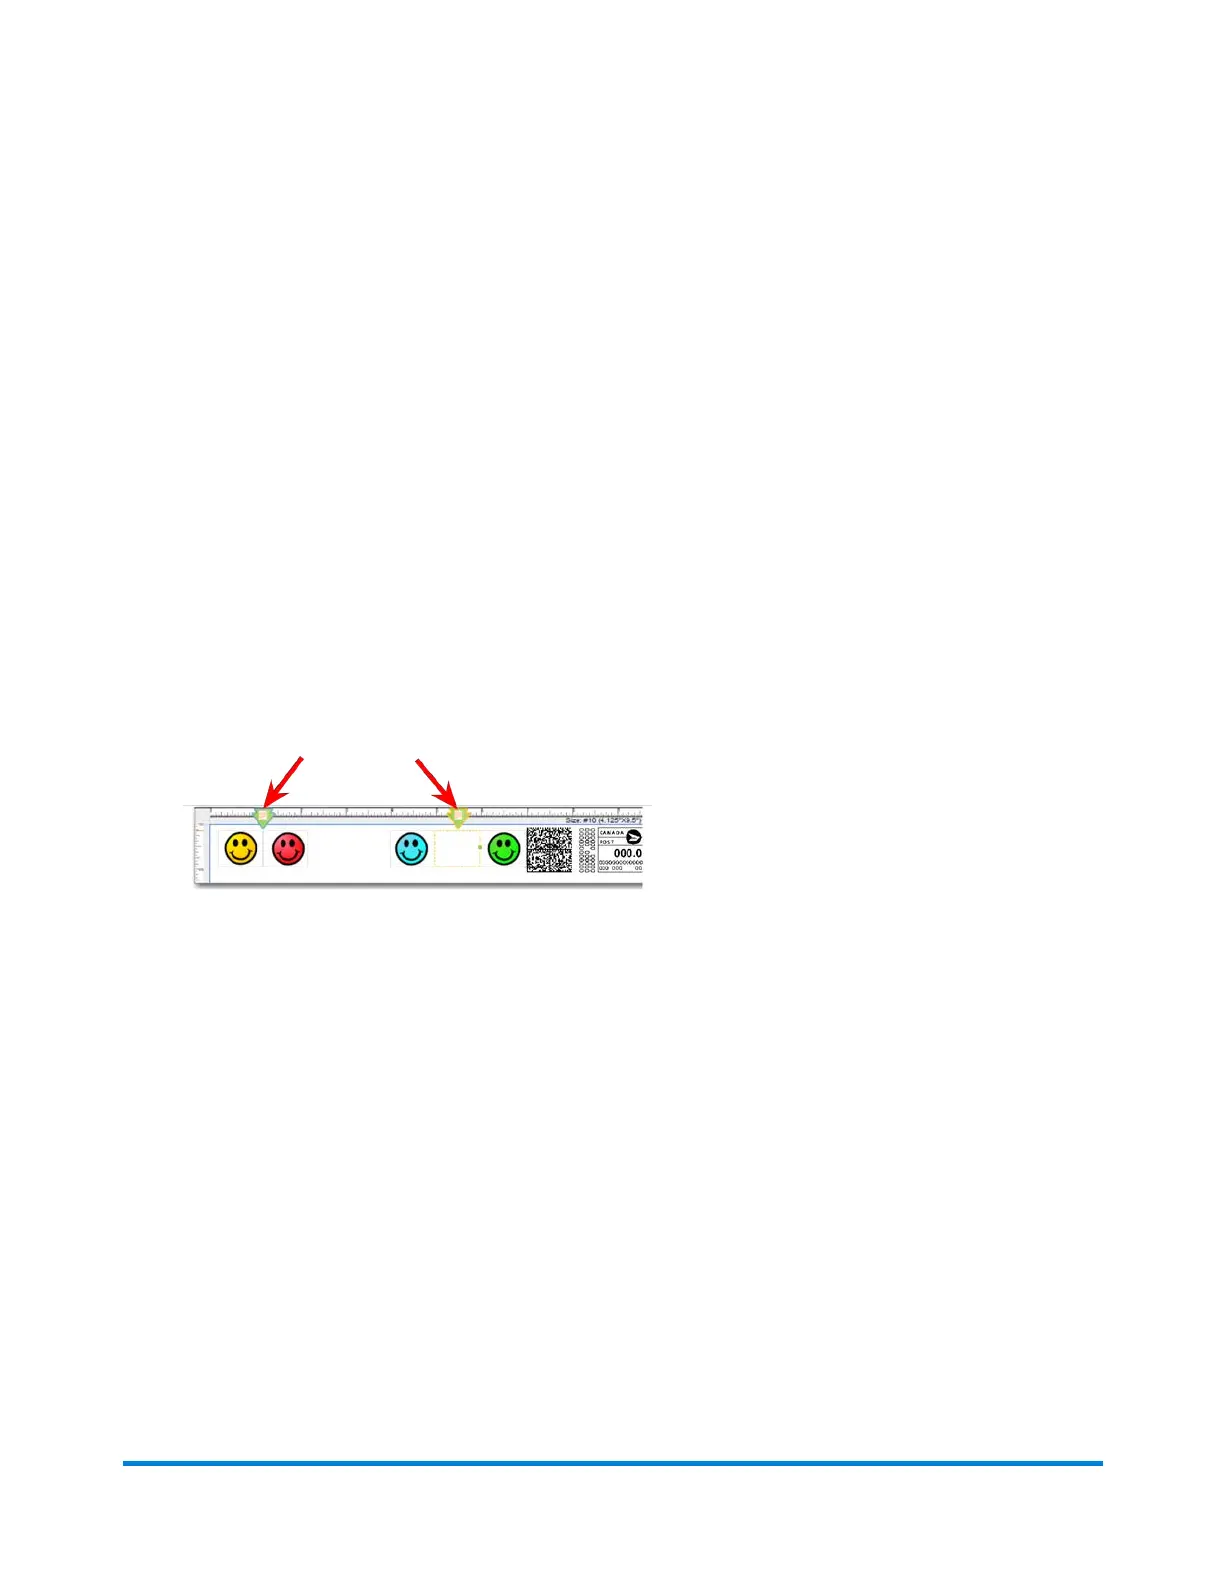
1. As soon as you open the Text message screen, text message markers appears at the top of the
envelope. The number of markers depend on the size of the envelope or tape. The circles indicate
the location of the markers.
2. The example shown here corresponds to a # 10 envelope and has two Text message markers. If
graphic images are present, the markers are positioned between the graphic markers as shown
here.
3. As with graphic markers, the text markers are left justified or right justified. The markers define the
locations for return addresses or other text messages.
4. The methods for choosing a text message or a return address are the same as for graphic images.
Refer to Adding a graphic.
5. To create a new message, refer to Creating a new message or return address.
Creating a new message or return address
1. Select anywhere within the envelope on the Run Mail screen. You can also select the Edit
envelope link.
Running mail
Pitney Bowes Operator Guide February,2018 Page 106 of 349