User Manual of WNAP-7320
-23-
4.2 Starting Setup in the Web UI
It is easy to configure and manage the WNAP-7320 with the web browser.
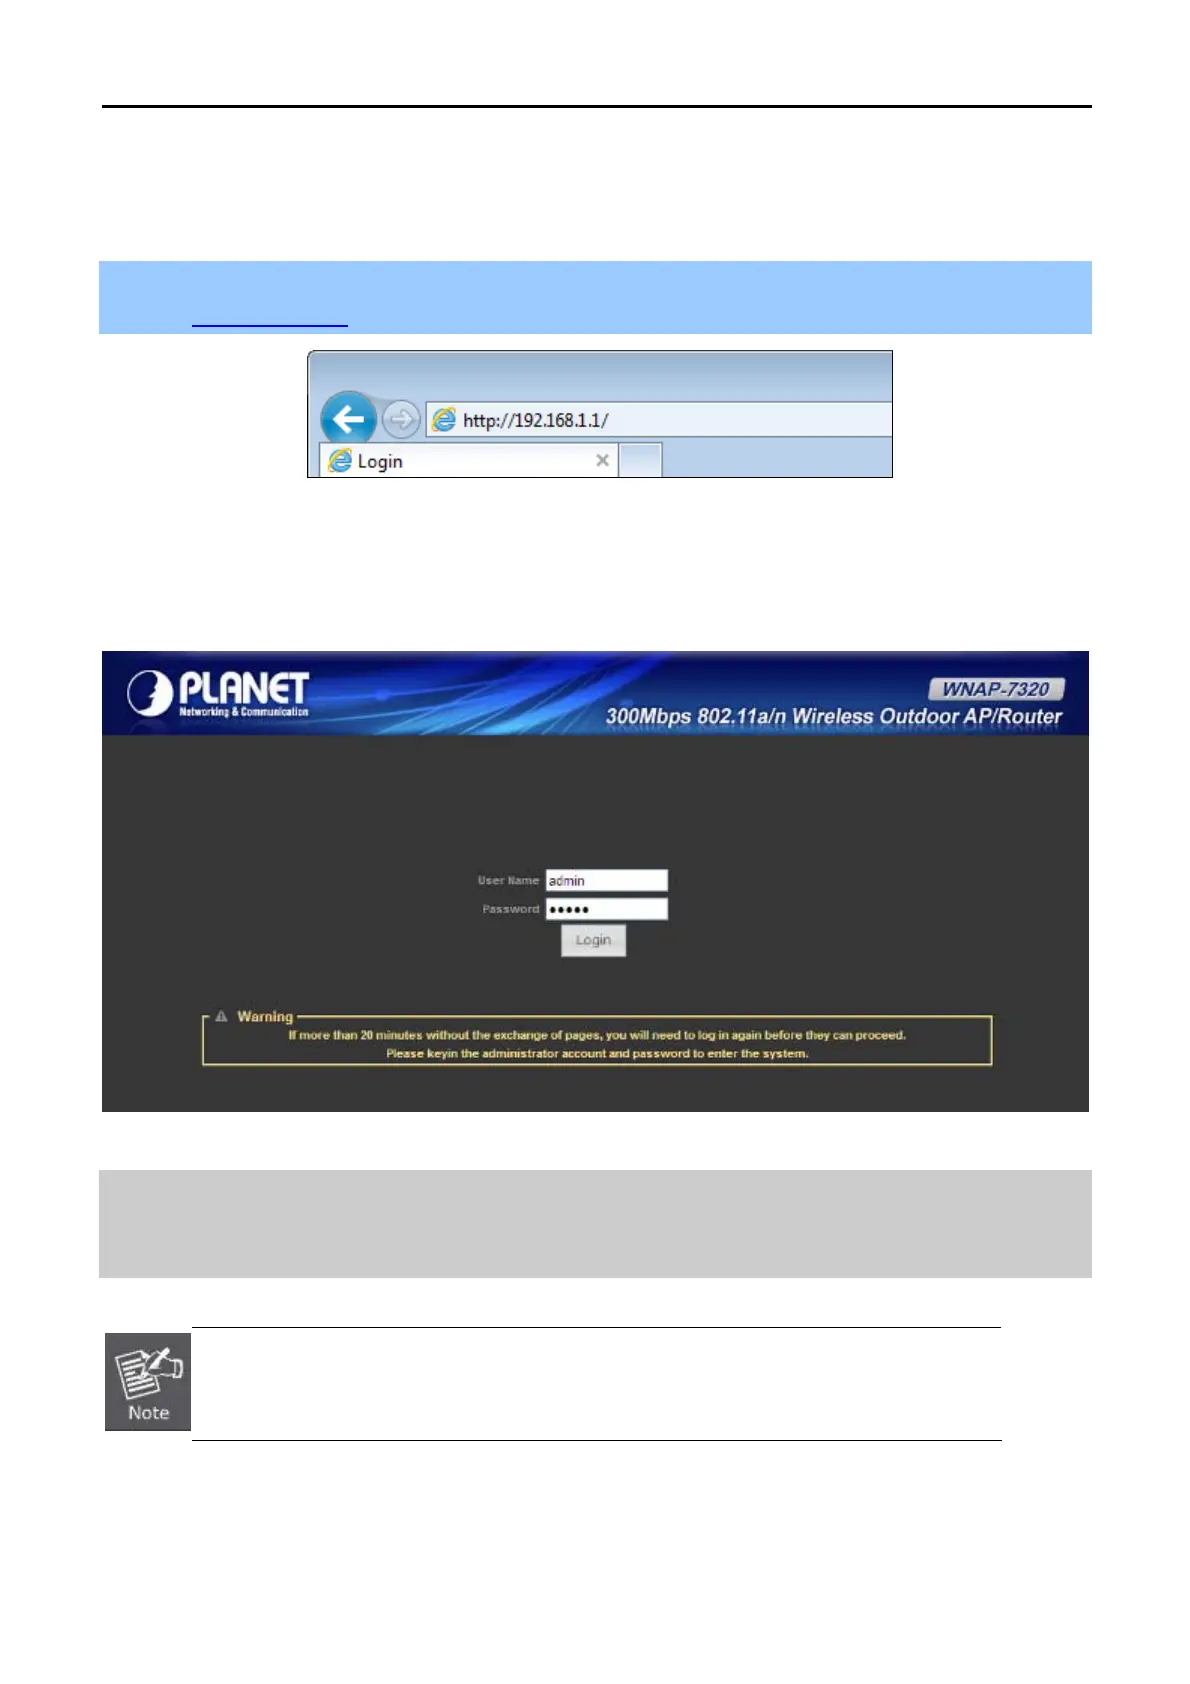
Step 1. To access the configuration page, open a web-browser and enter the default IP address
http://192.168.1.1 in the web address field of the browser.
Figure 4-6 Login the AP
After a moment, a login window will appear. Enter admin for the User Name and Password, both in lower case
letters. Then click the OK button or press the Enter key.
Figure 4-7 Login Window
Default IP Address: 192.168.1.1
Default User name: admin
Default Password: admin
If the above screen does not pop up, it may mean that your web-browser has been set to a
proxy. Go to Tools menu>Internet Options>Connections>LAN Settings, in the screen
that appears, cancel the Using Proxy checkbox, and click OK to finish it.
After entering the username and password, the Status page screen appears as Figure 4-8
 Loading...