User Manual of WNAP-7320
-35-
Dynamic DNS Provider
Select your Dynamic DNS Provider.
Host Name
Enter the host name or domain name provided by your DDNS
service provider.
User Name
Enter the name of your DDNS account.
Password
Password: Enter the password of the DDNS account.
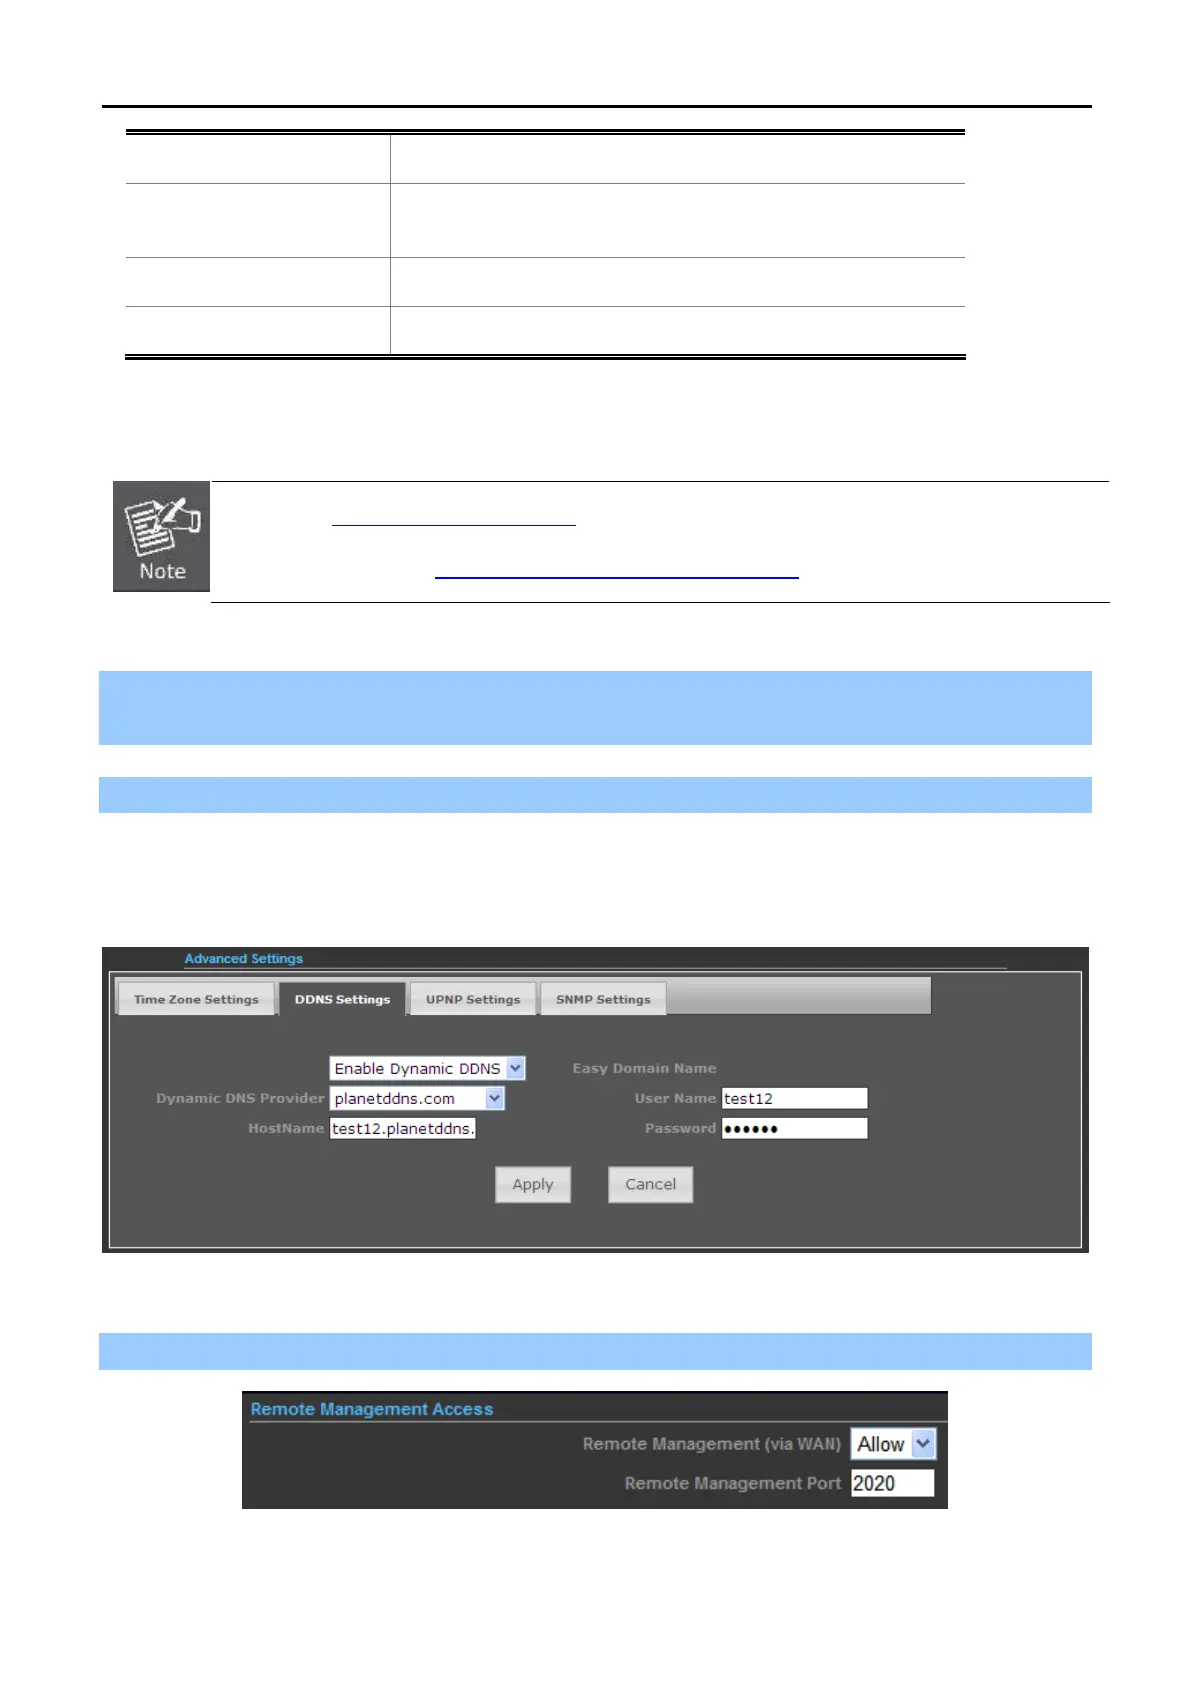
Example of Planet DDNS Settings:
Please go to http://www.planetddns.com/
to register a Planet DDNS account.
Please refer to the FAQ (http://www.planetddns.com/index.php/faq
) for how to register a free account.
Please refer to the procedure listed as following to configure using Planet DDNS service.
Step 1. Select “Enable Dynamic DDNS” and “planetddns.com” from the list of Dynamic DNS Provider to
use the Planet DDNS service.
Step 2. Configure the DDNS account that has been registered in Planet DDNS website.
Host Name: Enter your DDNS host (format: xxx.planetddns.com, xxx is the registered domain name)
User Name: Enter your DDNS account
Password: Enter your DDNS account’s password
Figure 5-3-10
Step 3. Go to “Advanced-> Firewall Settings-> Firewall” to allow remote access from WAN port.
Figure 5-3-11
 Loading...