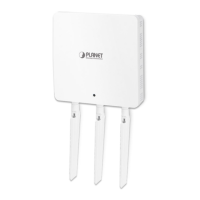
User Manual of WNAP-7320
-36-
Step 4. Go to “Advanced-> Network Settings-> WAN” to configure WAN Connection using Static (Fixed IP).
Figure 5-3-12
Step 5. Apply the settings, and connect your WAN port of the Wireless AP to the internet by Ethernet cable.
Step 6. In a remote computer, enter the DDNS host name as the figure shown as below. Then, you should be
able to login the WNAP-7320 remotely.
Please remember to enter the remote management port number that you have configured in Step 3.
Figure 5-3-13
You can go to My Devices page of Planet DDNS website to check if the “Last Connection IP” is displayed.
This indicates your DDNS service is work properly.
Figure 5-3-14
Example of Easy DDNS Settings:
This service is not required to register any DDNS account.
 Loading...
