15.3.3 Nt-trading adapters
For instructions on fastening the screws, see "Attaching glass ceramic
adapter" on page 55.
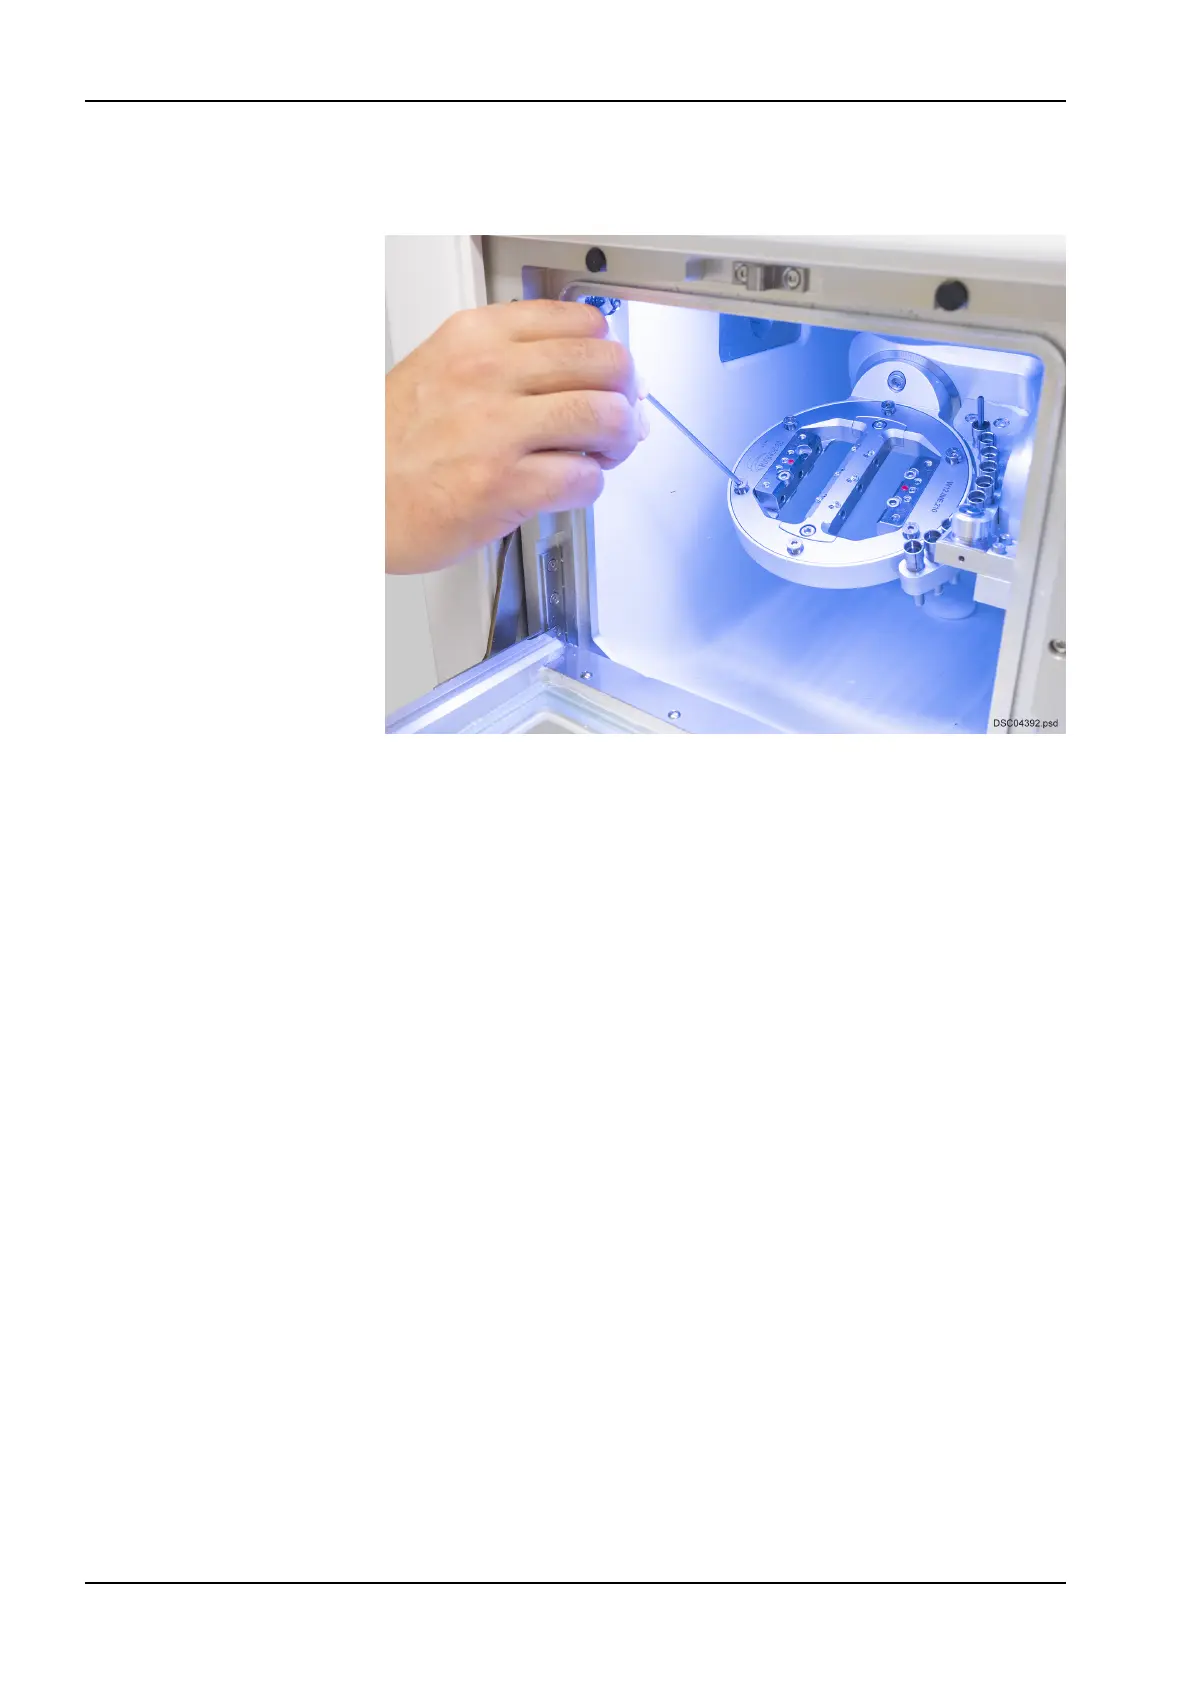
15.3.3.1 General cleanliness and handling
To ensure an optimal positioning of the nt-trading system, the adapter has to
be calibrated in the Planmeca PlanMill 60 S milling unit before the first use.
Therefore the following aspects must be considered:
• Cleanliness of the blank adapter (milling unit) and of the nt-trading
adapter
• General cleanliness
• No damages in the bearing surface
• The milling unit and its zero-point must be set correctly
• Always clamp the adapter in the same position
• Screw connections
• The 6 screws should always be tightened in the same order for a
reproducible positioning
• Only screw the 6 countersunk screws loosely at first
• Afterwards tighten the screws crosswise (always in the same
order)
15.3.3.2 Preparing adapter for test milling
NOTE
Carefully follow directions on general cleanliness and handling.
• The test pins, available from your local premilled blank supplier, are
inserted into the middle positioning holes in the bars until the stop and
are tightly fixed by screws (2) and (5).
15 Adapters
64 Planmeca PlanMill 60 S User's manual