___________________________________________________________________________________________________________
Part Number 6300-095D Page 14 of 43
5 Installation
Complete the forms in Appendix 12 during the installation.
5.1 Install Controller and Power-up
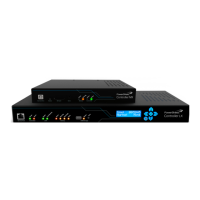
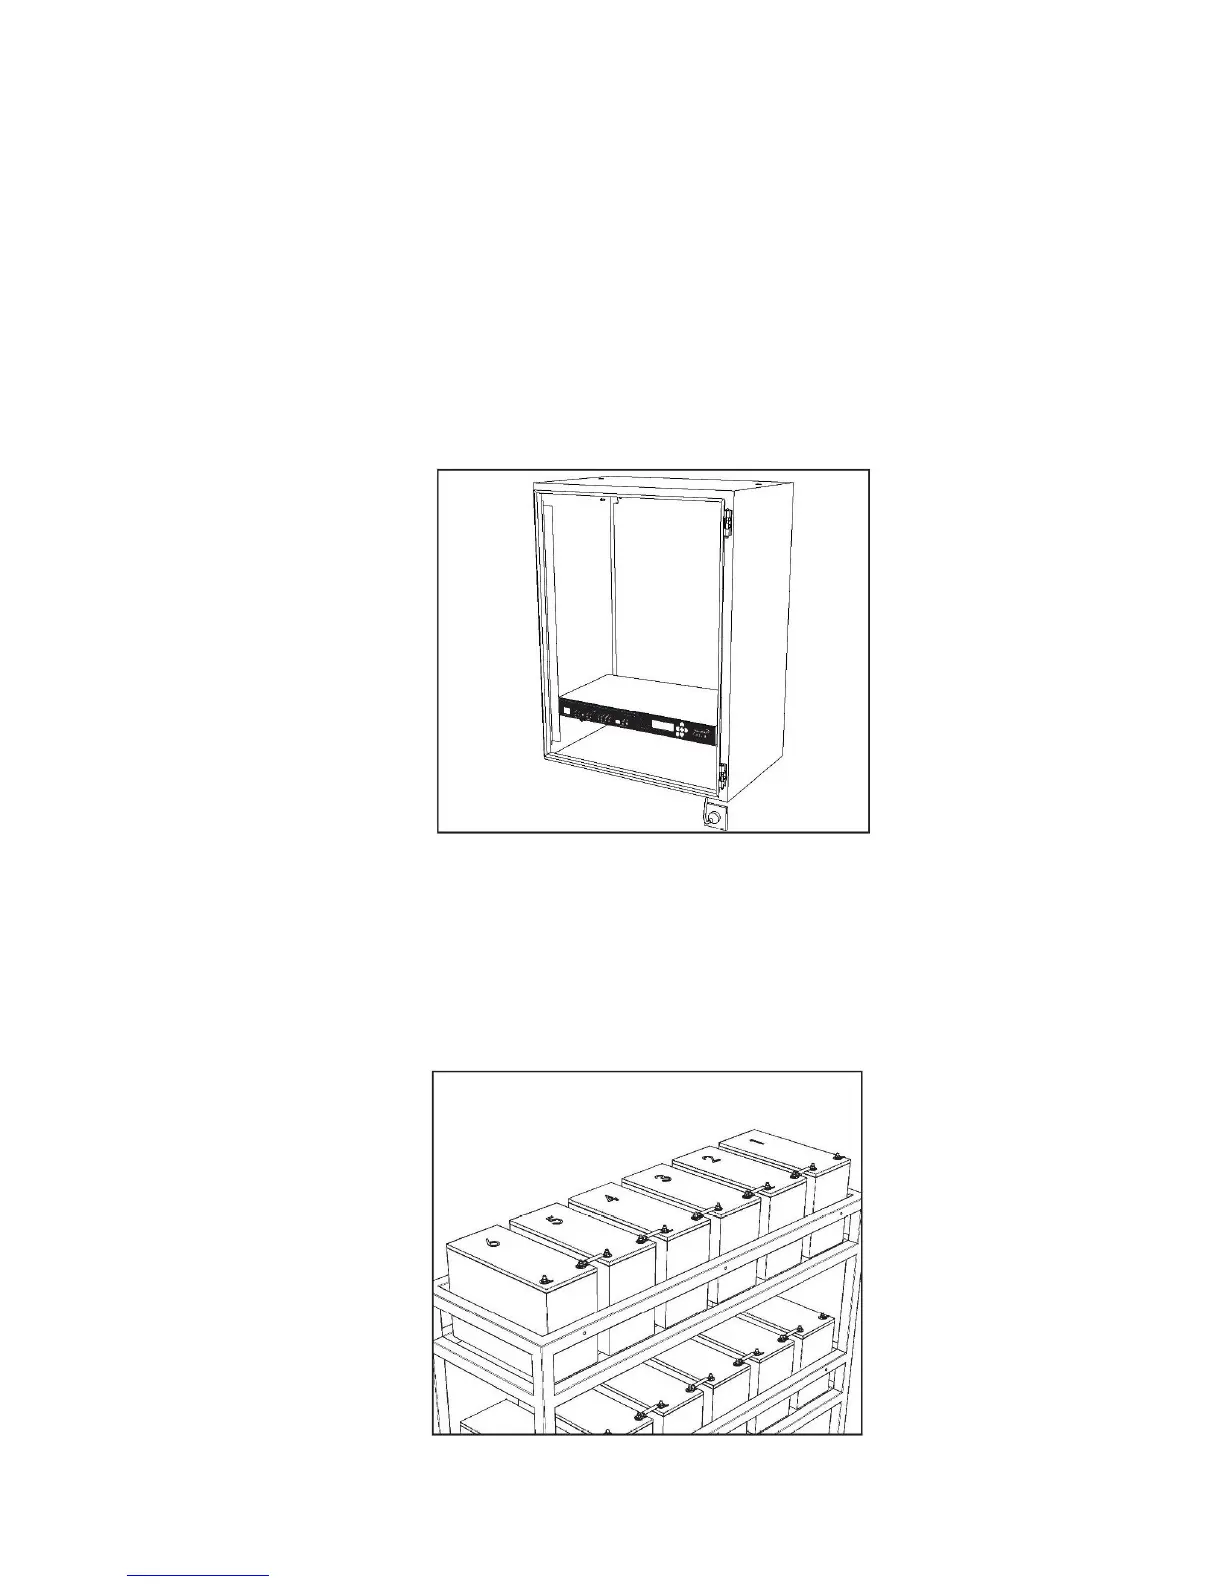
The PowerShield Controller is supplied in a 1U high 19" rack case. Mount the PowerShield Controller securely into a 19"
rack (not supplied), wall, shelf, or similar using the mounting brackets provided. Ensure there is safe access to the rear
connector panel and cable tray.
When the PowerShield Controller is powered up, it will emit an audible alert and the green Power LED will light. Other
LEDs on the front panel may also light.
NOTE: Ensure the PowerShield Controller is unable to move when installed – cables and connections must not be
put under strain.
5.2 Number Blocks
Each block in string must be uniquely identified with a sequential number starting at 1, e.g. 1-32, 1-40 etc. For ease of
mapping of mSensors to blocks and subsequent system configuration, it is recommended to start numbering at the most
positive block in the string.