© Precor Incorporated, Unauthorized Reproduction and Distribution Prohibited by Law Page 89
Replacing the Auto Stop Magnet
1 Remove the motor hood.
2 Remove the left and right trim strips from the treadmill deck.
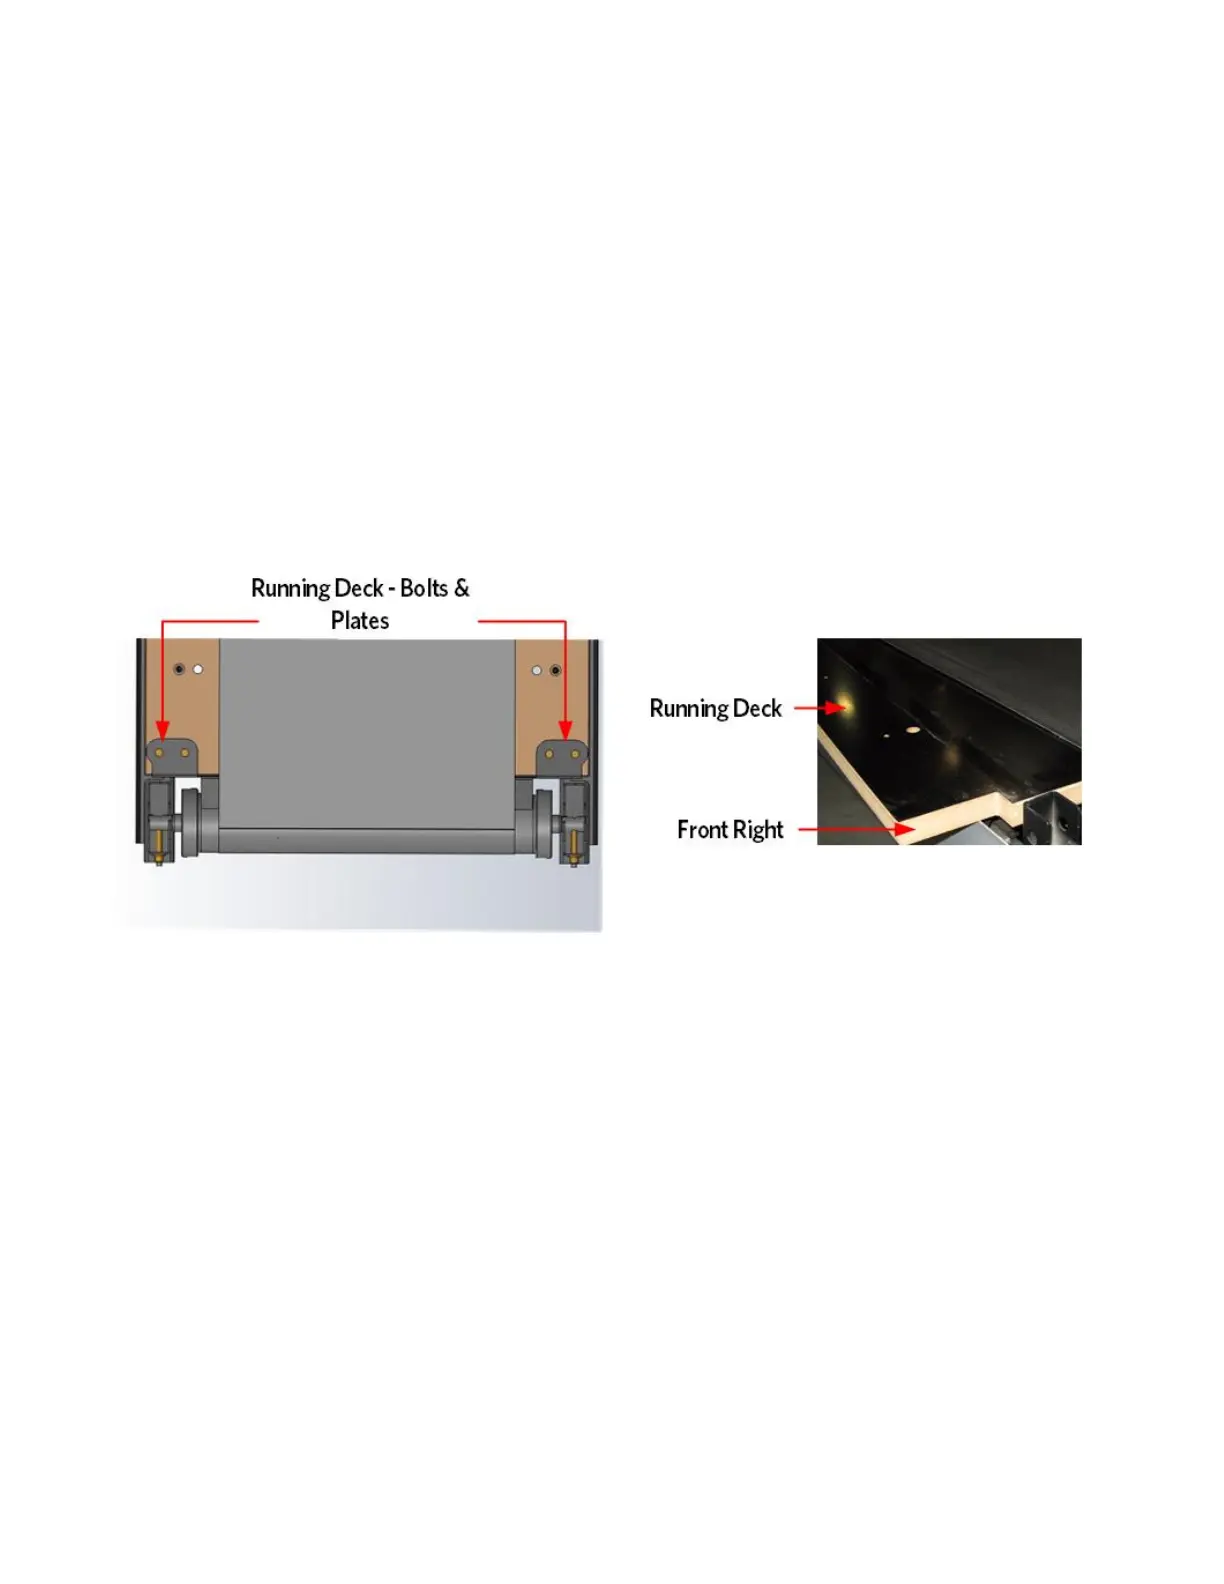
3 Remove the four mounting bolts and two top plates that fasten the
running deck to the pivot bracket at the back end of the treadmill.
4 Pull the running deck out from the right side of the treadmill just
far enough to expose the front right edge of the running deck. (Left
and Right side orientations are based as if you were standing on the
treadmill facing the console.)
Figure 29: Running Deck Removal
5 Pry out the two push fasteners from the deck using a flat head screw
driver and remove the Auto Stop magnet.
6 Align the replacement magnet on the running deck and then secure the
magnet to the running deck using the two push fasteners removed in
step 4.
7 Slide the running deck back into position over the running deck pivot
bracket. Align the bottom plate and pivot bracket holes with the
running deck bolt holes.