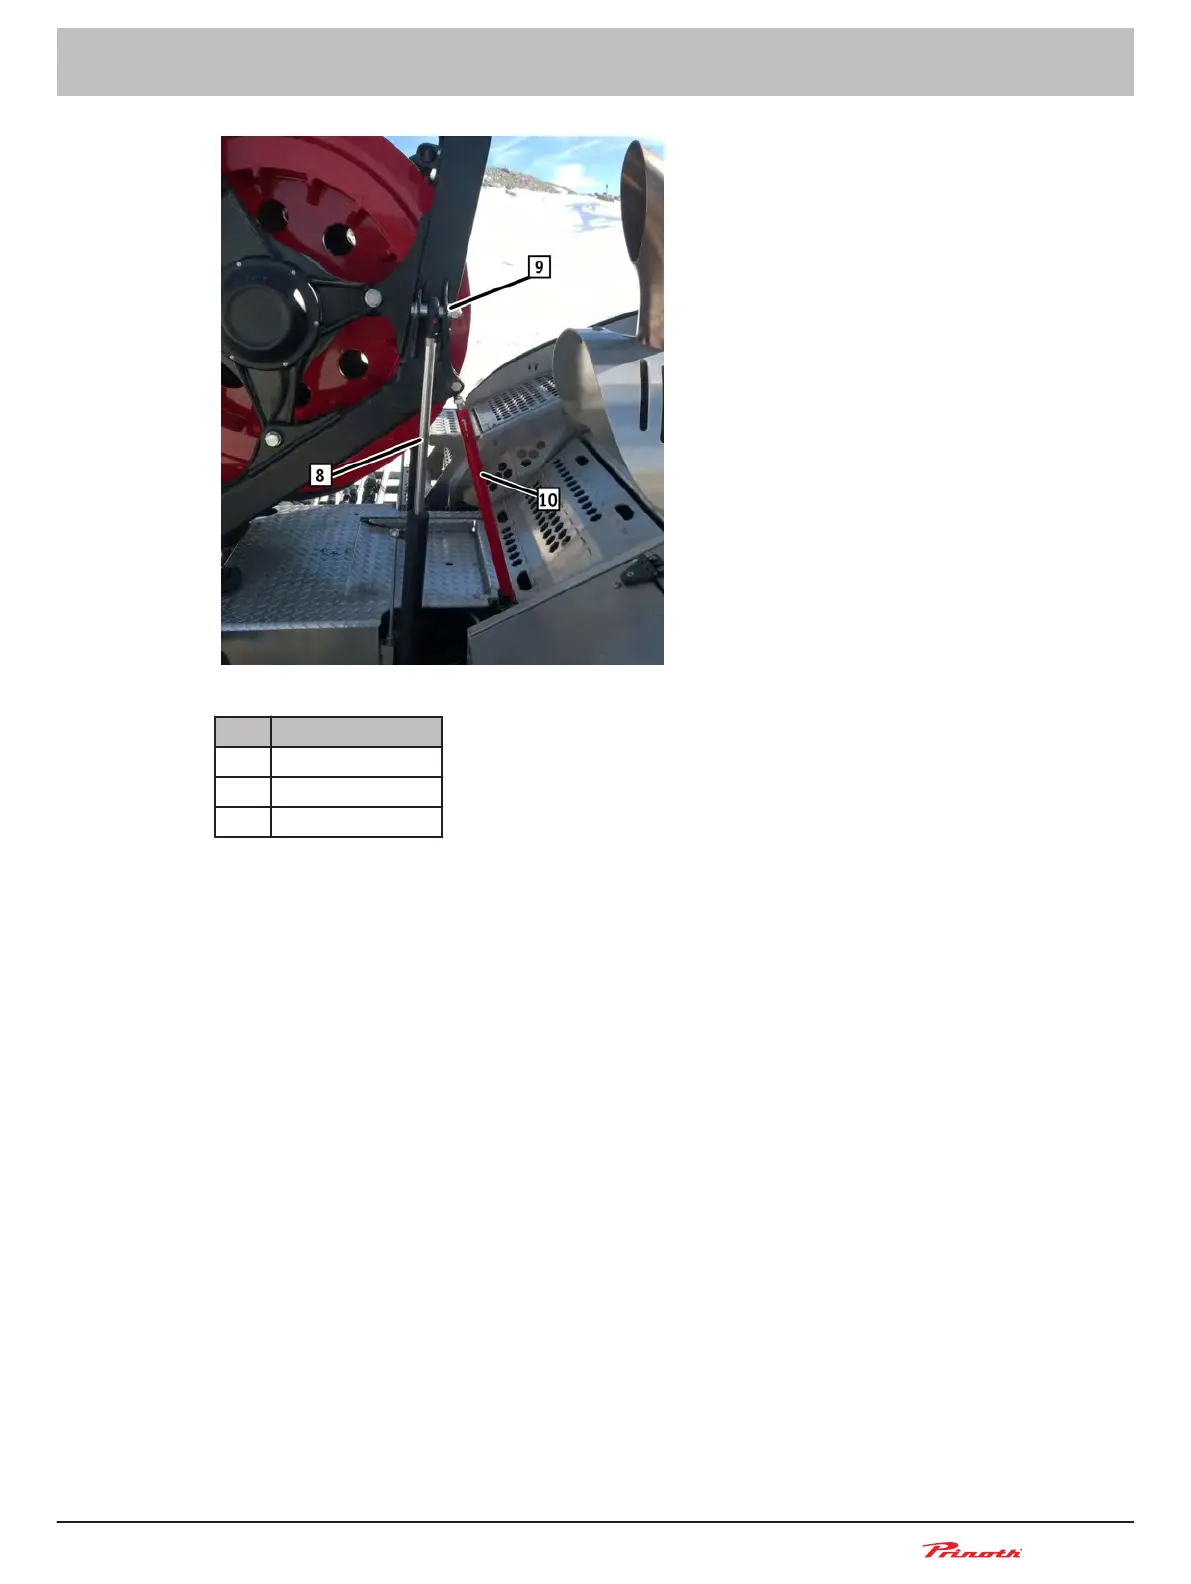
Figure 122: AUTOMATIC winch hydraulic cylinder
Pos. Name
8 Hydraulic cylinder
9 Bolt and nut
10 Safety strut
1. Move the snow groomer to a suitable place for mounting the AUTOMATIC winch.
2. Lower the front blade and rear tiller to the ground.
3. Switch off engine.
4. Tilt the driver's cab forward.
5. Secure the driver's cab with the safety strut (10).
6. Remove the screwable cover plate, rear panelling, and the rear and center cross members.
7. Remove the rear bolt (3) on the snow groomer's frame and turn locking lever (4) upwards: AU-
TOMATIC winch unlocks (6).
8. Check whether the locking system and the mounting are clean.
9. Lubricate locking system, mountings and bolt threads using water-repellent grease.
10. Attach belt straps (1) to the eyelets (2) on the AUTOMATIC winch frame.
11. Pre-tension the belt straps, raise the AUTOMATIC winch and position it correctly over the
snow groomer.
12. Lower the AUTOMATIC winch slowly into the fittings: be careful not to damage the driver's
cab, hydraulic hose, the loading platform or the electrical system.
13. Turn down the locking lever (4) and secure with the safety pin (7): AUTOMATIC winch locks
(5).
14. Fasten the AUTOMATIC winch with the rear bolt (3) on the snow groomer frame (150 Nm).
Snow groomer BISON
Operating and Maintenance Manual
BISON 908930245 - 30367
15 - AUTOMATIC Winch
221 (255)