Owner’s Manual
AutoCode
®
Blood Glucose Meter AutoCode
®
Blood Glucose Meter
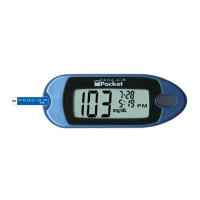
STEP 5: Check if the Test Result is in Range.
After the meter counts down from 6 to 1, the control solu-
tion test result will appear on the display. Compare this
test result with the range (Low-Level 1 or High-Level 2)
on the back of the test strip vial.
The control range can change
with each new vial of test strips.
Always use the control solution
range on the label of your cur-
rent vial of Prodigy No Coding
Blood Glucose Test Strips. The
result should fall within the print-
ed range on the test strip vial.
See Figure 21.
33
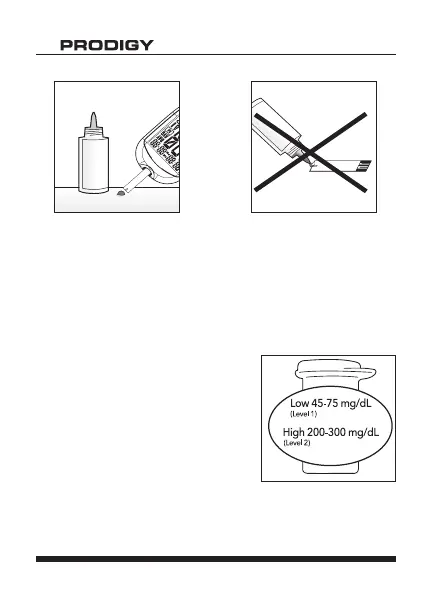
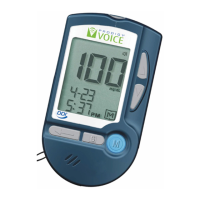
Figure 19 Figure 20
Figure 21