•Blank panel to cover module slot
•Electrostatic bag or antistatic mat for each
component
•ESD grounding wrist strap
Installing Components
Removing and Installing Faceplates
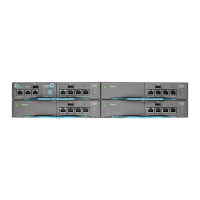
Faceplates for the MAG6610 and MAG6611 are held in place by tabs. To remove a faceplate, gently pry the
faceplate from the chassis using your fingers or a flat-blade screw driver. To install a faceplate, line up the
faceplate with the open slot and push gently until it clicks into place.
NOTE: Faceplates are required for proper airflow. If you remove a service module and do not intend to replace
it, cover the opening with a faceplate.
Installing the MAG-SM160 Kit
The MAG-SM160 kit includes:
•
One MAG-SM160 service module
•
Two fan trays
•
One hard drive
The cover plate on the left can be removed to accommodate the MAG-CM060 Chassis Management Card.
NOTE: RAID is not supported with the MAG-SM160.
The basic steps for installing the MAG-SM160 kit are:
1.
Remove the face plate on the Pulse Secure Gateway corresponding to the slot where you want to install
the MAG-SM160.