6 | Electrical connection
58 / 100 80.06.083_iCombiPro-iCombiClassic_IM_en-US
6. Run a performance check. Verify that the performance data matches the
information on the identification plate.
>> The voltage is now successfully switched.
6.5 Conduit connection (USA and Canada only)
The conduit connection kit for installing tabletop units is not included in the
scope of delivery of the units and must be ordered separately.
The conduit connection is required for units with the following voltage vari-
ants. Refer to the following table for the diameters of the conduit connection
kits:
Voltage vari-
ant
6 half size 10 half size 6 full size 10 full size
11 - 3 AC240V
60 Hz
3/4 inch 1 inch 1 inch 1 1/4 inch
12 - 3 AC208V
60 Hz
19 - 2 AC208V
60 Hz
1 inch
42 - 3 AC440V
60 Hz
1/2 inch 3/4 inch 3/4 inch 1 inch
43 - 3 AC480V
60 Hz
1/2 inch 3/4 inch 3/4 inch 1 inch
6.5.1 Making conduit connection
a The unit is switched off.
a All voltage sources are switched off via an external circuit breaker.
a The corresponding pipe adapter is loosely attached to the wires (the pipe
adapter is not included in the scope of delivery).
a The wires are inserted into the cable. The lock nut and the seals for the
outside of the unit are loosely attached to the cable.
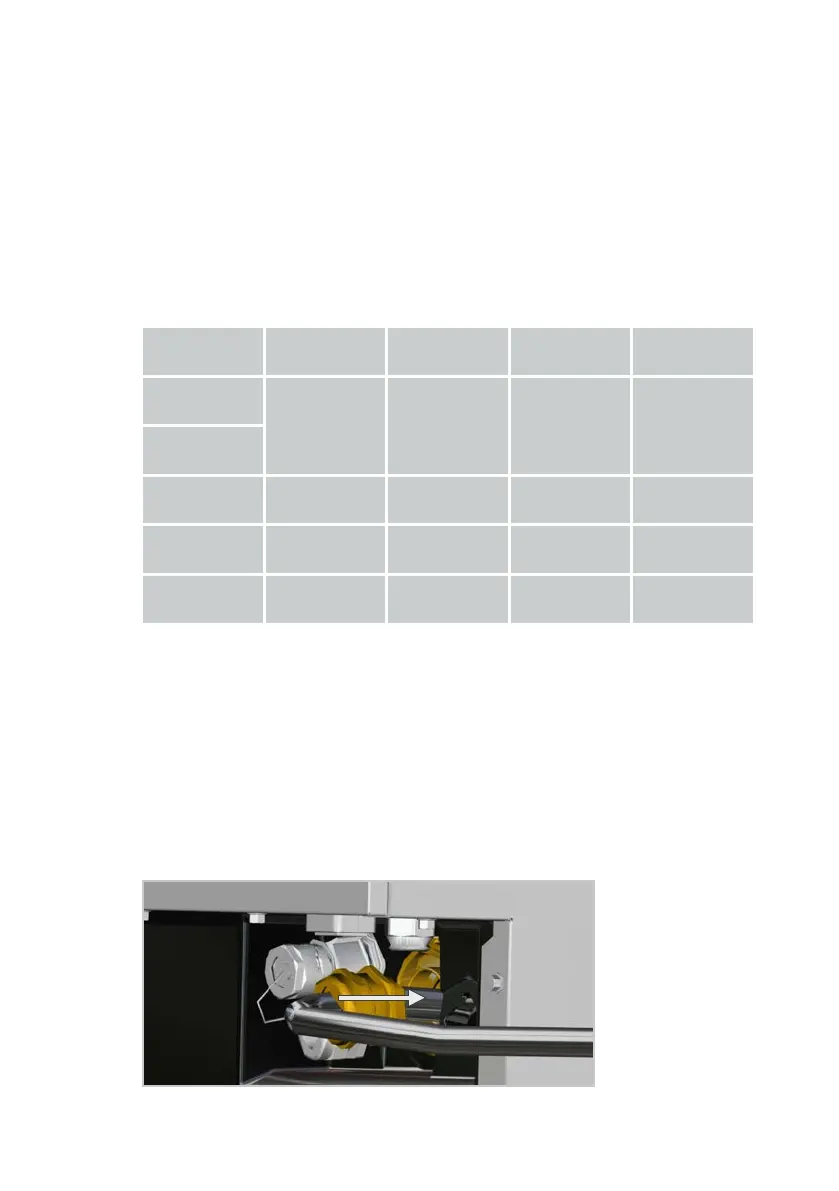
1. Mount the corresponding pipe adapter to the electrical connection on the
rear wall of the unit.
2. Open the left side wall.