5 - SYSTEM SETTINGS
31
5.4 Set Instrument ID
From the SETUP screen, press;
This is the heading that appears at the top of the display e.g. "IN APPROVED MODE" any time a button is
pressed. This line of text can be switched on or off (default = Off). The text can be edited via the alpha-numeric
keypad.
You can also programme up to 8 lines (20 characters per line) of ID information (e.g. vehicle, driver ID,
Company address etc), which will appear at the top of each print. You can only programme this information by
editing the LMSETUP.CSV file in MS Excel.
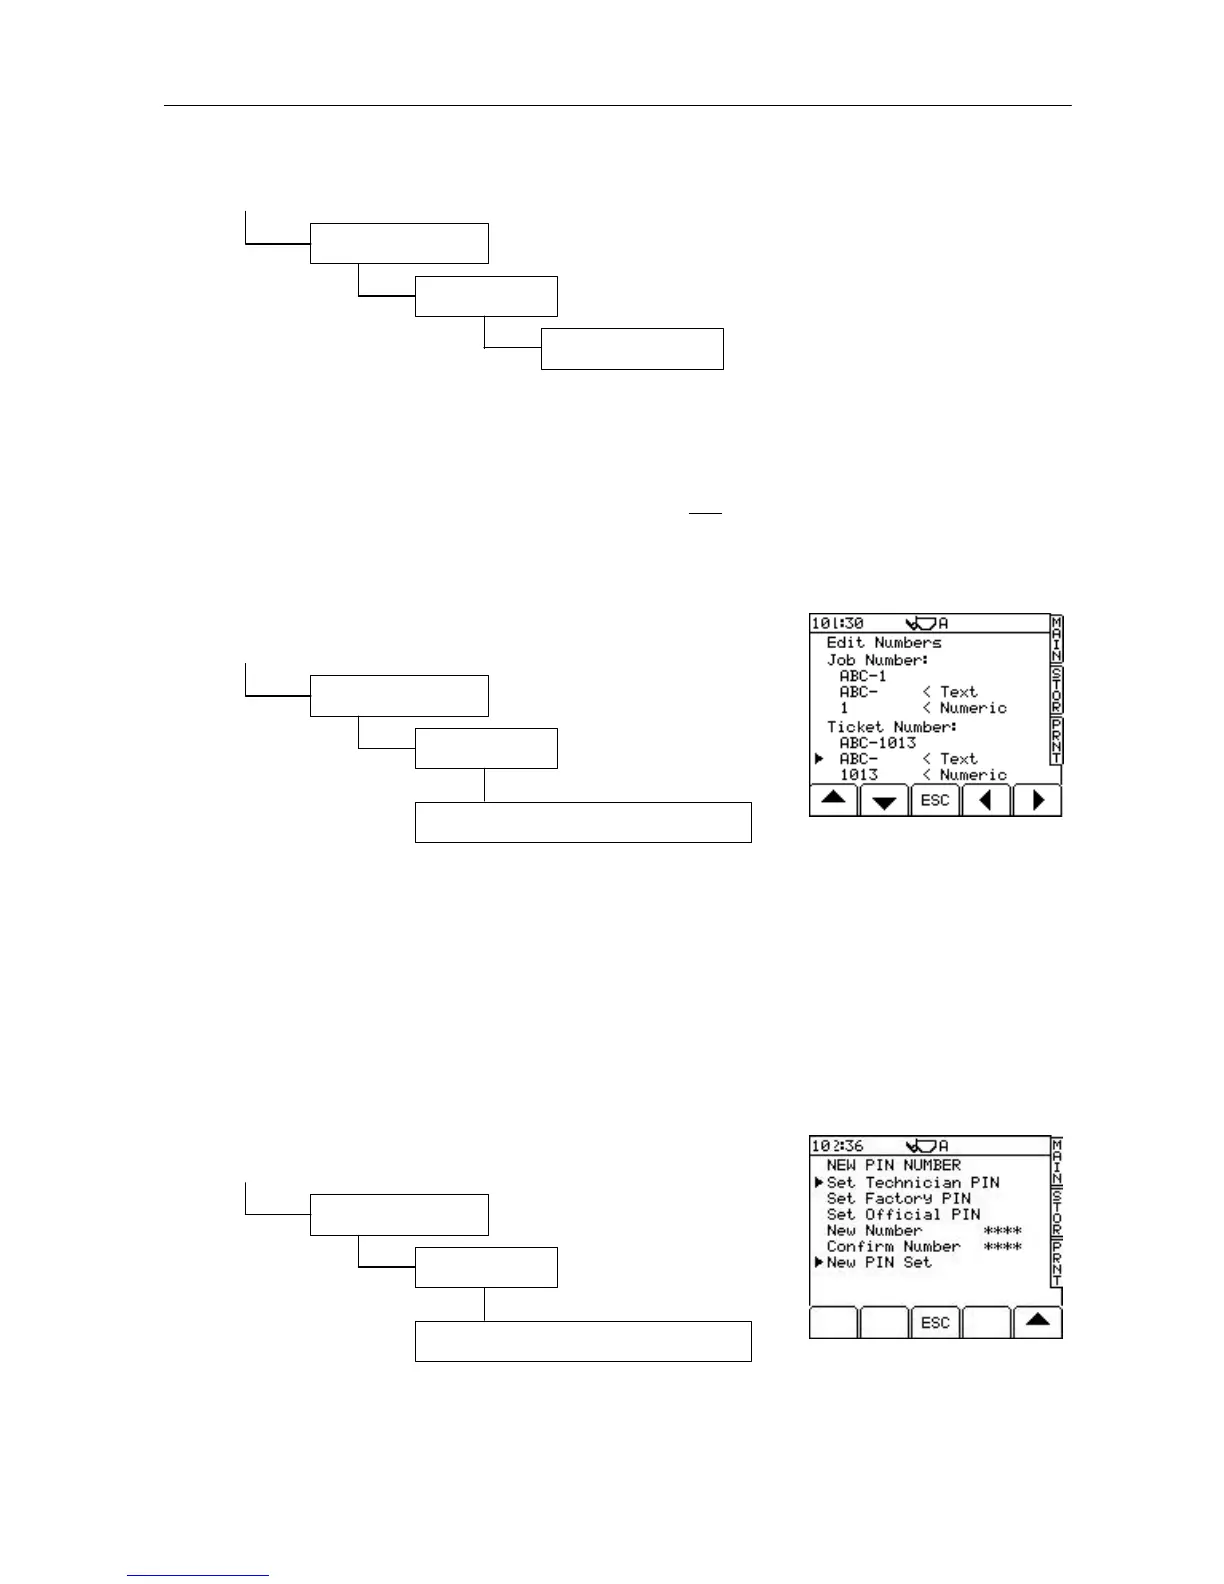
5.5 Job/Ticket Number
From the SETUP screen, press;
A sequential number is generated for each job completed. A sequential number is also created for each ticket
printed. If duplicate tickets are printed for the same job, the ticket numbers will be different but the job number
stays the same.
If for whatever reason the head unit needs replacing, both job number and ticket number can be edited to
continue from the last numbers generated on the previous head unit.
In addition, you can assign a text prefix of up to 8 alpha-numeric characters. The example text "ABC-" (fig. 47)
appears in front of all job numbers and load ticket numbers, followed by the sequential number generated after
each job completion or printout.
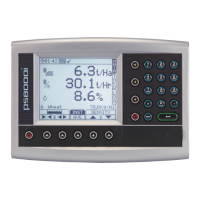
5.6 Change PIN Numbers
From the SETUP screen, press;
You can set new PIN numbers as required. The "Official PIN" is a special PIN number required for
programming the instrument with COPRO Approval information. Refer to the calibration manual for the default
PIN numbers.
3. System Settings
*. More
1. Instrument ID
3. System Settings
*. More
2. Job/Ticket Number (Enter Tech. PIN)
Figure 47
3. System Settings
*. More
3. PIN Number (Enter Factory PIN)
UK506-47.PCX
Figure 48
UK506-48.PCX