City Series CV40E-12 | 59
installation
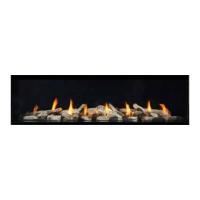
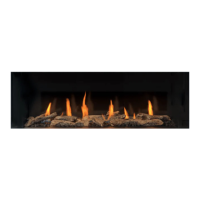
Inner Glass Panel (Firebox Glass) Installation / Removal
1. Remove outer safety glass panels if previously installed–see instructions
in this manual.
2. Remove outer panels installed in units - see panel removal section in this
manual.
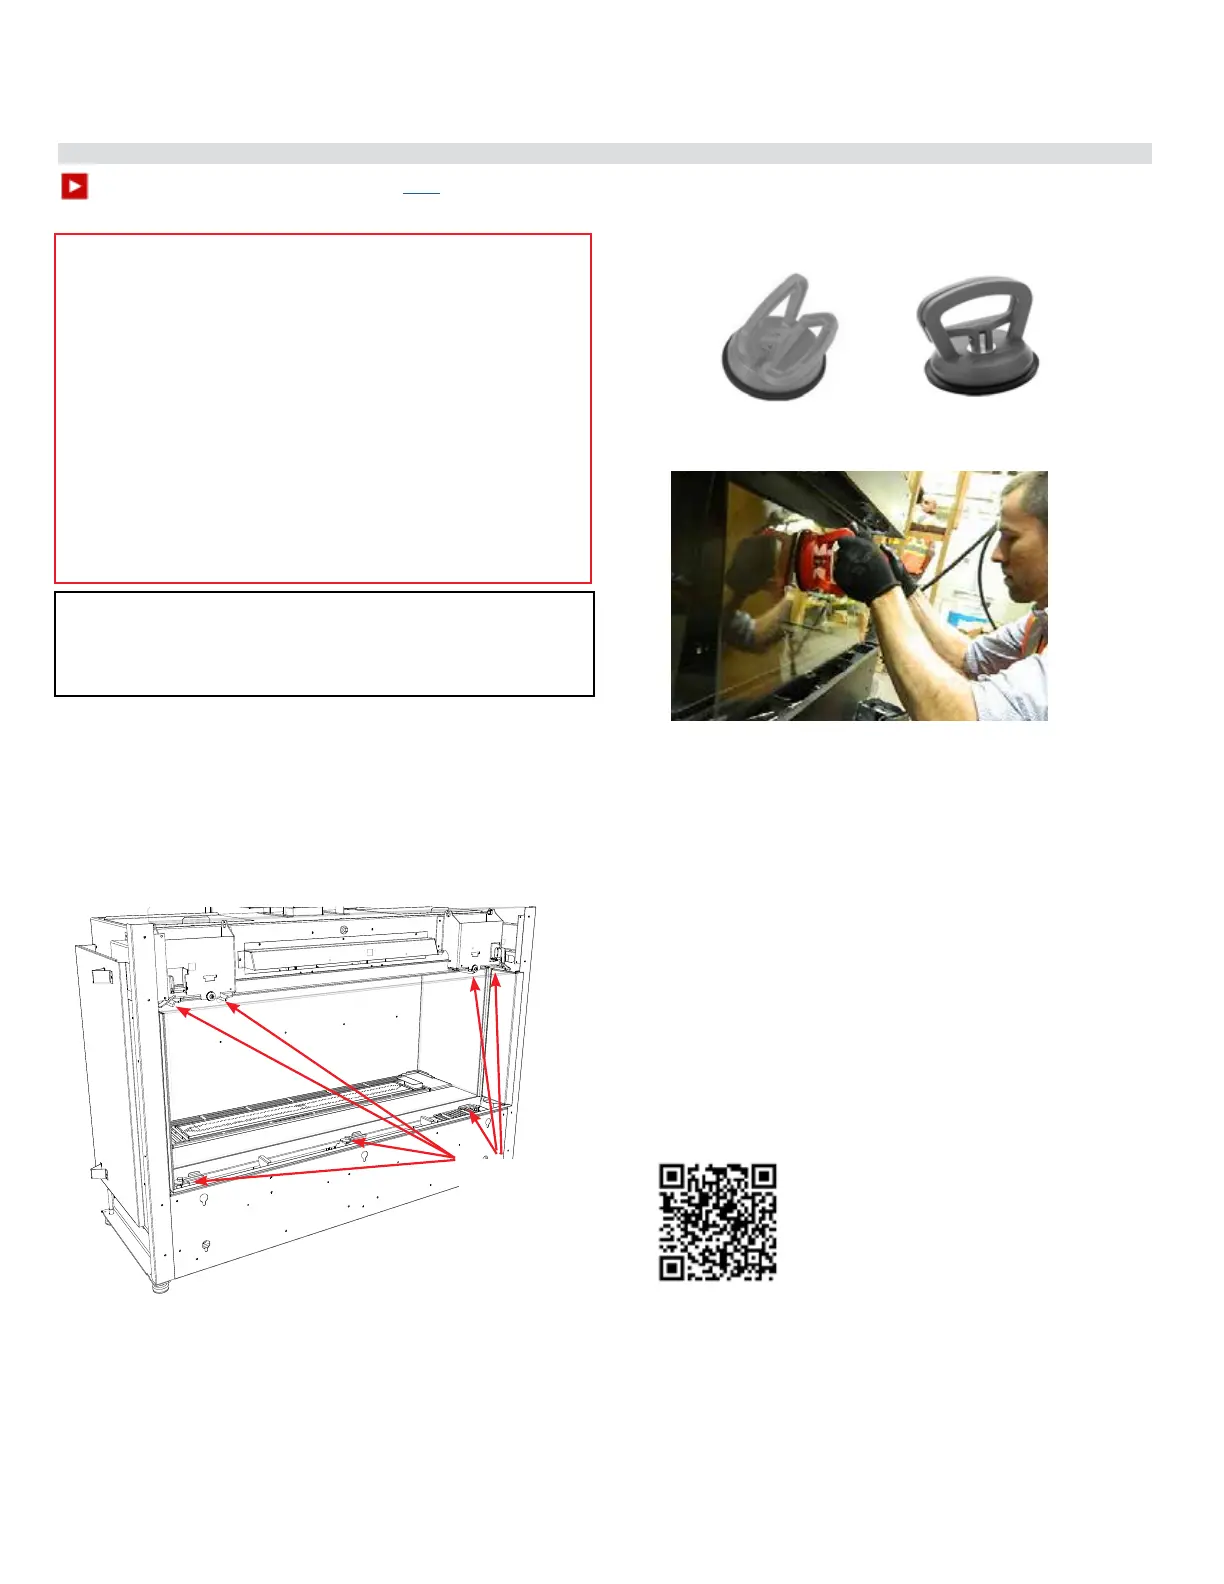
3. Ensure all 7 front clamps are in the open position to allow clearance for
the glass.
Important:
Prior to installing the inner glass, ensure that there is no media present in
the bottom channel as this can cause damage to the glass. Remove any
media from bottom channel prior to installing the glass.
WARNING: GLASS HANDLING
We recommend using the glass vacuum holders supplied by the manufac-
turer. Lower the glass to rest in a safe place, this is to prevent damage to
the glass edges. Extra care must be taken when removing/installing the
glass. Breakage or damage to the edge of the glass which occurs as a result
of careless handling will not be covered under warranty.
• We recommend handling the glass with supplied vacuum
clamps.
• When removing glass–prepare a soft, scratch resistant
surface to place the glass.
• Never clean or remove hot glass.
Note: The suction cups may leave a round lm on the glass
when used. Ensure that the glass is cleaned using a replace
glass cleaner prior to operating the appliance.
Note: glass panels must be installed to operate replace
To watch the rebox installation video click here.
Handle front panel with supplied vacuum clamps
Open 7
clamps prior
to placing
front glass
panel
4. Lift up the front panel using the supplied vacuum clamps and position into
the lower front channel–ensure the front panel is accurately centered—with
the front panel in position—secure in place by closing the 3 lower clamps
and 4 upper clamps.
Press glass vacuum clamps in open position rmly onto surface of glass. Bring
handles together to close.
ClosedOpen
5. To remove the glass panels—always remove the side panel(s) (for 3 sided
units) before removing the front panel.
6. Reverse steps to remove glass.