1 March, 2000 PRINTING SECTION
6-11
Replacement
Adjustment
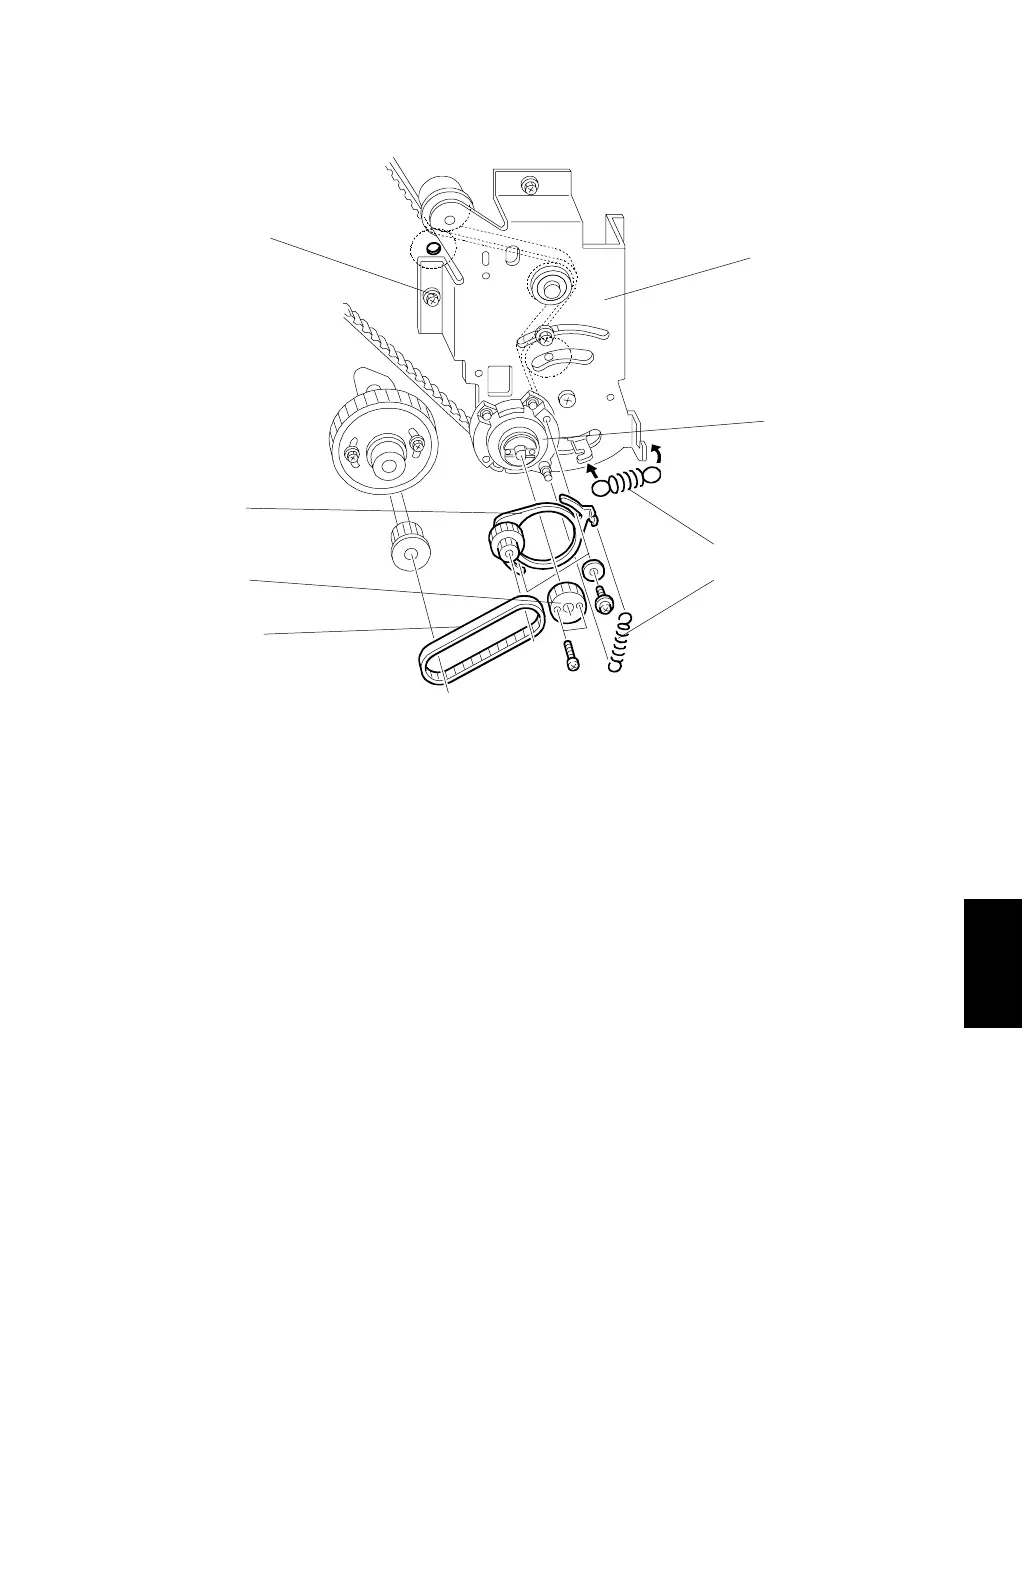
6. Remove the 2 springs [C].
7. Remove the pulley bracket [D].
8. Remove the timing belt [E].
9. Remove the gear [F].
10. Remove the bracket [G].
CAUTION:
Screw [H] is located under the main wire harness. Take care not to
damage the wire harness when removing it.
11. Remove the bearing [I] on the bracket.
C232R506.WMF
[C]
[C]
[D]
[E]
[F]
[G]
[H]
[I]