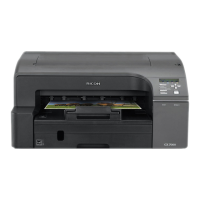
4. Move the detection lever located on the underside of the multi tray in the direction shown
in the figure.
5. Adjust the height of the multi tray table.
Turn the 4 knobs counterclockwise on the underside of the multi tray to release the lock, and then
adjust the height of the table. After adjusting it, turn the 4 knobs clockwise to lock it in position.
6. Load the sleeve attachment on the multi tray.
Load on at the back side of the table, as shown in the figure. Set the sleeve attachment tightly to the
back of the multi tray.
Detach the frame for pressing sleeves in advance.
7. Load the sleeves on the sleeve attachment.
The image will be printed in the direction from the front side to the back side of the cassette.
2. Preparing for Printing
78

 Loading...


