5.4.1 Calibration steps
The calibration process involves a few simple steps; the controller will describe the
steps that you need to carry out.
Make sure that you have a bucket of clean tap water to hand.
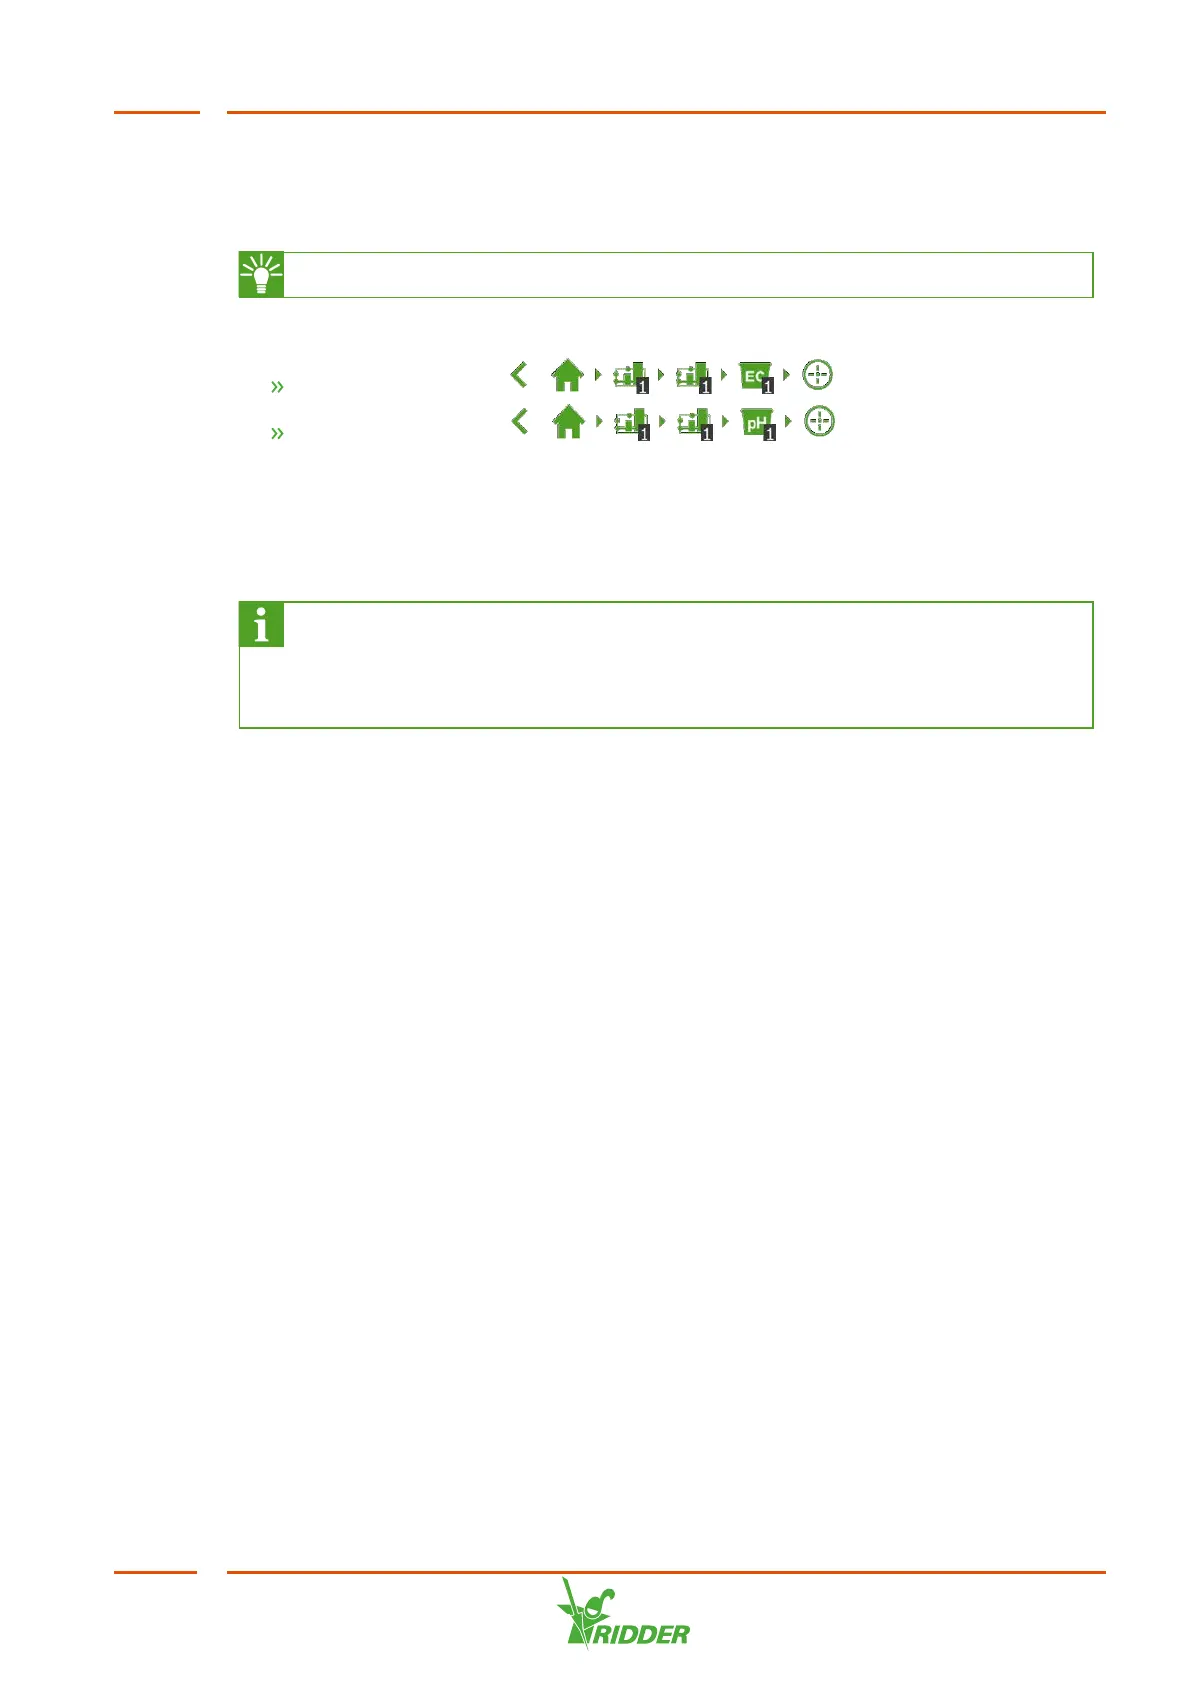
Navigate the path for the sensor that you want to calibrate.
Calibrate EC sensor: .
Calibrate pH sensor: .
Before taking each measurement, rinse the sensor with the clean tap water and dry it
off gently. Blow away any residual moisture.
Make sure to keep stirring the sensor during the wait time. This ensures that the
solution will remain homogeneous.
The measured values are not displayed during the calibration process,
because the values are still fluctuating. A readout will, however, appear in the
step between the two calibration solutions. This readout may differ slightly
from the final value, because the calibration process is not yet complete.
5.5 Pressurizing the FertiMiX
To pressurize the FertiMiX, complete the following steps:
5.5.1 Step-by-step instructions
To pressurize the FertiMiX-Go!, complete the following steps:
1. Switch the FertiMiX pump to manual mode (see the section "Operating the main
FertiMiX pump" on page44).
2. Adjust the water supply (see the section "Water supply and pressure" on the
next page).
3. Set the correct water pressure to the venturis (see the section "Water supply
and pressure" on the next page).
4. Remedy any leaky couplings or other leaks.
FertiMiX
41