5
Please use the original packaging if the device is to be transported.
Never put any liquids on the device or close to it. Should any liquid enter the device nevertheless, disconnect
from mains immediately. Please let the device be checked by a qualified service technician before you operate it
again. Any damages caused by liquids having entered the device are not subject to warranty!
Please consider that unauthorized modifications on the device are forbidden due to safety reasons!
If this device will be operated in any way different to the one described in this manual, the product may suffer
damages and the guarantee becomes void. Furthermore, any other operation may lead to dangers like short-
circuit, electric shock, etc.
3.Before operation
3.1.Powering up
Check carefully the controller voltage setting switch on the rear panel of the unit to ensure that the input voltage
you are using matches to its setting.The factory setting can be 115V or 230V AC at 50/60Hz.
If you want to change the voltage setting, do not connect the controller to the mains!
Connect the controller with the power cable to the mains.
The polarity of the cable provided conforms with the current international standards; should you need to replace
the cable, please note:
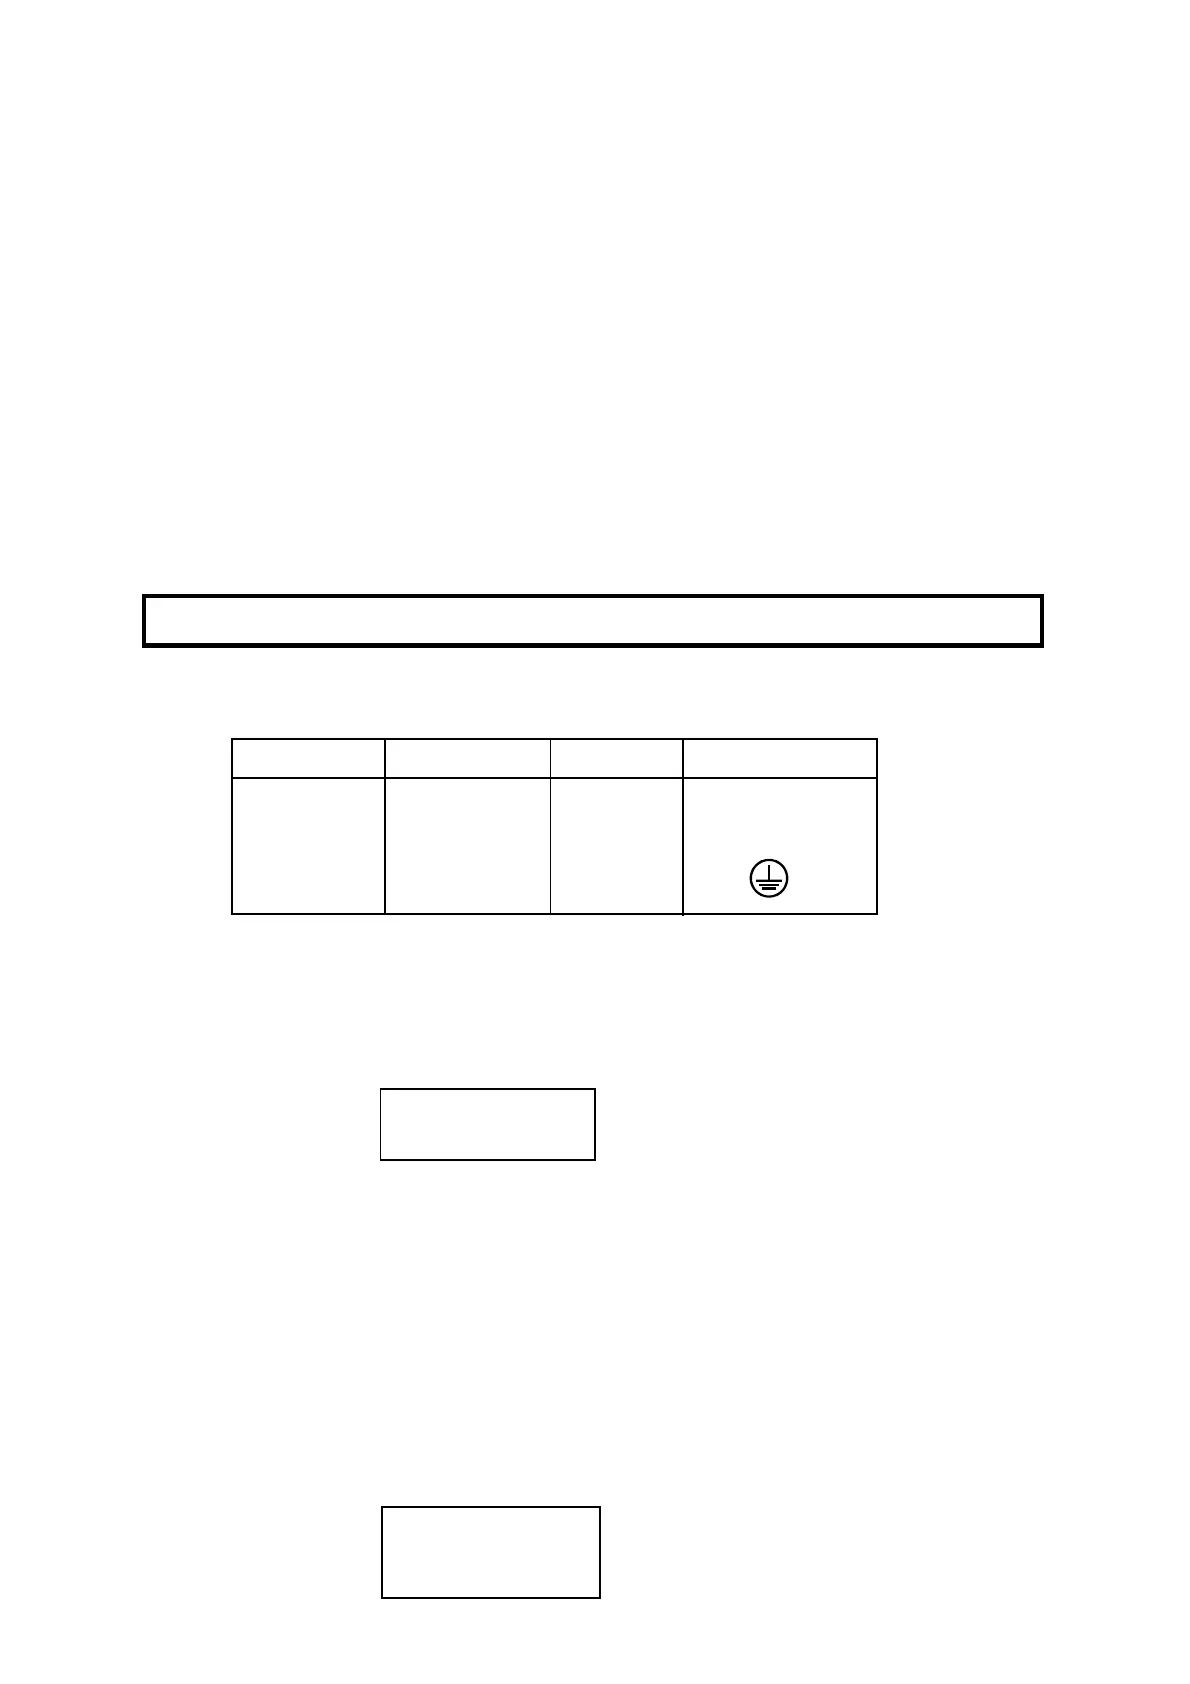
Cable (EU) Cable (US) Pin International
Brown Black Live L
Light blue White Neutral N
Yellow/Green Green Earth
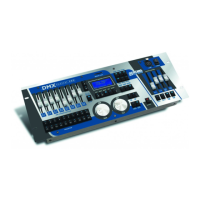
3.2.Sound-control
If the DMX CONTROL 480 is supposed to work via a soundsignal, connect the ¼" stereo jack female connector
with the sound signal of your headphones output or a second adjustable output (if existing) of your mixer, or with
the loud-speaker output of your amplifier:
Tip: Data +
Sleeve: Ground
By pressing the AUDIO button in run mode,the controller will use the beat signal taken from jack plug.
Caution: Never connect the sound input with the DMX output.
3.3.Building the DMX-line
The DMX CONTROL 480 is equipped with 2 DMX-outputs (3-pin XLR female connectors). In this way, it is easier
for you to connect the lighting effects.
Connect the DMX-output of the DMX CONTROL 480 with the DMX-input of the nearest lighting effect. Splitting
the DMX-line is not possible. Continue the DMX-line by connecting the DMX-output of the projector with the next
DMX-input.
Use a data line appropriate for RS-485 or a shielded quality double-wire cable. As a plug contact use 3-pin XLR-
connector:
PIN 1 - Ground
PIN 2 - Data -
PIN 3 - Data +
 Loading...