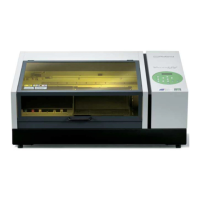
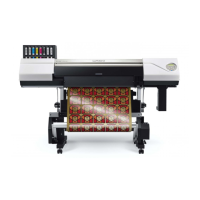
Basic Operation
20
Chapter 1 Basic Operation Chapter 1 Basic Operation
Press to enter the length of the area you
want to print.
Press
to enter the width of the area you
want to print.
For a test print, set width to 80 mm or more, and length to 70 mm or
more. An error will occur and test prints cannot be done if the area
is smaller than this.
Press to enable the setting.
The print area is specied. Print heads return to the standby position.
Make sure the "W (Width), L (Length), and H (Height)" values on the
menu screen are as intended.
Close the front cover.
You can also ne-tune the print area after the setup.
P. 38, "You can ne tune the print area that is set"
Printing Test and Normal Cleaning
Make sure to perform a printing test in the following cases. Perform normal cleaning when there is a nozzle
drop-out.
When starting operation for the day
When ending operation for the day
Carry out printing tests periodically during daily operations also to make sure no dot drop-out
occurs.
If dot drop-out occurs in a printing test, perform cleaning of the print heads (Normal Cleaning). Leaving the
dot drop-out untreated may damage the print heads. Please make sure to check each day after operation.
How to Perform a Printing Test
Procedure
Complete steps up to specifying the print area using test print media.
P. 17, "Specify the print area directly"
P. 19, "Specifying the Print Area from the Print Center Position"
A test print is printing to check whether or not there is dot drop-out. Use media for testing, and not the
media that you will actually use.
Press .
Press .
WIDTH : . mm
LENGTH : . mm
W : mm L : mm
H : . mm
 Loading...