Do you have a question about the Salus PCSol 201 and is the answer not in the manual?
Setting the time program for TDHWmin, the minimal temperature for reservoir loading.
Procedure for restoring the controller to its factory default settings.
How to read default settings without making changes.
Instructions for clearing heat output charts and counters.
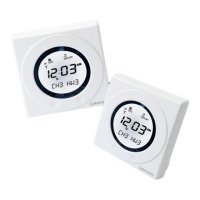
Accessing the settings menu for user adjustments.
Explanation of the night cooling function and its available settings.
Description of Solar Thermal Scheme A: DHW reservoir loading from collector.
Description of Solar Thermal Scheme B: DHW reservoir loading with heater assist.
Description of Solar Thermal Scheme C: DHW reservoir loading with heat discharge.
Description of Solar Thermal Scheme D: DHW reservoir A loading with transfer to reservoir B.
Instructions for mounting the controller unit and preparing wiring.
Information on using the spring-loaded terminals for wire connections.
Wiring the controller's power supply, including safety precautions.
Connecting the PWM signal for High Efficiency solar pumps.
Instructions for connecting temperature sensors to the controller inputs.
Guidelines for installing temperature sensors for accurate measurements.
Specific instructions for installing the room temperature sensor.
Connecting devices to the Output H terminal, such as relays or valves.
Scheme A: DHW reservoir loading from solar collector.
Scheme B: DHW reservoir loading with extra heating and circulation control.
Scheme C: DHW reservoir loading with heat discharge to drain.
Scheme D: DHW reservoir loading and heat transfer to reservoir B.
Scheme E: Loading two DHW reservoirs with priority for A.
Procedure to compensate for sensor connection line resistance.
Settings for the vacuum collector function, including detection level and operation time.
How to use manual mode for controlling outputs P1, P2, and H.
| Brand | Salus |
|---|---|
| Model | PCSol 201 |
| Category | Controller |
| Language | English |