Chapter 1. Introduction 1 - 11
U1, 2, 4
Button
Stands for ‘User Key.’ This button allows users to select a
function to apply to the button. The function of each button can
be set in Setup > User Defined Key. The selected settings will be
displayed in the User Defined Key area of the monitor.
P 1~2
Button
Stands for ‘Peripheral Key.’ This button allows users to select a
function to apply to the button. The function of each button can
be set in Setup > User Defined Key. The selected settings will be
displayed in the User Defined Key area of the monitor.
BodyMarker
Button
Allows the user to enter a BodyMarker over an image.
Text
Button
Allows the user to place text on an image.
EZ Exam
Dial-button Use the EZ Exam and Preset Change features.
Button
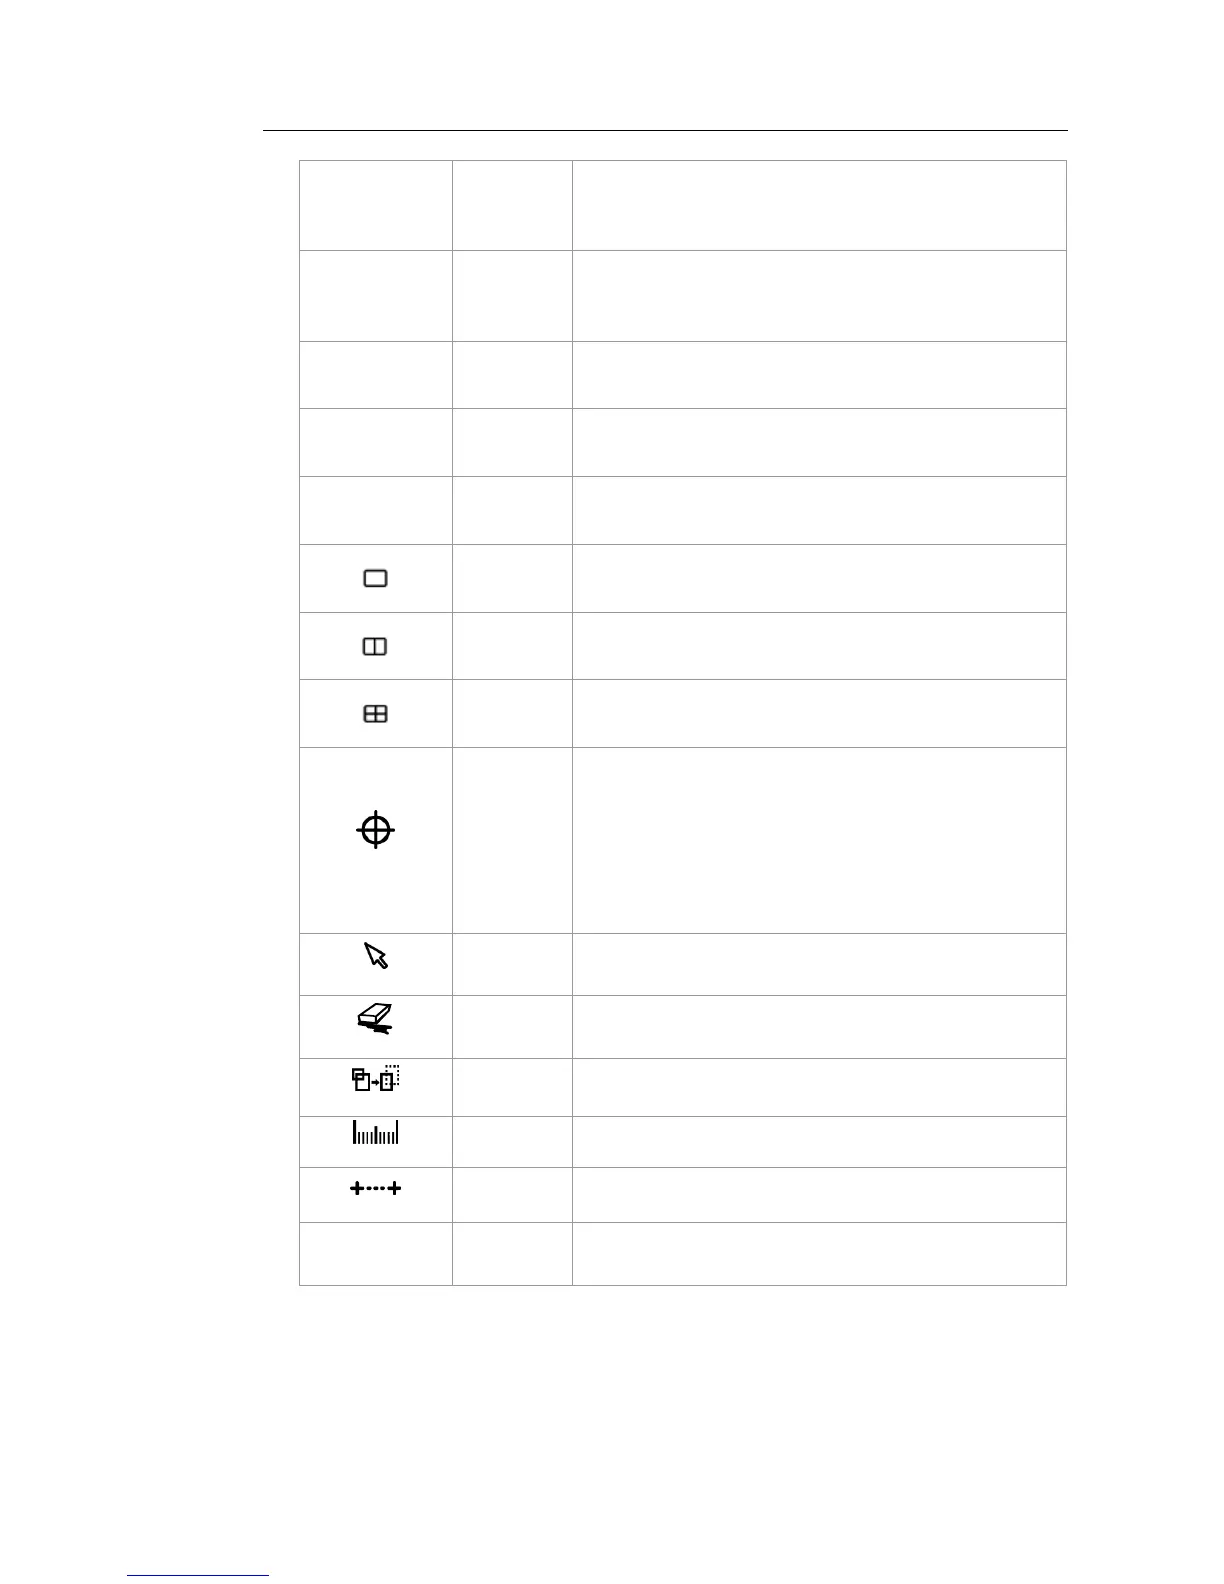
In this mode, only the image is displayed on the screen.
Button
Compares two independent images.
Button
Compares four independent images.
Set / Exit
Button
This button is used to assign user-defined functions. The
function of each button can be set in Utility > Setup > User
Defined Key.
Set: Selects an item or value using the trackball or changes the
function of the trackball.
Exit: Exits the function currently being used and returns to the
previous state.
Pointer
Button
When this is pressed, an arrow marker appears to point to parts
of the displayed image.
Clear
Button
Deletes text, indicator, BodyMarker, and measurement result,
etc. displayed on an image.
Change
Button This is used to change the current trackball function.
Calculator
Button
Starts measurements by application.
Caliper
Button
Starts to measure distance, circumference, area, and volume.
Trackball
Trackball
Moves the cursor on the screen and scrolls through Cine
images.