− 124 −
DCUTSIDE
Horizontaland
facingdownward
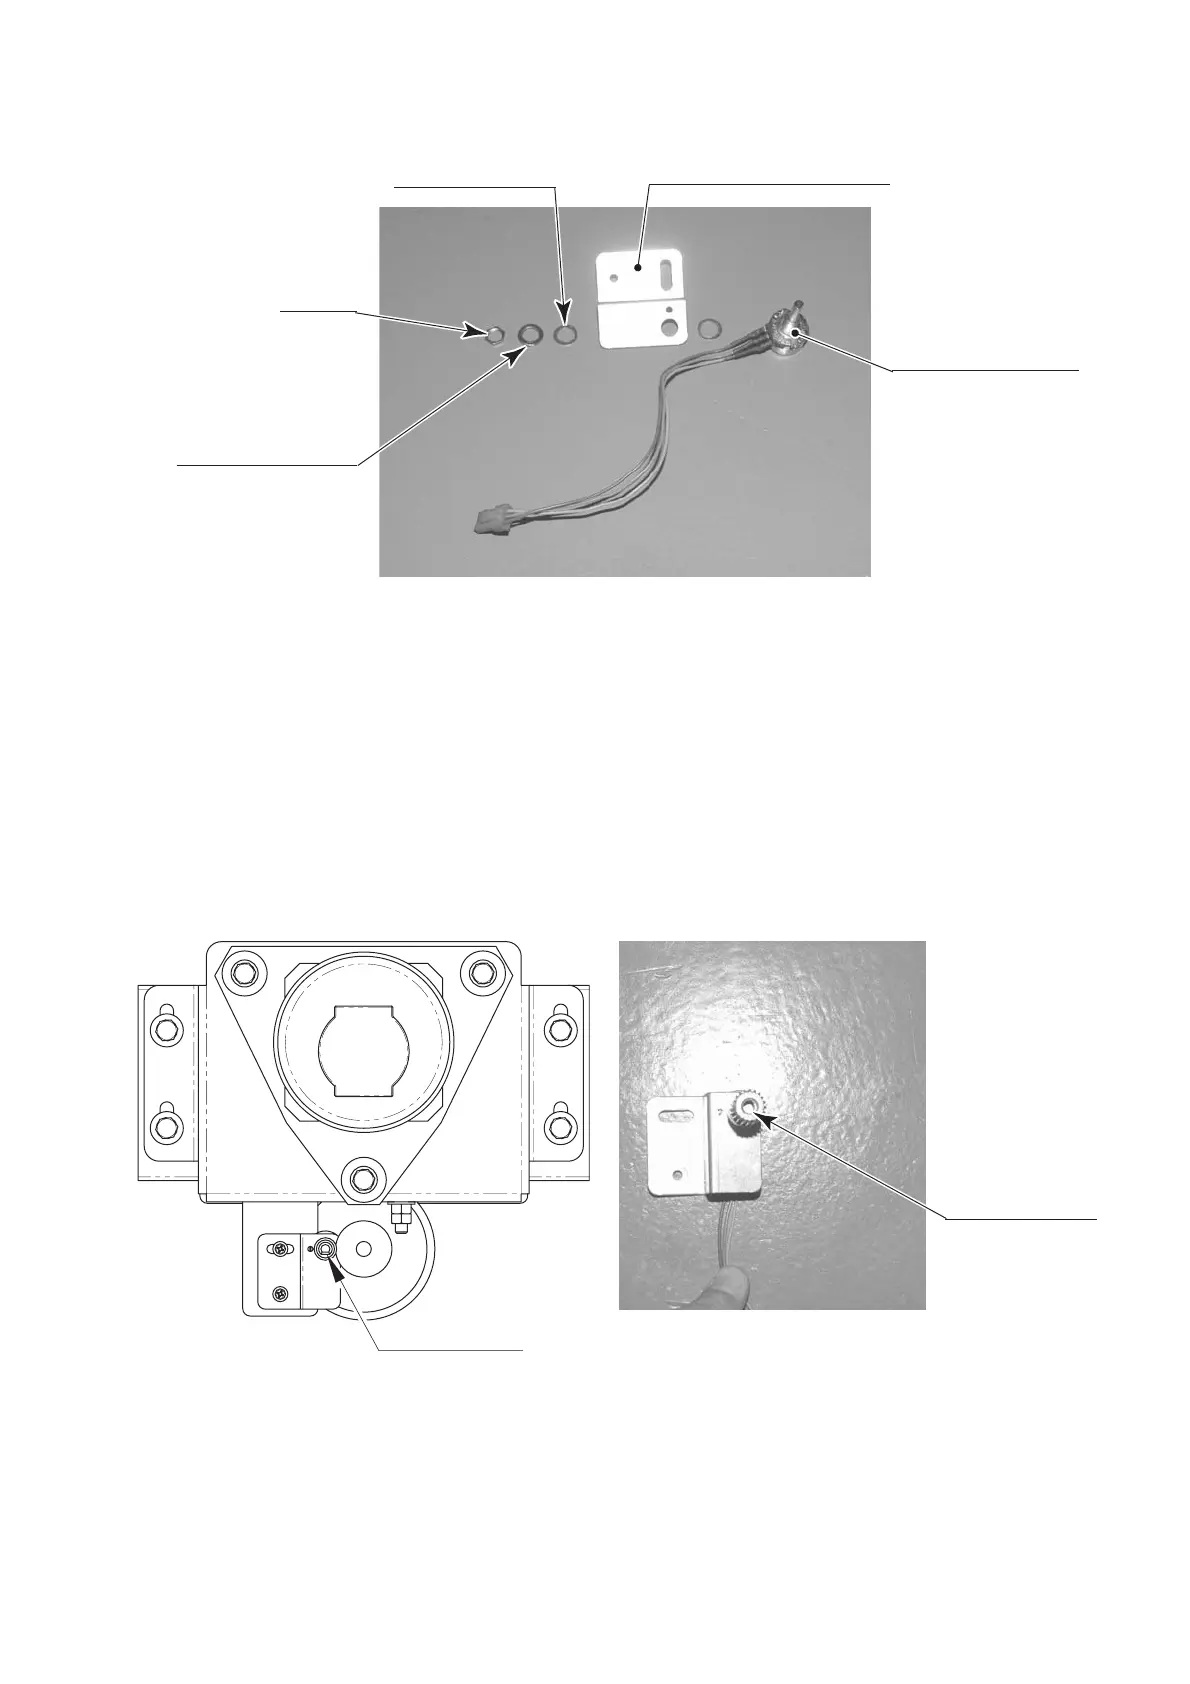
⑤RemovethenutsecuringthesteeringVRbracketandthenremovetheVRfromthebracket.
⑥ ThewiresconnectedtotheoldVRcanbereusedforthenewVR.Removetheheatcontraction
tubecoveringthesolderedareas,usethesolderingirontomeltthesolder,andremovethewires
fromtheVR.
⑦ SolderthewirestothenewVR.Checkthewiringdiagramtomakesuretherearenomistakesin
thewiring.Inaddition,useaheatcontractiontubeorotherdevicetopreventshort-circuiting.
⑧ InstallthenewVRandthegearinthesteeringVRbracket.
⑨ InstallthesteeringVRunit.
EngagethegearsothattheD-cutsideoftheVRaxleislevelandfacingdownwardwhenthe
steeringunitisinthestraightposition,andsecureitwith2screws.
⑩Plugintheconnectors.
⑪ AdjustthevariableresistorsettingsontheVolumeSettingsscreen(see10-3G).
⑫Checktomakesurethe"STEERINGX"valueontheInputTestscreeniswithintherange80H
±8Hwhenthesteeringunitisinthestraightposition.
PHOTO12.1e
PHOTO12.1f
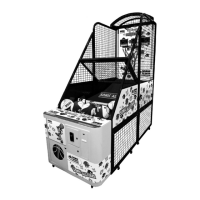
VR
220-5484、220-5753
STEERINGVRBRACKET
NUT
SPRINGWASHER
FLATWASHER
DCUTSIDE
Horizontaland
facingdownward
FIG.12.1
 Loading...