− 127 −
DCUTSIDE
Horizontaland
facingdownward
⑥ ThewiresconnectedtotheoldVRcanbereusedforthenewVR.Removetheheatcontraction
tubecoveringthesolderedareas,usethesolderingirontomeltthesolder,andremovethewires
fromtheVR.
⑦ SolderthewirestothenewVR.Checkthewiringdiagramtomakesuretherearenomistakesin
thewiring.Inaddition,useaheatcontractiontubeorotherdevicetopreventshort-circuiting.
⑧ InstallthenewVRandthegearintheRollVRbracket.
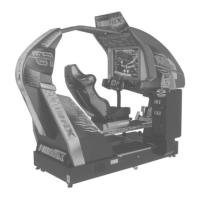
⑤Removethenut
securingtherollVR
bracketandthen
removetheVRfrom
thebracket.
⑩ Checktomakesuretheseatislevel.
⑪ InstalltheRollVRunit.InserttheRollVRunitwithoutcausingthegeartorotateandsecureit
with2screws.
Thegearengagementshouldalsobeadjustedatthistime.
⑫ Checktomakesurethe"SEATMOTION"valueontheInputTestscreeniswithintherange
80H ± 8Hwhentheseatislevel.Ifthevalueisoutsidethisrange,adjusttheVRagain.
NUT
SPRINGWASHER
FLATWASHER
ROLLVRBRACKET
VR
220-5484、220-5753
PHOTO12.2e
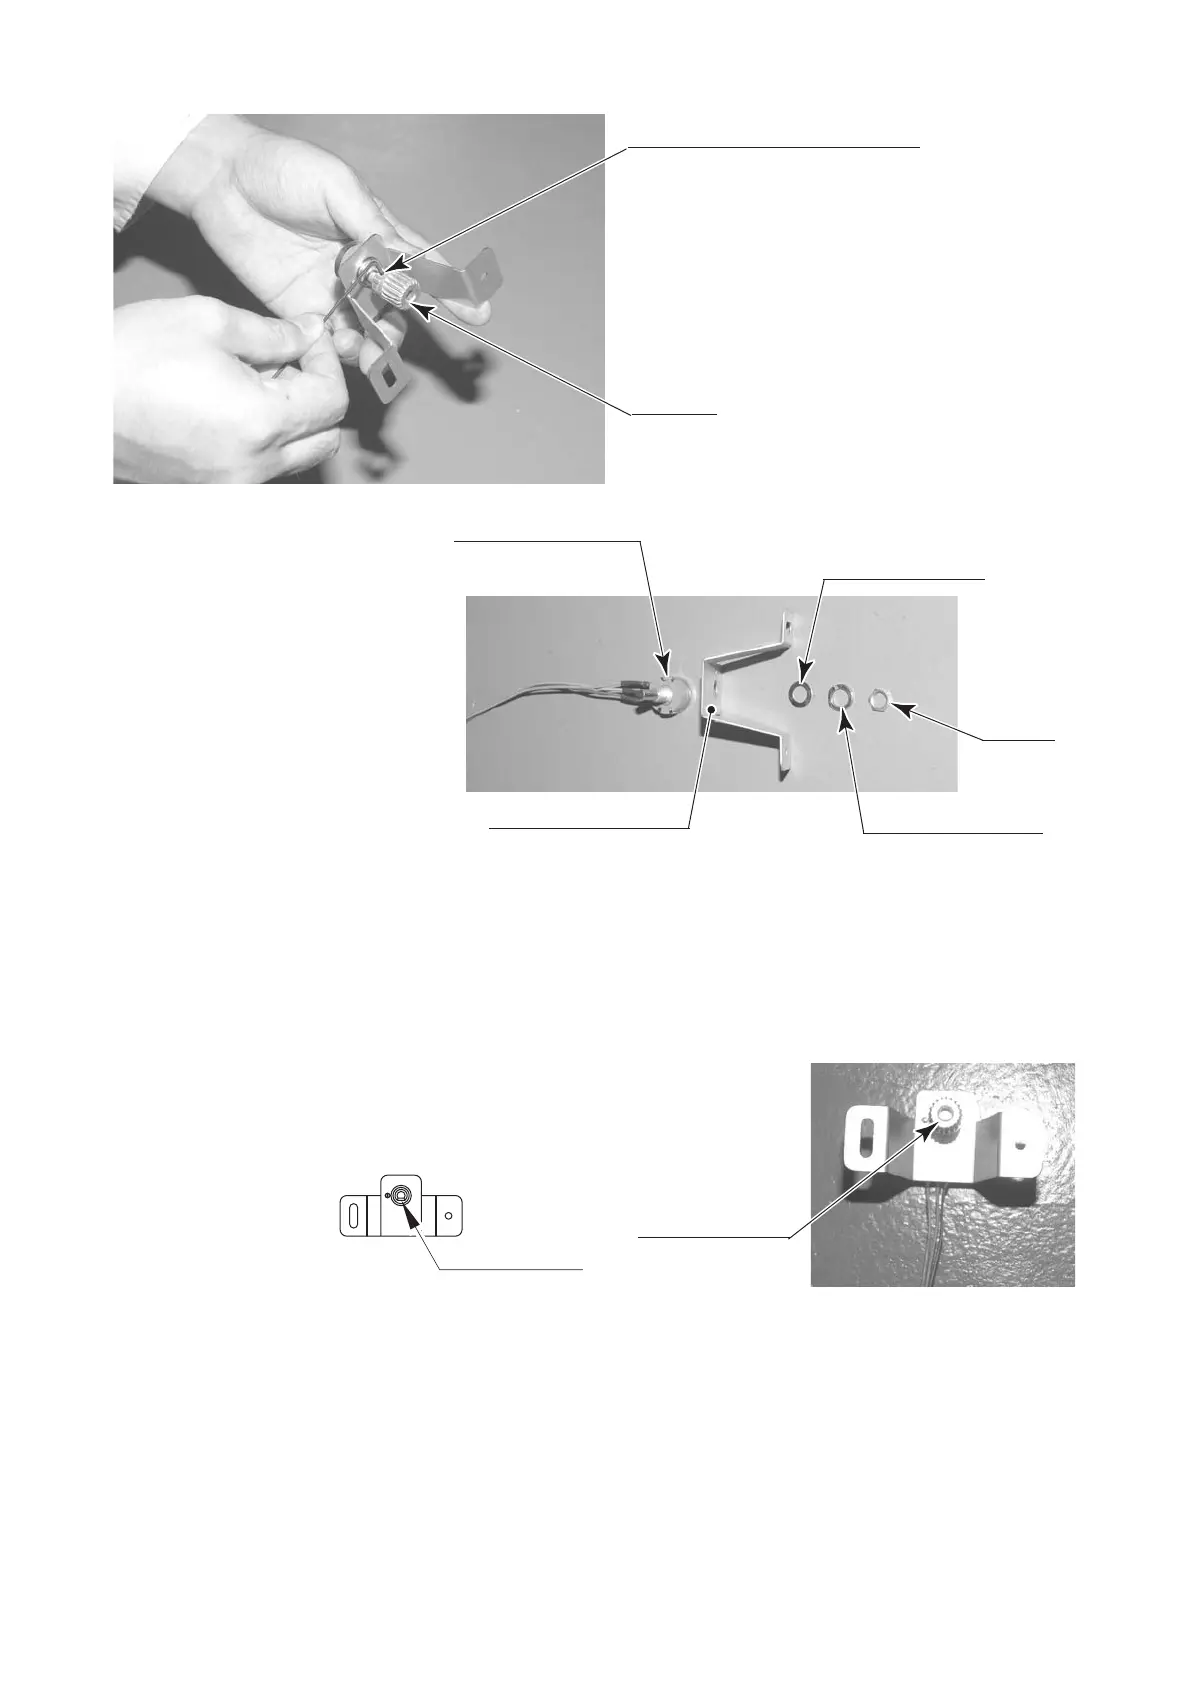
⑨ RotatethegearsothattheD-cutsideoftheVRaxleis
horizontalandfacingdownward.
PHOTO12.2f
DCUTSIDE
Horizontaland
facingdownward
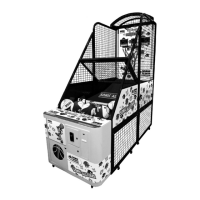
④Loosenthe2hexagonsocketscrews
holdingthegearinplaceandremovethe
gearfromtheVRaxle.
PHOTO12.2d
GEAR
FIG.12.2
HEXAGONSOCKETSCREW(2)
M3×6
 Loading...