Configuring the Display
Doc. 177/5250x
Rev. A
6-11
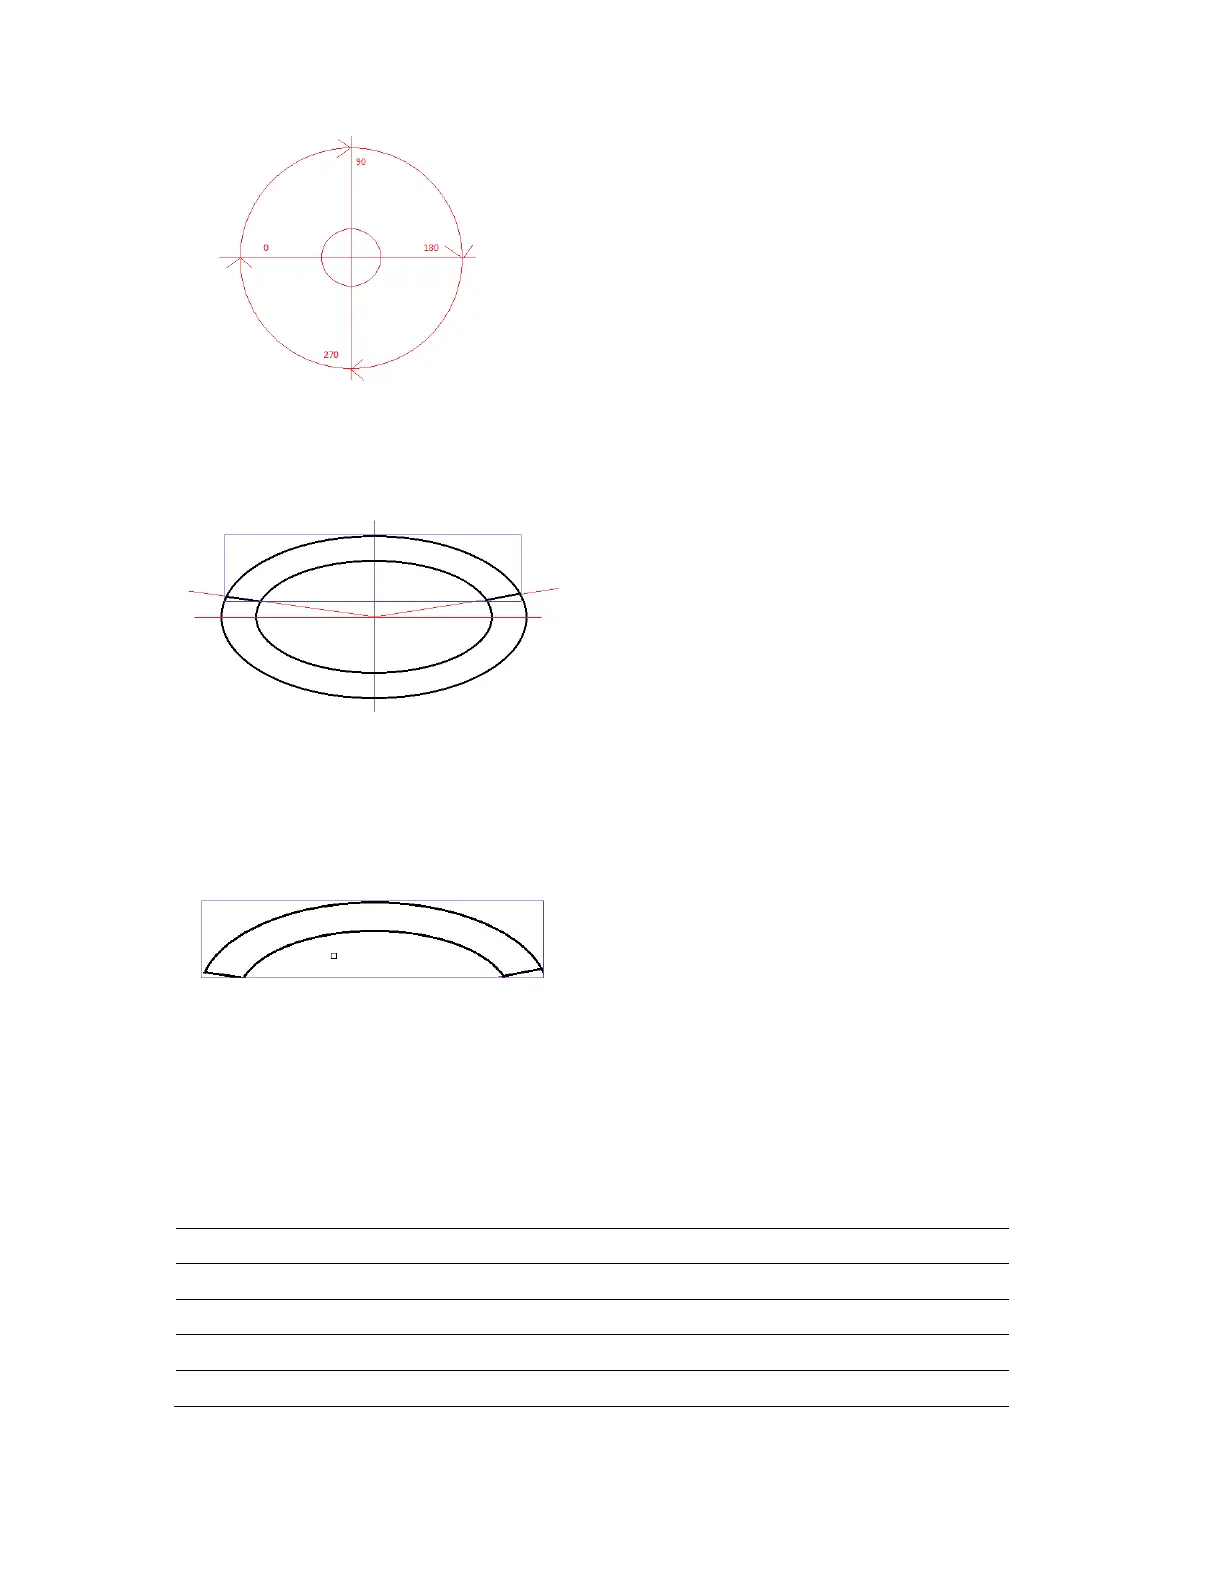
To finally create the arc graph shape we define the start angle and end angle. The display
will then create a bounding rectangle around the remaining arc, ready to be drawn onto the
screen, e.g.:
In this picture the blue rectangle contains the arc that will be seen on screen. The start and
end angles in this case were (approximately) start at 15, and end at 165. This would leave an
on-screen arc looking something like:
The x,y screen position of this item would be the top left of this blue rectangle.
Sub index items
The arc graph uses the following specific sub-items:
Sub index Description type
Sub 5 Graph flags. Control specific appearance settings. U16
Sub 6 Data 1. Outer ellipse x size U16
Sub 7 Data 2. Outer ellipse y size U16
Sub 8 Data 3. Start angle in degrees. 16
Sub 9 Data 4. End angle in degrees. 16