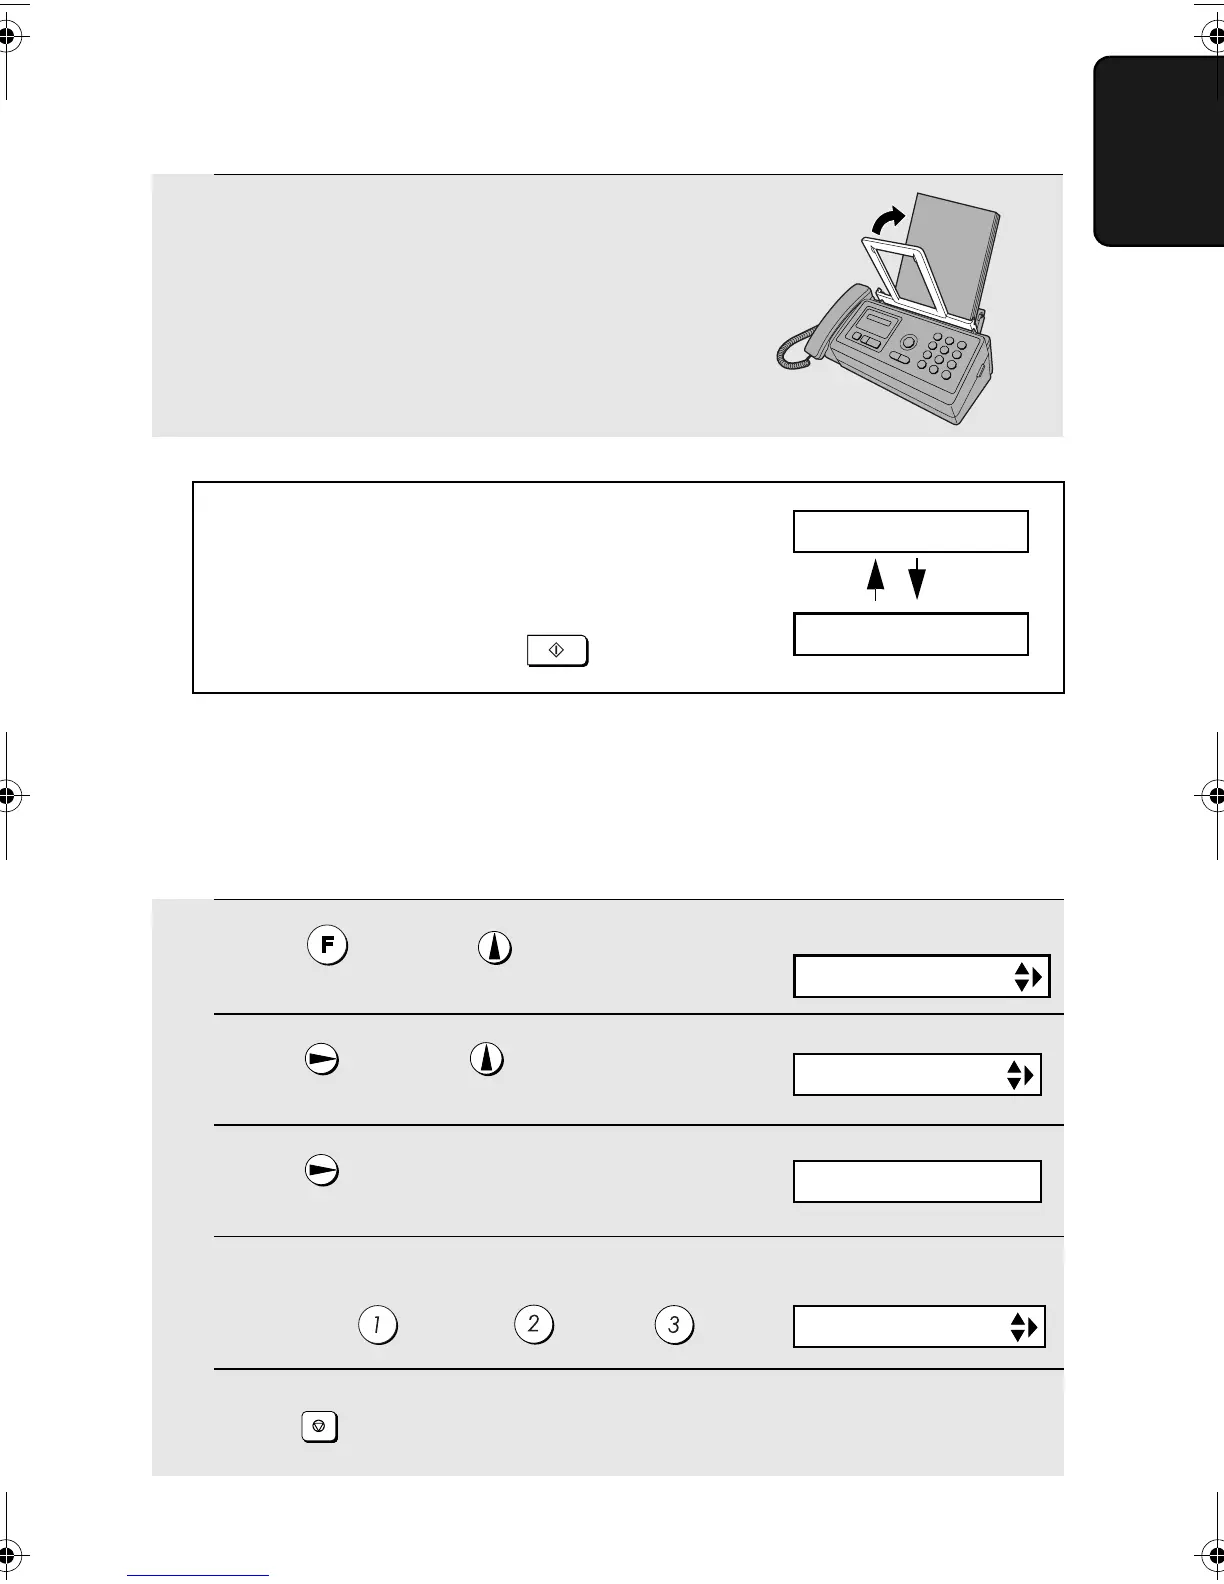
Loading Printing Paper
17
1. Installation
Print contrast setting
Your fax has been set at the factory to print at normal contrast. If desired, you
can change the print contrast setting to LIGHT or DARK.
1
Press once and once.
2
Press once and twice.
3
Press once.
4
Select the print contrast:
NORMAL: LIGHT: DARK:
5
Press to exit.
STOP
The display briefly shows
your selection, then:
Note: If at any time the display shows the
alternating messages at right, check the printing
paper. If the tray is empty, add paper. If there is
paper in the tray, take it out and then reinsert it.
When you are finished, press
.
START/MEMORY
4
Push the paper plate back down.
Display:
PRESS START KEY
ADD PAPER &
OPTION SETTING
PRINT CONTRAST
1:NORMAL
COPY CUT-OFF
all.book Page 17 Wednesday, October 27, 2004 12:42 PM