Sending a Fax by Automatic Dialling
32
Editing and clearing auto-dial numbers
If you need to make changes to a previously stored auto-dial number, or clear
a number, follow these steps:
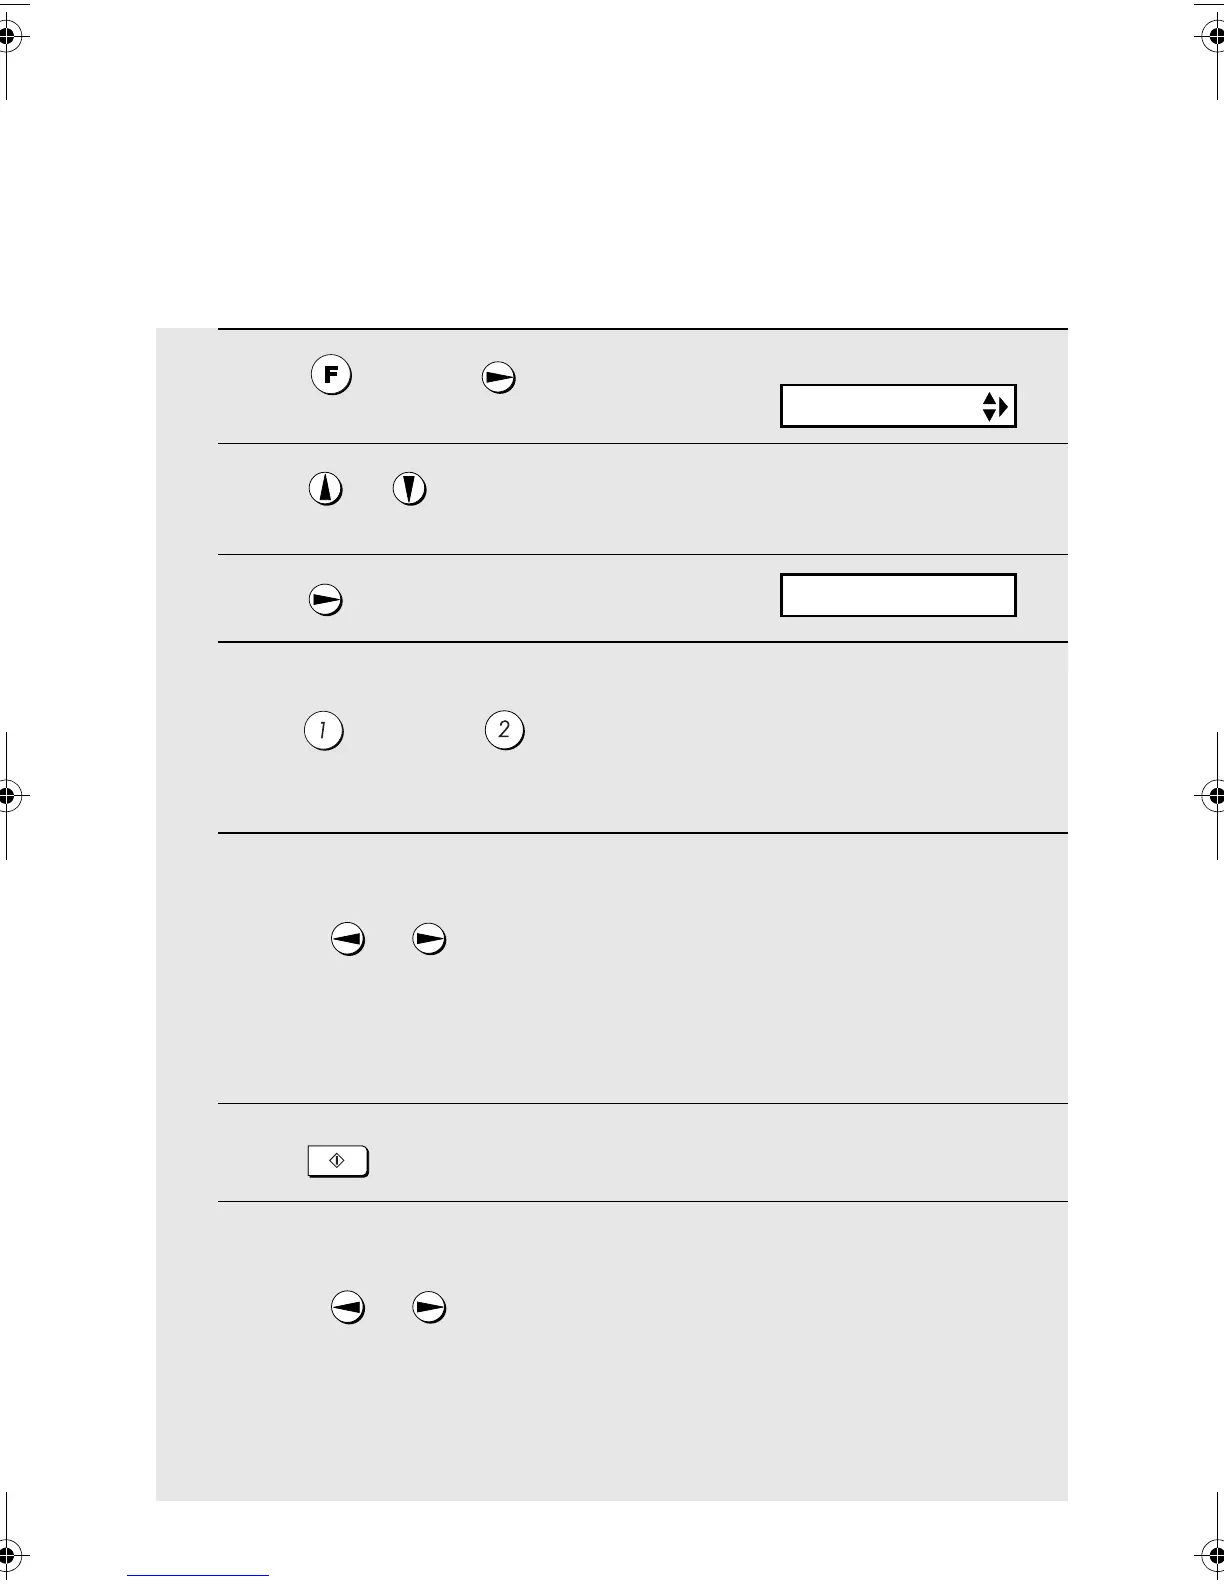
1
Press once and once.
2
Press or until the number you wish to edit or clear appears in
the display.
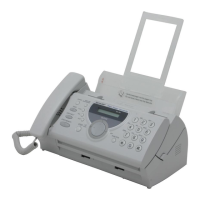
3
Press once.
4
Select EDIT or CLEAR:
EDIT: CLEAR:
• If you selected CLEAR, go to Step 8.
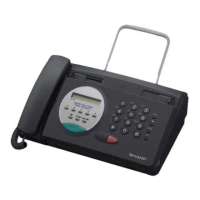
5
If you selected EDIT, make the desired changes to the number.
• Press or to move the cursor to the digit or digits you wish to
change, and then enter the new digit. The new digit will replace the old
digit.
• If you do not wish to change the number, go directly to Step 6.
6
Press
7
Make the desired changes to the name.
• Press or to move the cursor to the letter or letters you wish to
change, and then press the appropriate number key repeatedly until the
desired letter appears (see Step 5 on page 31). The new letter will replace
the old letter.
• If you do not wish to change the name, go directly to Step 8.
START/MEMORY
Display:
1=EDIT, 2=CLEAR
<NEW NUMBER>
all.book Page 32 Wednesday, October 27, 2004 12:42 PM