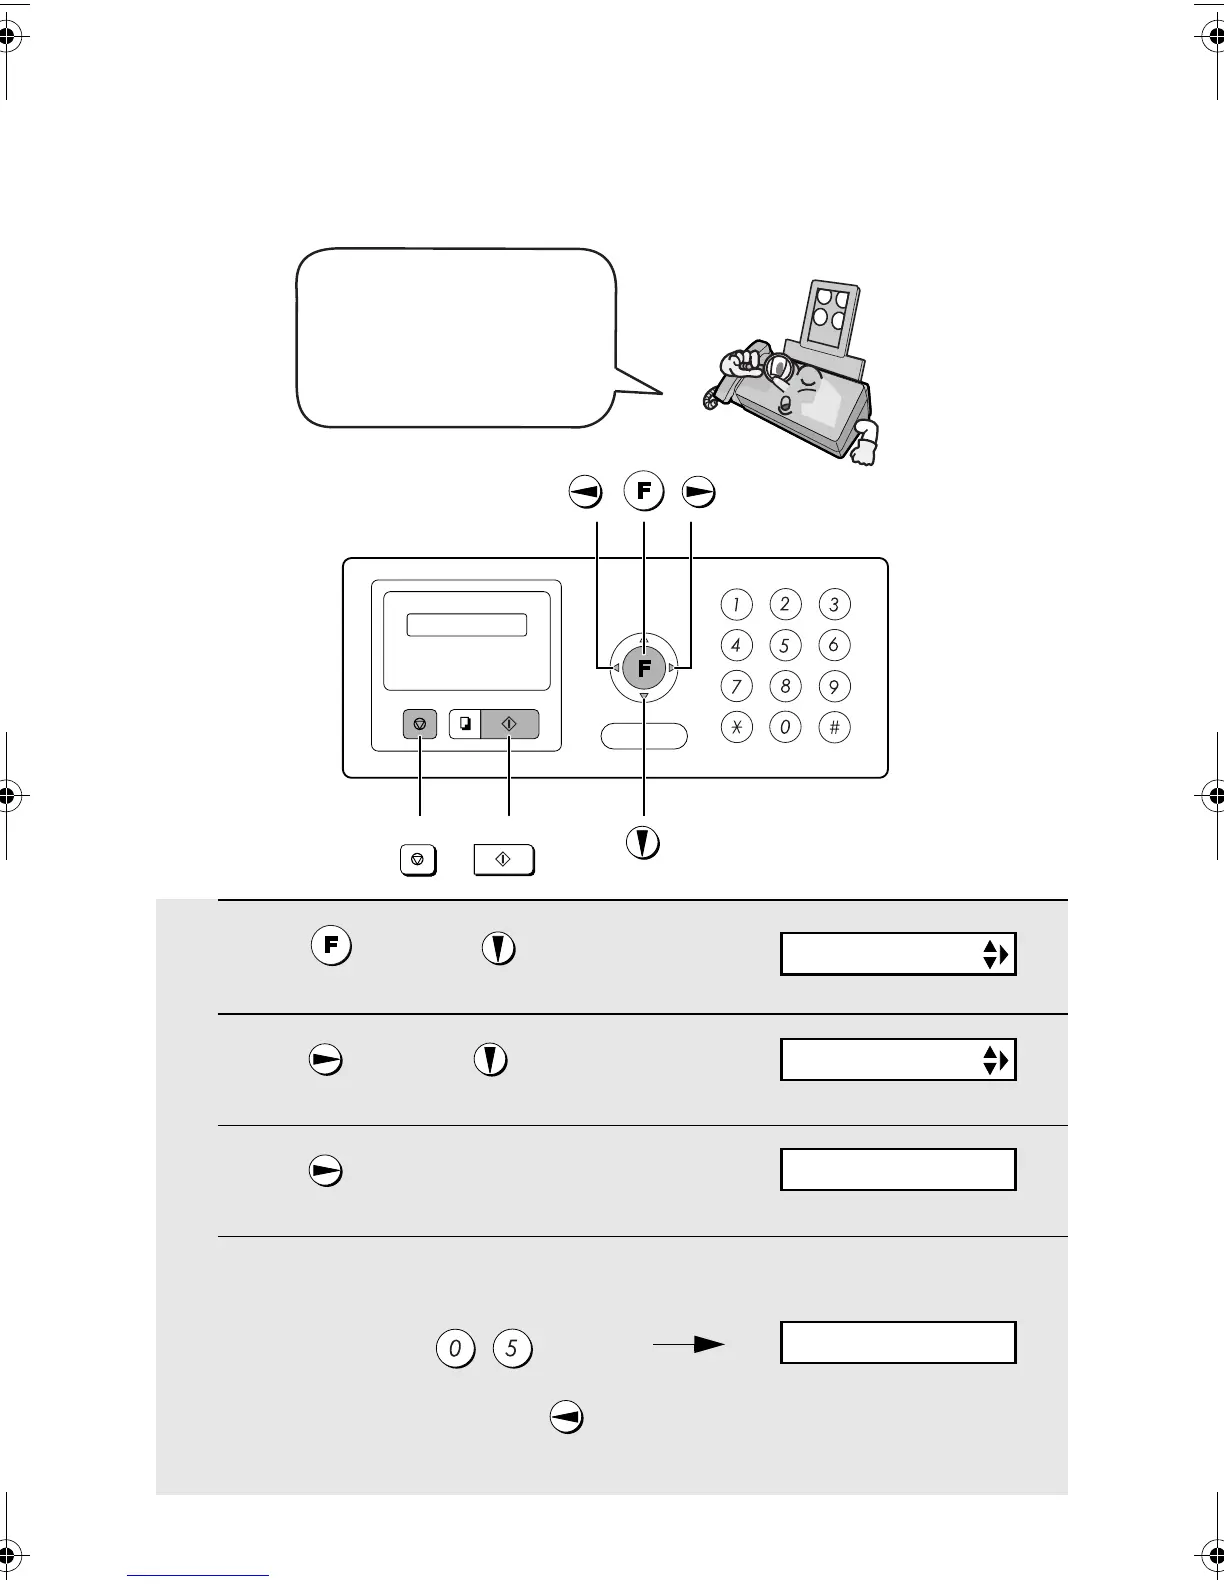
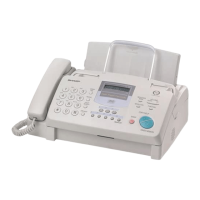
Setting the Date and Time
20
Setting the Date and Time
1
Press once and twice.
2
Press once and once.
3
Press once.
4
Enter a two-digit number for the day (“01” to “31”).
Example: the 5
th
• To correct a mistake, press to move the cursor back to the mistake and
then enter the correct number.
The date and time appear
in the display and are
printed at the top of every
page you fax. Set the date
and time as shown below.
Display:
The currently set date
appears (example):
ENTRY MODE
DATE&TIME SET
DATE 15-08-2004
DATE 05-08-2004
START/MEMORY
STOP
all.book Page 20 Wednesday, October 27, 2004 12:42 PM