16 mm
[0.630”]
21 mm
[0.827”]
46 mm
[1.811”]
57 mm
[2.244”]
67 mm
[2.638”]
[3.740”]
106 mm
[4.173”]
98.26 mm
[3.868”]
13.1 mm
[0.516”]
12 mm
[0.472”]
60 mm
[2.362”]
35 mm
[1.378”]
75 mm
[2.953”]
80 mm
[3.150”]
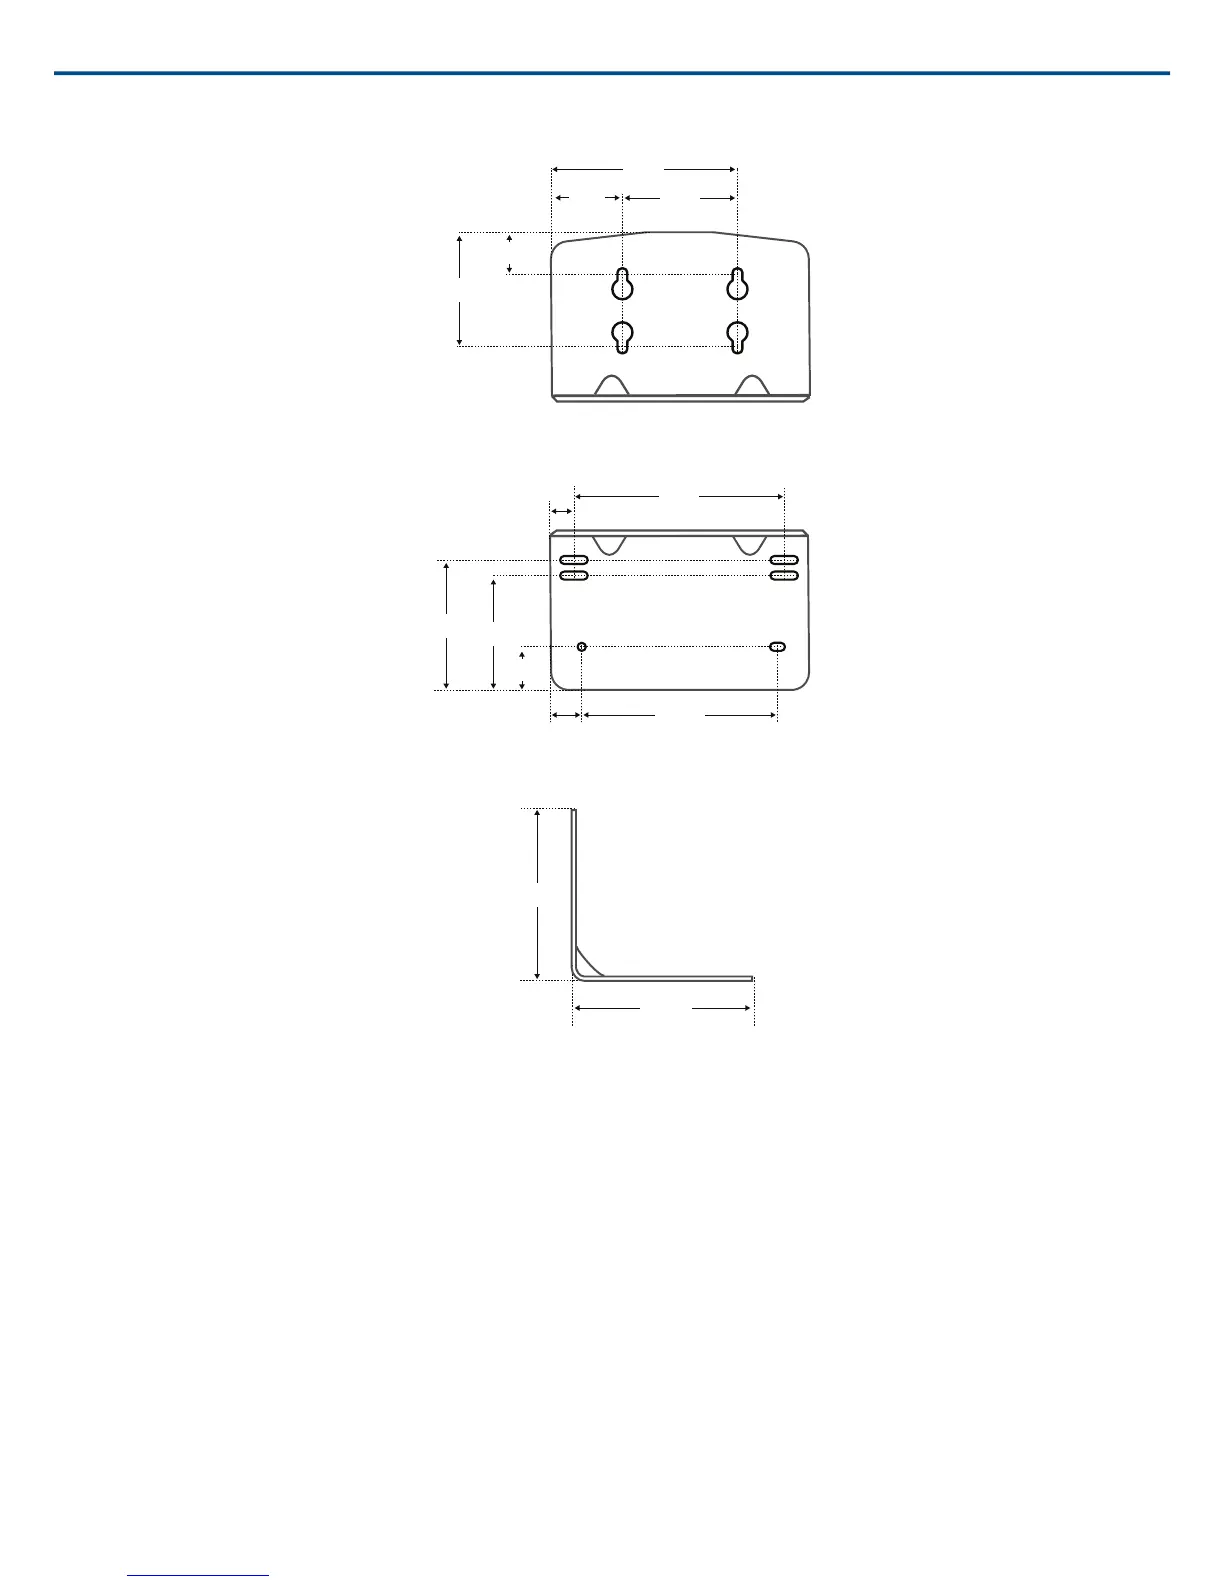
Overall Dimensions
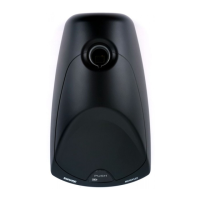
Mount the Access Point Transceiver
The directional antennas of the APT send and receive the RF signal in a cardioid pattern with the greatest sensitivity toward the face of the device. Always aim
this side toward the microphone coverage area.
Select a Location
The access point is typically mounted to a ceiling or wall near the microphone coverage area. For best results, perform a Spectrum Scan at potential locations
to find the optimal placement (see Wireless Management section for more details).
Use the following best-practices when selecting a location for the device:
• Direct the face of the access point toward the intended coverage area.
• Position the access point so there is nothing obstructing a line of sight to the microphones.
• Keep device away from large metal objects.
• Keep at least eight feet between access points.
• Mount with its reset button accessible, as it may be useful for troubleshooting.
Shure IncorporatedMXW
2017/05/1724/72