65 71 165 D3639
D3639.201.01.02.02 10.2016
27
Sirona Dental Systems GmbH 4Transport and commissioning
Operating Instructions CEREC SpeedFire 4.5Setup/connection
båÖäáëÜ
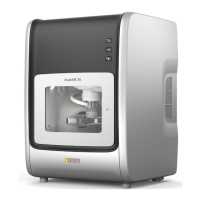
4.5.2 Installation site
The unit is designed for desktop use and requires a level footprint of
approx. 250 x 425 mm (W x D) with a loading capacity of 21 kg. The unit
is 425 mm high. The ventilation slots on the rear of the unit must not be
obstructed. Ensure there is a minimum distance of 100 mm between the
rear of the unit and wall.
The unit must not be installed at sites with a high level of humidity or dust!
1. Always set up the unit in a dry location, as specified in the safety
information.
2. Position the unit so that the main switch on the back is easily
accessible (at least 100 mm from wall).
4.5.3 Connecting the unit to the power supply and existing
network
Connecting the unit to the power supply
Only use the power cord supplied in the package for connecting to the
mains. The unit must be connected directly to a fixed socket and must not
be bridged via an extension cable.
➢ Connect the unit to the power supply.
Connecting the control panel
➢ Connect the control panel directly to the primary unit using the
communication cable. Make sure that both knurled screws on the
connector are fastened tightly.
Connecting the unit to the network
➢ Integrate your unit into your existing network via the LAN "Ethernet"
connection. Use the supplied network cable to do so.
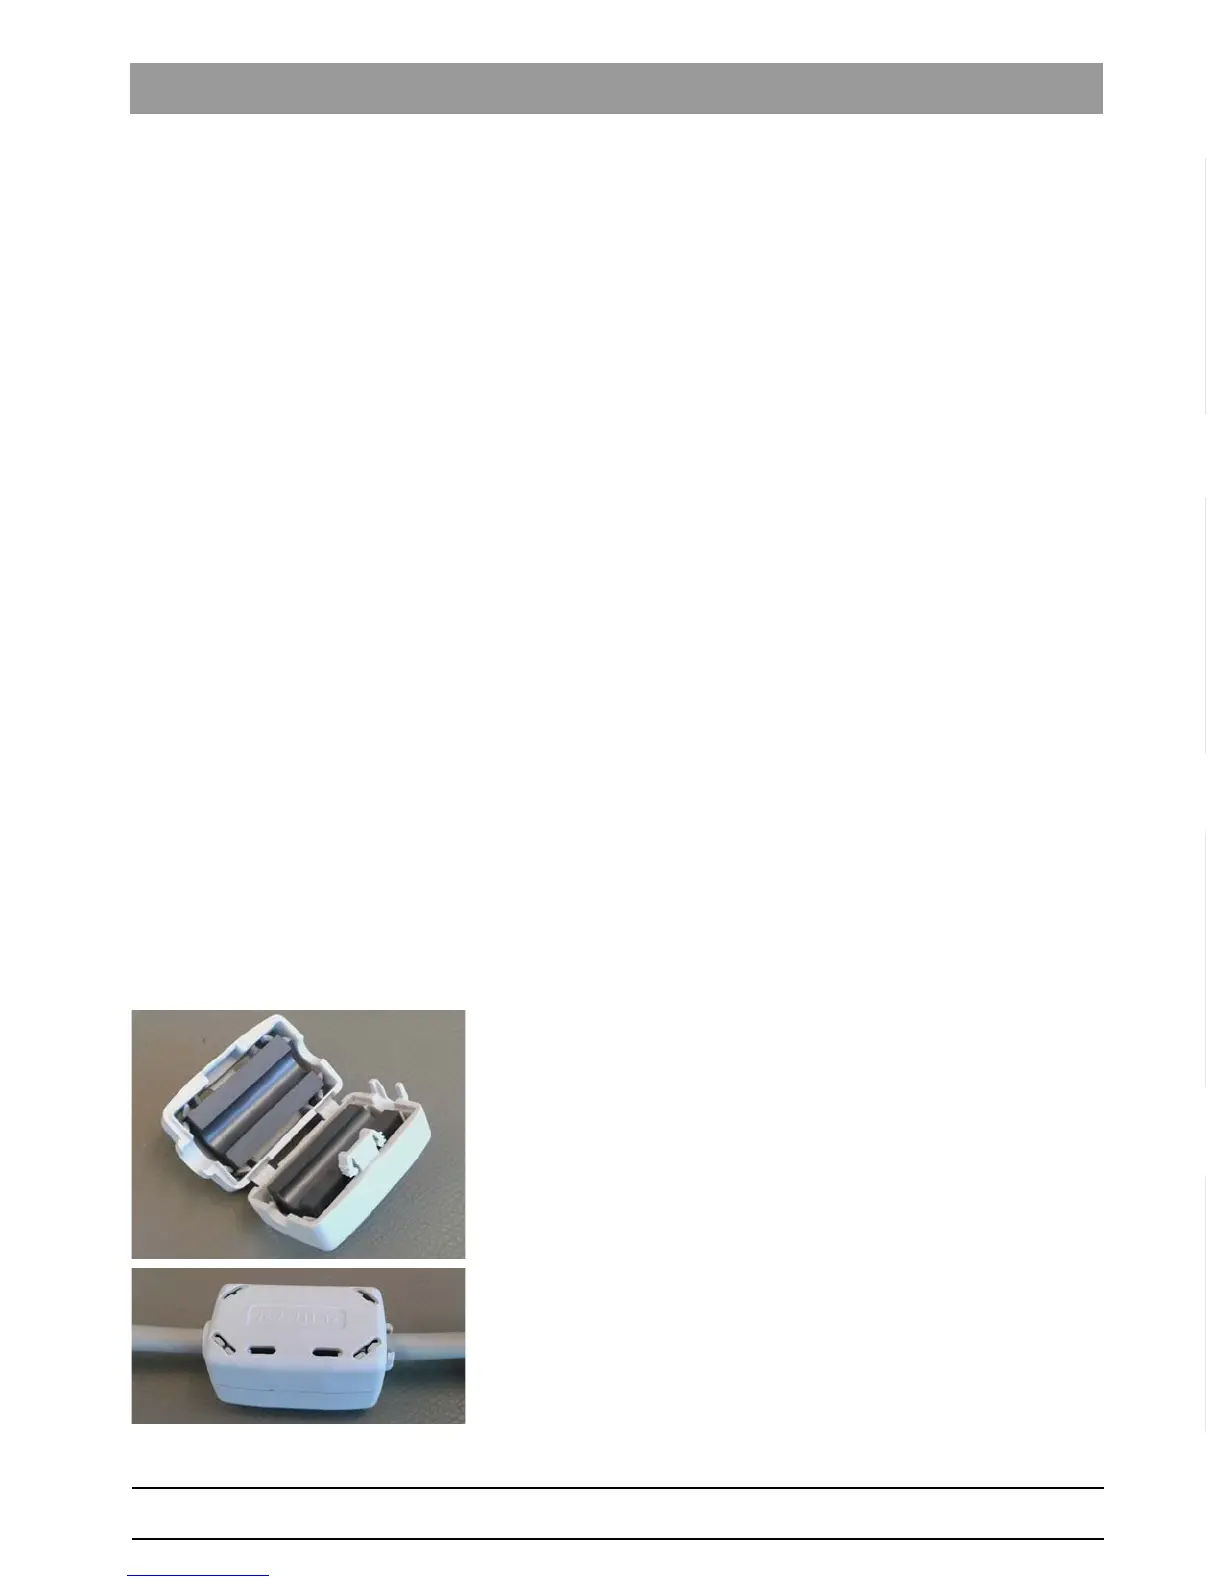
Fasten the ferrite core
1. Place the network cable into the open ferrite core.
2. Close the ferrite core until it locks into place.