7. Don’t mount probes within half the tip diameter of:
a. The end of a shaft
b. A step-down
c. A collar
d. Any conductive surface other than the surface to be
monitored
8. Don’t mount probes on structures that have a natural
resonance within machine operating range.
9. Don’t attach conduit to probe body.
10. Don’t twist probe lead when threading probe into
place. Always use the probe case “flats” to turn probe
into threads.
11. Don’t forget to label the probe leads, extension cables,
and monitor wires at the time of installation.
12. Don’t forget to clamp probe’s extension cable within 6”
to 10” (152 to 254 mm) of probe tip.
13. Don’t leave probe loose in threads; tighten jam nut or
locking device.
Mounting “Button” eddy probes
“Button” probes are used in locations with very small
clearances. These probes are not threaded and must be
mounted with some type of adhesive (except CMSS 62).
The type of adhesive depends upon several factors –
permanent or temporary mounting, temperature, humidity,
immersion, or the quality of the mounting surface.
Figure 3-21. Button eddy probe mounting diagram.
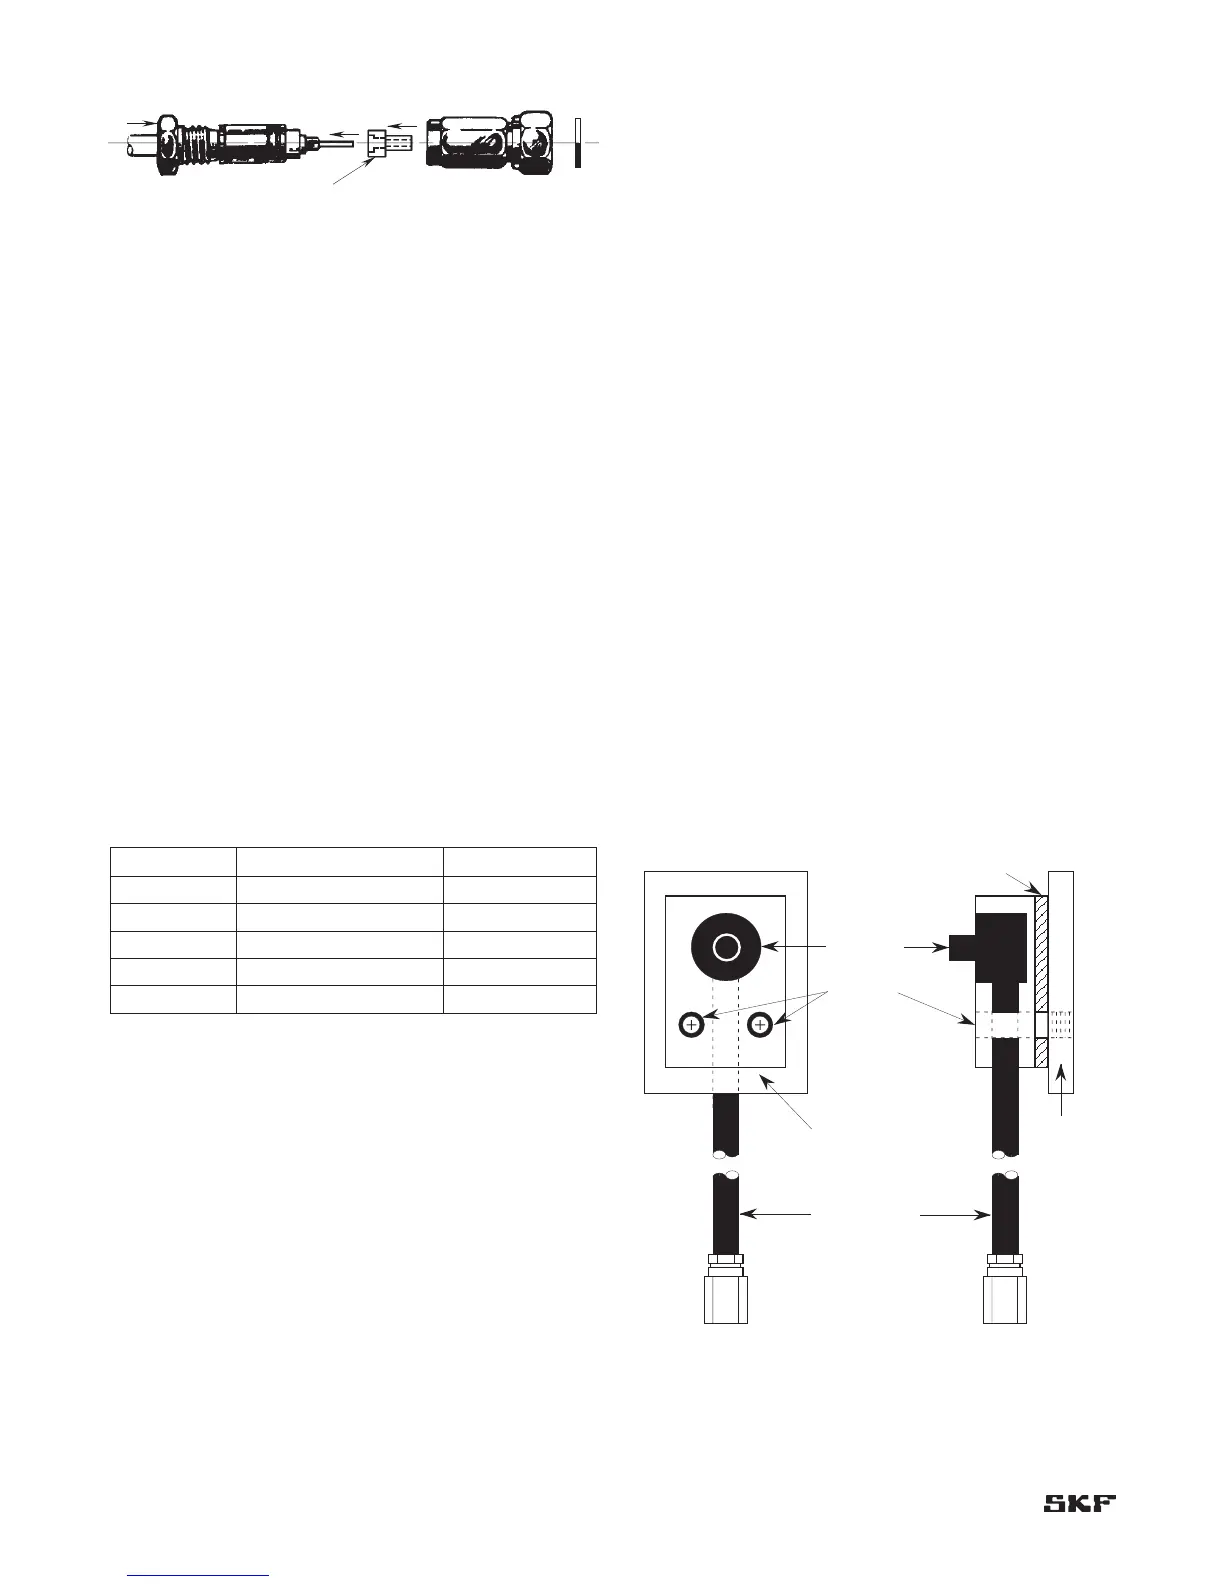
Figure 3-20 shows how to reassemble the connector.
Figure 3-20. Reassembling the connector.
Assemble insulator number 2 over contact for plug type
(see Note Number 1), slip front body onto clamp nut and
tighten to 140-150 inch-ounces (0.99 N-m – 1.06 N-m).
Important: Gasket will flow.
Wait (24 hours room temperature or 2 hours 257 °F
[125 °C]) and re-torque to 140-150 inch-ounces (0.99
N-m – 1.06 N-m). If reassembling from having just
removed body to allow passage through a 1/4–28 threaded
hole, apply heat during reassembly. It will not be necessary
to re-torque after 2 hours in this case.
Note Number 2: A seal gasket is optional and if installed
in plug, provides seal from hostile
environment when mated to jack.
Probe mounting don’ts
1. Don’t use probes with the wrong extension cables or
drivers (see Table 3-3).
Table 3-3. Component compatibility.
Eddy probe Driver (material) Extension cable
CMSS 60 CMSS 600 (Aluminum) CMSS 900
CMSS 61 CMSS 606 (Aluminum) CMSS 900
CMSS 62 CMSS 620-2 (Aluminum) CMSS 900
CMSS 65 CMSS 665 (RYTON
™
) CMSS 958
CMSS 68 CMSS 668 (RYTON
™
) CMSS 958
2. Don’t use a wrench to thread probe into hole. If
probe doesn’t turn with finger twisting, something is
obstructing the passage or the threads of the hole
should be cleaned up (chased).
3. Don’t make probe-to-cable connection with connectors
left inside the machine housing.
4. Don’t leave probe lead or extension cable connections
unprotected. Wrap them with insulating tape.
5. Don’t use probe to observe a plated surface. Different
permeability and conductivity and possible irregular
thickness of the plating material are sources of
calibration error.
6. Don’t mount axial-position probes more than 12 inches
(305 mm) from thrust collar. Shaft thermal growth
distorts measurements.