-40-
No.PF※※-OMW0007-A
●Auto-preset
When auto-preset is selected in function selection mode, the set value can be calculated and memorized
from the measured flow. Repeating the suction and release of the workpiece to be set for several times will
automatically optimize the set value.
(1) Selection of auto-preset OUT1 mode
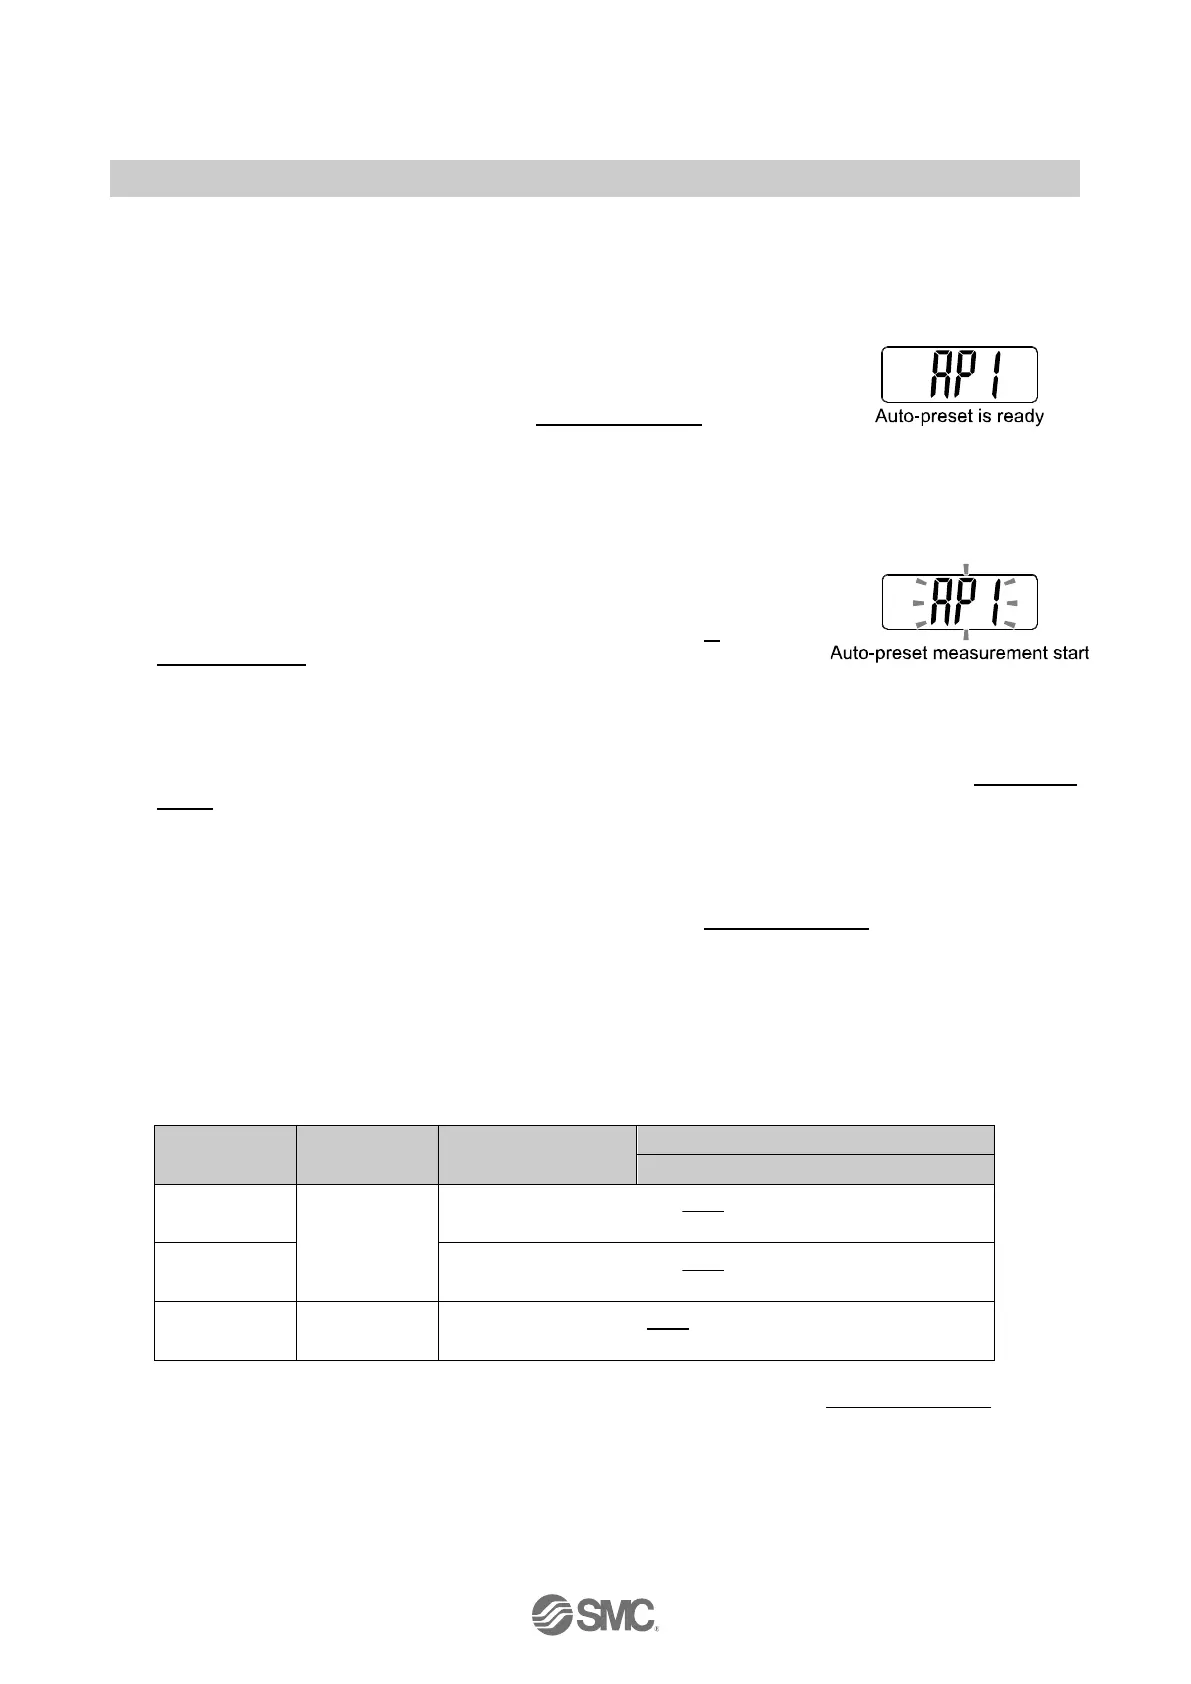
Press the SET button in measurement mode to display [AP1].
(If setting of OUT1 is not necessary, select [AP1], and then press the
UP and DOWN buttons simultaneously for 1 second or longer.
The display will move to [AP2]).
(2) Preparation of equipment for OUT1
Prepare the equipment for which the flow of OUT1 is to be set.
(3) Setting of auto-preset for OUT1
Press the SET button to flash [AP1].
Measurement starts. Operate the device to change the flow.
(If the UP and DOWN buttons are pressed simultaneously for 1
second or longer while "AP1" is displayed, measurement will be
stopped and [AP2] will return.)
(4) Selection of auto-preset OUT2 mode
Press the SET button to set [P_1], [H_1] ([n_1], [H_1] in reverse output mode) to display [AP2].
(If the setting of OUT1 is not necessary, press the UP and DOWN buttons simultaneously for 1 second or
longer after [AP1] display. The display will move to measurement mode).
(5) Preparation of equipment for OUT2
Prepare equipment for which the flow of OUT2 is to be set, and set the value of OUT2 as in OUT1.
[AP2 RUn] will be flashed and measurement will start.
(If the UP and DOWN buttons are pressed simultaneously for 1 second or longer while "AP1" is
displayed, measurement will be stopped and measurement mode will return.)
(6) Complete setup
Press the SET button to set the set value of [P_2] and [H_2] and complete the auto-preset mode. Then,
measurement mode returns.
([n_2], [H_2] in reverse output mode.)
The settings and hysteresis in auto-preset will be as follows.
 Loading...