115
System Settings Operations Paired Devices
The Hardware Status indicators in the lower-right corner of the Home screen provides a quick
reference of which modules have been paired to the Display Device (
Table 14-1):
14.1.1 Pairing the Scan Module
The Scan Module needs to be either connected to a vehicle or connected to a powered USB port
so that it is powered up during the pairing procedure. Make sure the Display Device has a charged
battery or is connected to an AC power supply.
z To pair the Scan Module with the Display Device:
1. Power on the Display Device.
2. Connect the 25-pin end of the data cable to the Scan Module data cable port.
3. Connect the 16-pin end of the data cable to a live vehicle data link connector (DLC).
The green vehicle power LED should be illuminated.
4. Tap the System Settings button on the Home screen of the Display Device.
5. Select Paired Devices from the menu.
6. From the Paired Devices screen select Add from the toolbar.
7. When prompted select OK from the toolbar.
The Display Device searches for compatible wireless devices, then displays the results. The
Scan Module is listed as “VERDICT S3-” plus a partial serial number (
Figure 14-2).
Figure 14-2 Sample Scan Module selection
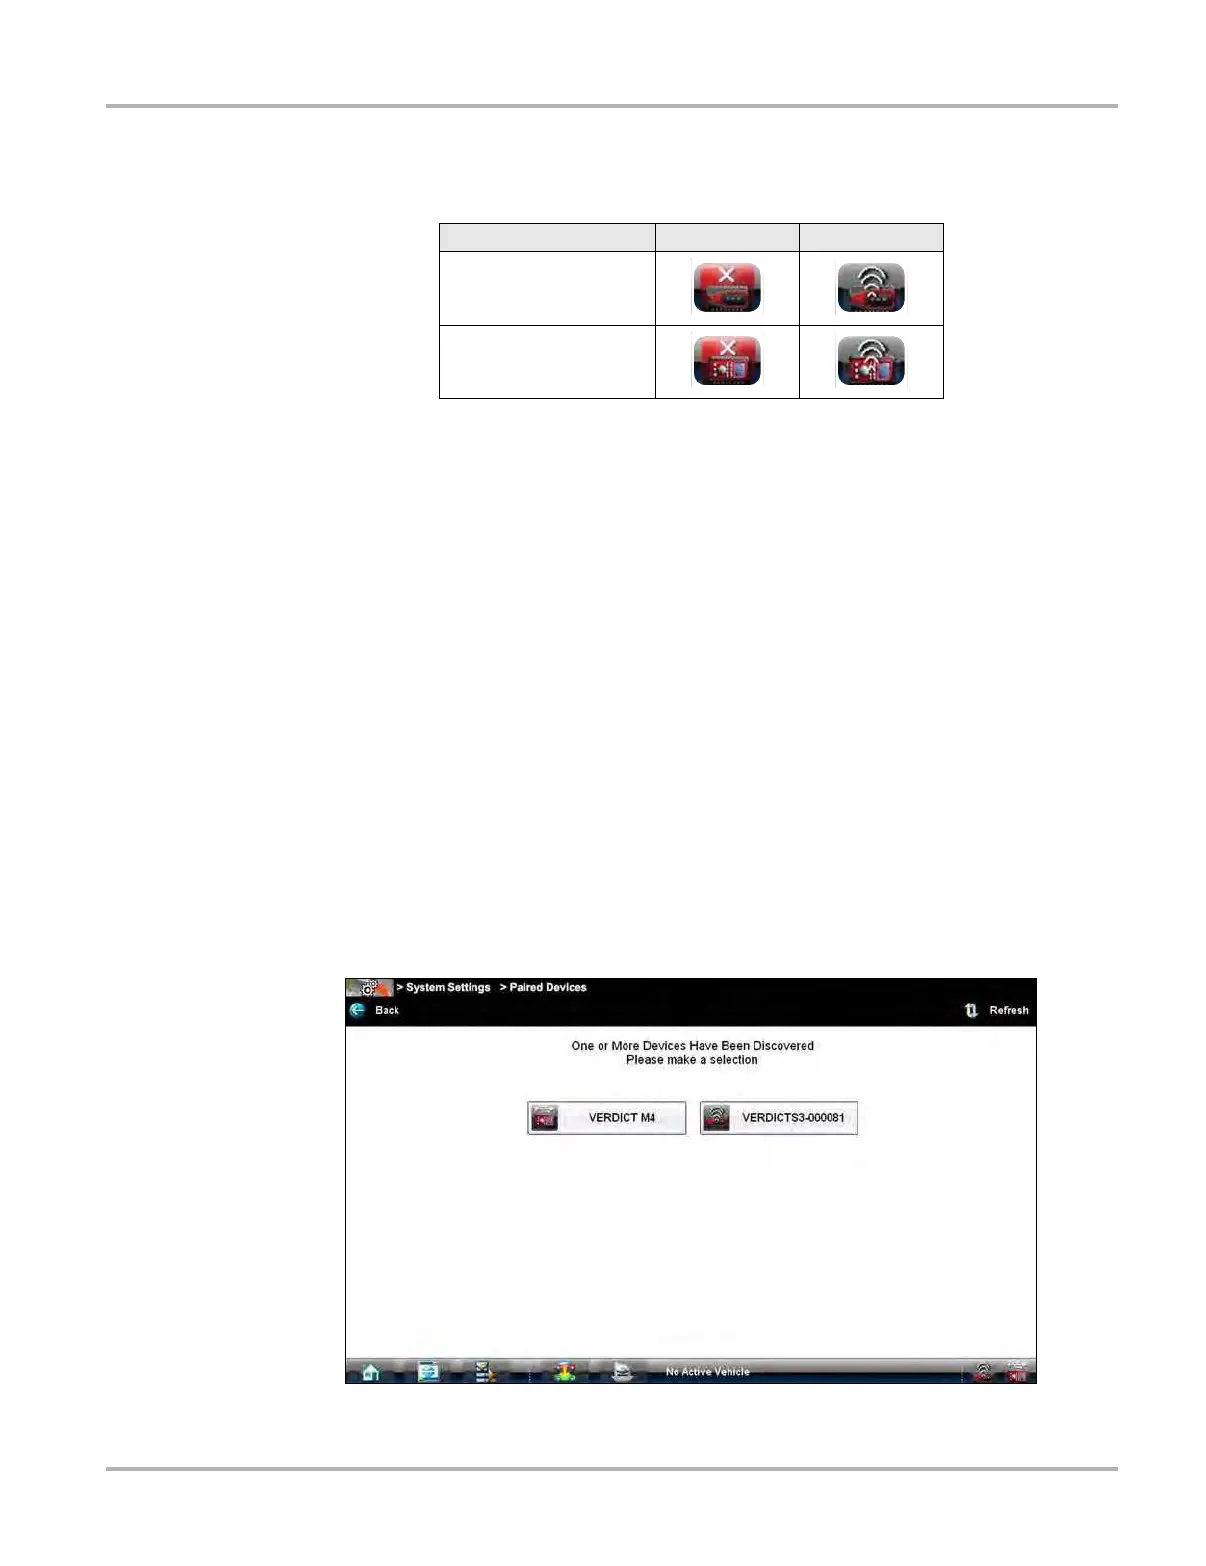
Table 14-1 Hardware Status indicators
Module
Not Paired
Paired
Scanner
Scope Multimeter