11
Chapter 3 Getting Started
Make sure the Display Device has a charged battery or is connected to an AC/DC power supply
(see
Power Sources on page 8). It is highly recommended to back up personal and saved data to
a USB mass storage device on a regular basis to prevent loss in the event of system corruption or
hard disk drive failure.
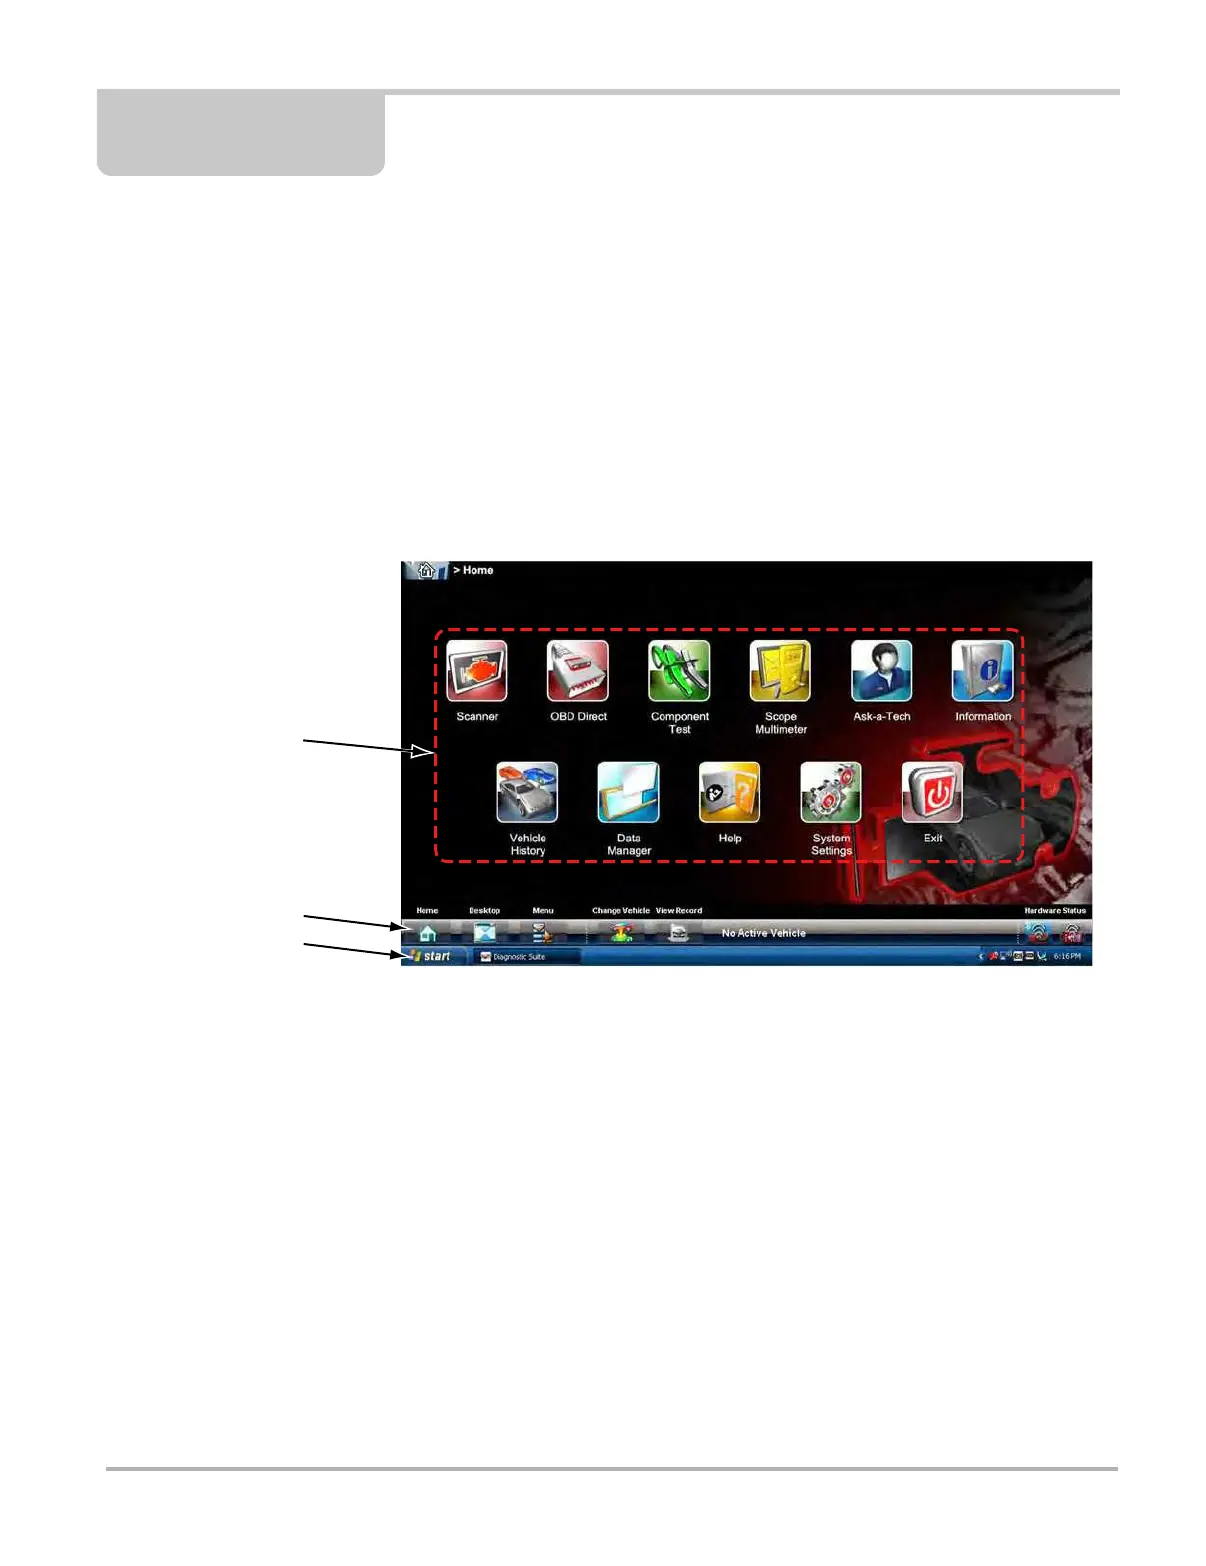
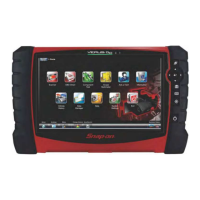
3.1 Powering Up
Press the Display Device Power button to switch the unit on. The system boots up, then opens the
Home screen (
Figure 3-1).
1. Module Buttons
2. Toolbar
3. Windows Toolbar
Figure 3-1 Sample Home screen
3.1.1 Module Buttons
The Module buttons configure the Display Device for the type of test to be performed.
Table 3-1 on
page 12 gives brief descriptions of the available Module buttons, which operations are available
depends upon the individual configuration of your system. Use the stylus or your finger tip to select
from the Module buttons.